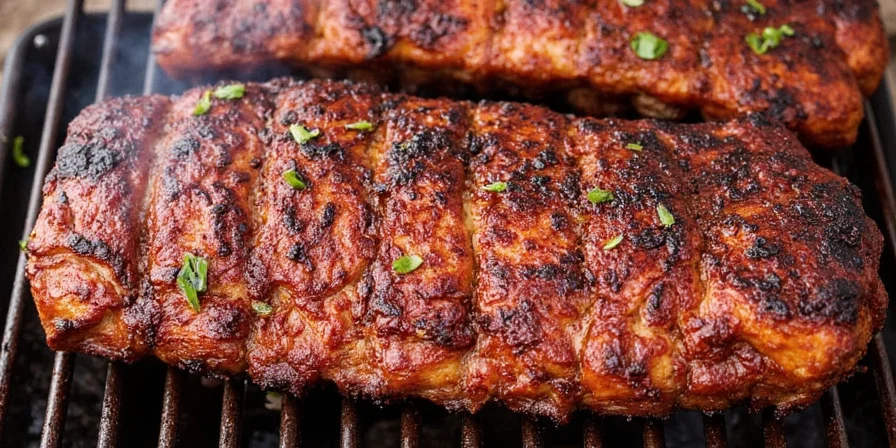
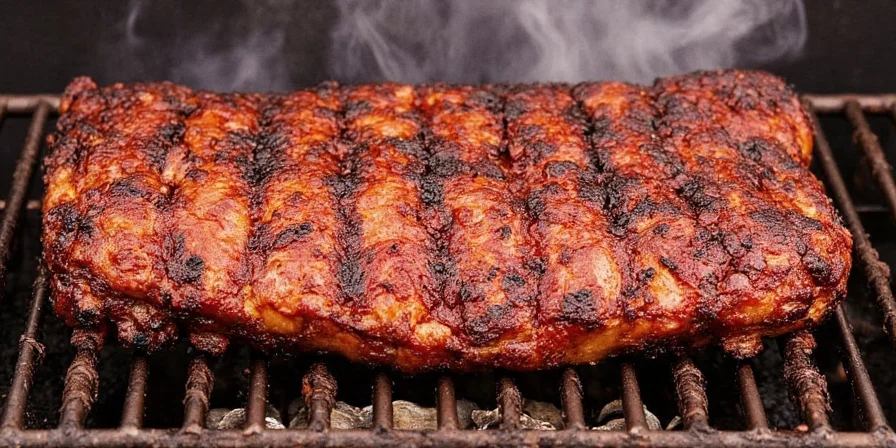
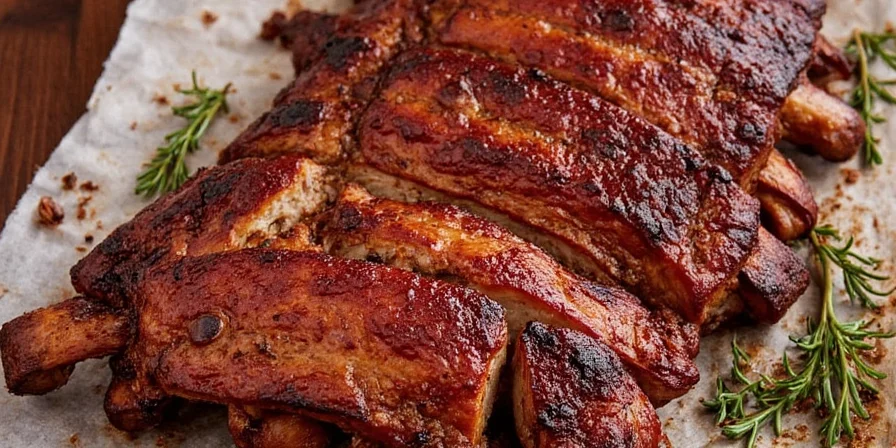
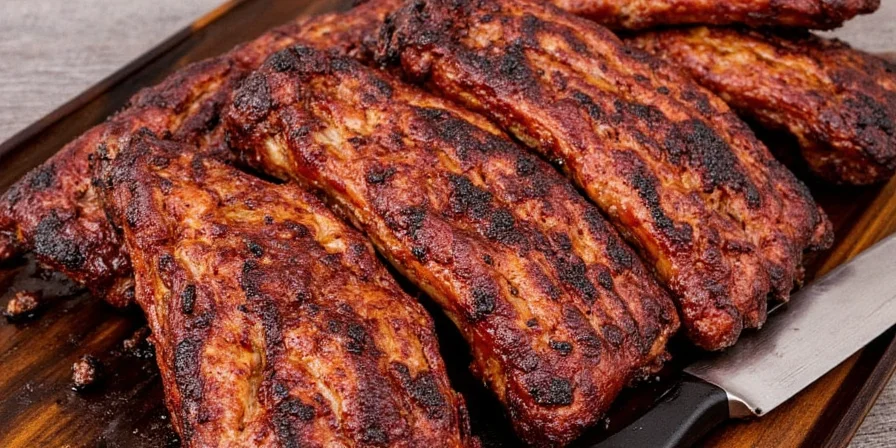
The most reliable way to tell when ribs are done smoking is through the bend test: lift the rack at its center with tongs - properly cooked ribs should bend 45 degrees with surface cracking but without separation. The meat between bones should visibly pull back about 1/4 inch. For precise results, maintain an internal temperature of 190-205°F and check for tender yet structured texture.
5 Proven Methods to Determine Rib Doneness
When smoking ribs, accurate doneness testing ensures perfect texture every time. These methods work whether you're using a charcoal smoker, pellet grill, or traditional offset smoker.

1. The Bend Test (Most Reliable)
Lift the rib rack at its center point using tongs. Properly cooked ribs will bend approximately 45 degrees with visible surface cracking. The meat between bones should visibly separate about 1/4 inch when gently pressed. The rack should feel flexible but not break apart.
2. Temperature Verification
For precise results, use an instant-read thermometer to check internal temperature at the thickest section between bones:
| Doneness Level | Internal Temperature | Texture Result |
|---|---|---|
| Undercooked | Below 180°F | Tough, chewy texture with minimal tenderness |
| Perfect Doneness | 190-205°F | Ideal tenderness with slight resistance when bitten |
| Overcooked | Above 210°F | Excessive separation, falling off the bone |
3. Toothpick/Skewer Test
Insert a toothpick or skewer between bones with light pressure. At optimal doneness, it should meet moderate resistance then slide smoothly through without catching. If it goes in too easily, ribs may be overcooked.

4. Meat Shrinkage Indicator
As ribs cook, the meat contracts and pulls back from the bone ends. At perfect doneness, you should see approximately 1/4 to 1/2 inch of bone exposed at the ends. This visible shrinkage confirms connective tissue breakdown.
5. Texture Assessment
Gently press the meat with your finger. Properly cooked ribs should yield to pressure with slight resistance, similar to pressing the fleshy part of your palm below the thumb. Overcooked ribs feel mushy with no resistance.
Why Temperature Alone Isn't Enough
While temperature provides a helpful guideline (190-205°F), relying solely on thermometers can lead to errors. Different pork varieties contain varying collagen density, and temperature fluctuations during smoking affect doneness. Always combine temperature readings with visual and tactile tests for best results.
Avoid These Common Doneness Mistakes
- Mistake: Judging doneness by cooking time alone
- Solution: Always verify with multiple doneness tests regardless of cooking duration
- Mistake: Checking temperature by inserting probe near bone
- Solution: Insert thermometer midway between bones at thickest section
- Mistake: Removing ribs too early when they look done externally
- Solution: Wait for internal temperature of at least 190°F for complete collagen breakdown
Perfect Timing for Different Rib Types
Smoking times vary based on rib type and smoker temperature (maintain 225-250°F):
| Rib Type | Approximate Smoking Time | Key Doneness Indicators |
|---|---|---|
| St. Louis Cut | 5-6 hours | 1/4" bone exposure, bend test shows 45° flex |
| Baby Back Ribs | 4-5 hours | Meat shrinkage visible, slight resistance to skewer |
| Beef Back Ribs | 6-7 hours | 1/2" bone exposure, surface cracking apparent |
Troubleshooting Doneness Issues
Ribs still tough at 200°F? Continue cooking until they pass the bend test. Different pork sources require varying times for complete collagen breakdown.
Mushy texture despite correct temperature? Likely caused by excessive wrapping time. Limit Texas Crutch method to 2 hours maximum to prevent steam-braising effects.
Frequently Asked Questions About Rib Doneness
Mastering rib doneness testing takes practice, but these proven methods will help you consistently achieve restaurant-quality results at home. Remember that visual and tactile indicators often provide more reliable results than temperature alone. With these techniques, you'll never serve undercooked or overcooked ribs again.


 浙公网安备
33010002000092号
 浙B2-20120091-4