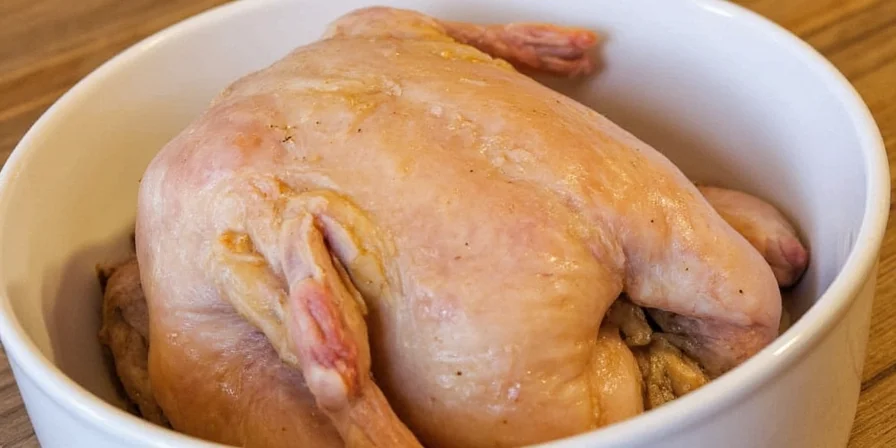
Unlocking Flavor: The Ultimate Guide to Dry Brine Chicken
When it comes to preparing chicken, achieving that perfect combination of flavor and juiciness can often feel elusive. Enter the technique of dry brining, a method that not only enhances the natural taste of chicken but also ensures it remains moist and tender during cooking. In this comprehensive guide, we will delve into the world of dry brine chicken, exploring its benefits, techniques, and tips for achieving the best results.
What is Dry Brining?
Dry brining involves the application of salt and various spices directly onto the surface of the chicken, allowing it to absorb moisture and flavor over time. Unlike traditional wet brining, which requires soaking the meat in a saltwater solution, dry brining is simpler and can be more effective in enhancing the taste and texture of the chicken.
Benefits of Dry Brining Chicken
- Enhanced Flavor: The salt draws out the chicken's natural juices, which then mix with the seasoning and are reabsorbed, intensifying the flavor.
- Moisture Retention: Dry brining helps the chicken retain moisture during cooking, preventing it from drying out.
- Improved Texture: The process breaks down some of the proteins in the chicken, resulting in a more tender bite.
- Convenience: It requires minimal preparation and can be done in advance, making it ideal for busy cooks.
How to Dry Brine Chicken: Step-by-Step Guide
Now that we understand the benefits of dry brining, let’s go through the steps to master this technique.
Step 1: Choose Your Chicken
Start with high-quality chicken. Whether you’re using a whole chicken, thighs, or breasts, ensure that the meat is fresh and preferably organic. The better the quality of the chicken, the more delicious the final dish will be.
Step 2: Prepare Your Dry Brine Mixture
To create your dry brine, combine kosher salt with your choice of spices. Here’s a basic recipe to get you started:
| Ingredient | Amount |
|---|---|
| Kosher Salt | 1 tablespoon per pound of chicken |
| Black Pepper | 1 teaspoon |
| Garlic Powder | 1 teaspoon |
| Onion Powder | 1 teaspoon |
| Optional Herbs (e.g., thyme, rosemary) | 1 teaspoon |
Step 3: Apply the Dry Brine
Sprinkle the dry brine mixture evenly over the chicken, ensuring that every part is covered. Use your hands to rub the mixture into the meat gently. Pay special attention to the cavity of the chicken if you’re using a whole bird.
Step 4: Let it Rest
Place the brined chicken on a wire rack set over a baking sheet and refrigerate uncovered for at least 1 hour, preferably overnight. This resting period allows the salt to penetrate the meat and enhances the flavors.
Step 5: Cooking Your Brined Chicken
When you’re ready to cook, remove the chicken from the refrigerator and let it sit at room temperature for about 30 minutes. This step ensures even cooking. Here are some popular cooking methods:
- Roasting: Preheat your oven to 425°F (220°C) and roast the chicken for about 1 hour or until the internal temperature reaches 165°F (75°C).
- Grilling: Preheat your grill to medium-high. Cook the chicken for 6-8 minutes per side, depending on the cut.
- Pan-Searing: Heat a skillet over medium-high heat, add some oil, and sear the chicken for about 5 minutes on each side, then finish in the oven if necessary.
Tips for Perfectly Dry Brined Chicken
To elevate your dry brining game, consider the following expert tips:
- Experiment with Flavors: Don’t hesitate to add different spices and herbs to your dry brine, like smoked paprika, cumin, or even citrus zest for a unique flavor profile.
- Adjust Salt Levels: If you’re watching your sodium intake, use less salt or try a low-sodium kosher salt while maintaining the same flavor balance.
- Don’t Rinse: After dry brining, avoid rinsing the chicken to retain the flavors. Just pat it dry with paper towels before cooking.
- Rest After Cooking: Allow the chicken to rest for about 10-15 minutes after cooking for optimal juiciness.
Common Mistakes to Avoid
Even the best cooks can make mistakes. Here are some common pitfalls to avoid when dry brining chicken:
- Using Table Salt: Table salt is denser than kosher salt, so if you use it, measure carefully to avoid over-salting.
- Not Using Enough Time: Dry brining is most effective when allowed to sit for several hours or overnight.
- Skipping the Drying Step: Always dry the chicken with paper towels before cooking to ensure the skin crisps up nicely.
Conclusion
Dry brine chicken is a simple yet powerful technique that can transform your poultry dishes from ordinary to extraordinary. By following the steps outlined in this guide and experimenting with flavors, you can unlock a new level of taste and tenderness in your cooking. Whether you’re preparing a weeknight dinner or a special occasion feast, dry brined chicken is sure to impress.

Ready to give it a try? Gather your ingredients, follow the steps, and enjoy the delicious results of your dry brined chicken!


 浙公网安备
33010002000092号
 浙B2-20120091-4