
Unlocking the Secrets of Dry Brine: The Ultimate Guide to Spice Storage & Usage Hacks
Dry brining is a technique that has gained popularity among chefs and home cooks alike, transforming the way we think about seasoning and flavoring our meats and vegetables. In this comprehensive guide, we will explore what dry brining is, how to do it effectively, and the benefits it brings to your culinary creations.
What is Dry Brining?
Dry brining is the process of seasoning meat with salt and allowing it to rest for a period of time before cooking. Unlike traditional wet brining, which involves submerging meat in a saltwater solution, dry brining uses the natural moisture of the meat to create a flavorful crust that enhances taste and texture. This method allows for better seasoning penetration while retaining the meat's juiciness.
The Science Behind Dry Brining
At its core, dry brining leverages the science of osmosis. When salt is applied to the surface of the meat, it draws out moisture through the process of osmosis. This moisture then dissolves the salt and is reabsorbed into the meat, taking flavor along with it. The result is a well-seasoned piece of meat that is tender and juicy.
The Benefits of Dry Brining
- Enhanced Flavor: Salt enhances the natural flavors of the meat, making it taste more savory and delicious.
- Improved Texture: The salt helps break down proteins, resulting in a more tender texture.
- Juiciness: By retaining moisture, dry brining keeps meat juicy during cooking.
- No Need for Added Liquid: Unlike wet brining, dry brining doesn’t require additional liquid, making it easier and less messy.
How to Dry Brine
Dry brining is a straightforward process, but it does require some planning. Here’s a step-by-step guide to get you started:
Step 1: Choose Your Meat
Dry brining works well with various types of meat, including:
- Chicken
- Turkey
- Pork
- Beef
- Fish
Step 2: Calculate the Amount of Salt
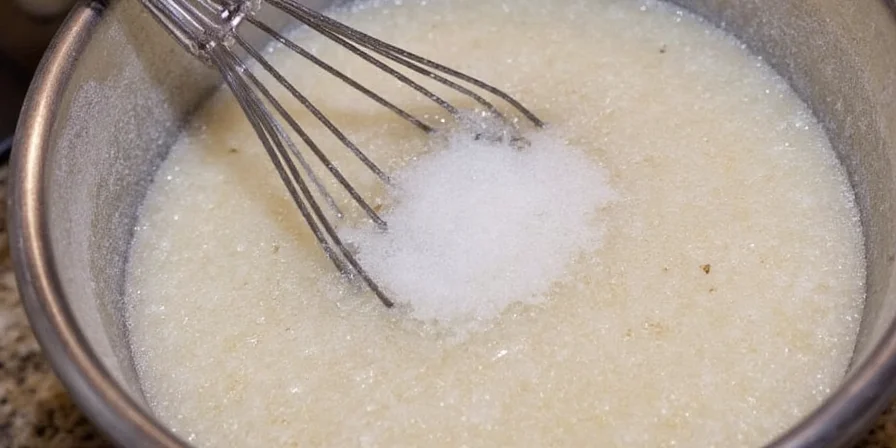
The general rule of thumb is to use about 1 tablespoon of kosher salt per 5 pounds of meat. Adjust the amount based on the size of your cut and personal taste preferences.
Step 3: Apply the Salt
Evenly sprinkle the salt over the surface of the meat, ensuring that all areas are covered. For larger cuts of meat, you can also rub the salt into any crevices or cavities.
Step 4: Let it Rest
Place the salted meat on a wire rack and refrigerate. Allow it to rest for at least 1 hour, but ideally, let it sit overnight. The longer it sits, the more flavorful it will become.
Step 5: Rinse and Cook (Optional)
After the resting period, you can rinse off any excess salt if you prefer a less salty flavor. Pat the meat dry with paper towels before cooking.
Tips for Successful Dry Brining
To ensure the best results, keep these tips in mind:
- Use kosher salt or sea salt for dry brining. Avoid table salt, as it is more concentrated and can lead to over-salting.
- Experiment with additional spices and herbs. Adding black pepper, garlic powder, or dried herbs can enhance the flavor profile.
- Let the meat rest at room temperature for about 30 minutes before cooking to ensure even cooking.
- For large cuts of meat, consider using a needle injector to help distribute the salt evenly throughout the meat.
Common Mistakes to Avoid
As with any cooking technique, there are pitfalls to watch out for. Here are some common mistakes to avoid while dry brining:
- Not Using Enough Salt: Insufficient salt can result in bland meat, so be generous with your seasoning.
- Brining for Too Short a Time: Rushing the brining process can lead to under-seasoned meat. Allow adequate time for the salt to work its magic.
- Cooking Straight from the Fridge: Cold meat will not cook evenly, so let it rest at room temperature before cooking.
Dry Brining vs. Wet Brining: Which is Better?
Both dry brining and wet brining have their merits, and the choice ultimately depends on personal preference and the type of meat you’re cooking.
| Aspect | Dry Brining | Wet Brining |
|---|---|---|
| Flavor | Enhanced natural flavor | Added moisture and flavor |
| Texture | Tender and juicy | Moist but can be mushy |
| Preparation Time | Quick and easy | Requires more time and equipment |
| Messiness | Less messy | Messy due to liquid |
Creative Uses for Dry Brine
Dry brining isn't just limited to meats. Here are some creative ways to incorporate dry brining into your cooking routine:
- Vegetables: Try dry brining vegetables like eggplant or zucchini before grilling or roasting to enhance their flavor.
- Fish: A light dry brine on fish can help firm up the flesh and improve flavor before cooking.
- Cheese: Experiment with dry brining soft cheeses for a unique flavor twist.
Conclusion
Dry brining is a simple yet effective technique that can elevate your cooking game. By understanding the science behind it and following the right steps, you can achieve deliciously seasoned and tender meats that your family and friends will love. So why not give dry brining a try? Your taste buds will thank you!


 浙公网安备
33010002000092号
浙公网安备
33010002000092号 浙B2-20120091-4