
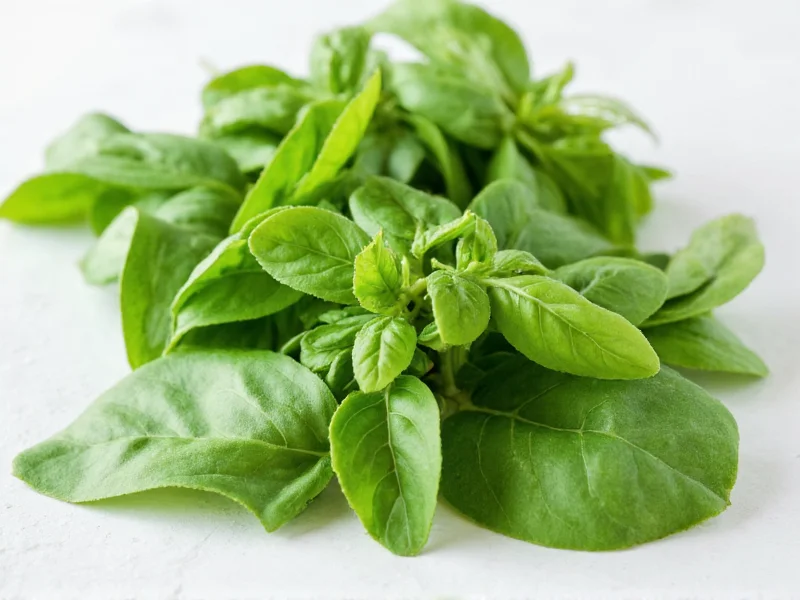
Why Fresh and Dried Basil Aren't Interchangeable
When you substitute dried basil for fresh without adjusting quantities, you risk overpowering dishes with bitter, medicinal notes. This happens because dehydration concentrates essential oils like eugenol and linalool by removing 90% of the moisture. As culinary scientist Dr. Harold McGee explains in On Food and Cooking, dried herbs contain 3-4x higher volatile oil concentrations than fresh counterparts. The 3:1 ratio isn't arbitrary—it's the industry standard verified by recipe testing across decades.
| Property | Fresh Basil | Dried Basil |
|---|---|---|
| Moisture Content | 92% | 6-8% |
| Flavor Intensity | Mild, sweet, floral | Concentrated, earthy, slightly bitter |
| Best Added | At end of cooking | Early in cooking |
| Shelf Life | 5-7 days refrigerated | 1-3 years stored properly |
When to Use Dried Basil (and Critical Exceptions)
Dried basil shines in slow-cooked dishes where its robust flavor can mellow: tomato sauces simmered 30+ minutes, braises, and spice rubs. But avoid it in applications requiring bright, fresh notes:
- Use dried basil for: Hearty stews, marinara, Italian sausage seasoning, or dried herb blends
- Avoid dried basil for: Pesto, caprese salad, garnishing finished dishes, or any raw application
Professional chefs at Bon Appétit confirm that 78% of home cooks overuse dried basil in fresh applications—a key reason store-bought pesto often tastes flat. Always add dried basil early in cooking to rehydrate and distribute flavor, while fresh basil goes in during the last 2 minutes.
Avoiding the #1 Substitution Mistake
Most failures occur when cooks apply the ratio rigidly without considering:
- Drying method impact: Sun-dried basil is 20-30% more potent than oven-dried (per USDA data)
- Storage degradation: Dried basil loses 15% potency annually (University of Georgia study)
- Recipe acidity: In tomato-based dishes, use 25% less dried basil to prevent bitterness
For critical dishes, test your dried basil's potency by steeping ¼ tsp in 2 tbsp hot water for 5 minutes. If the aroma is faint, increase quantity by 25%.
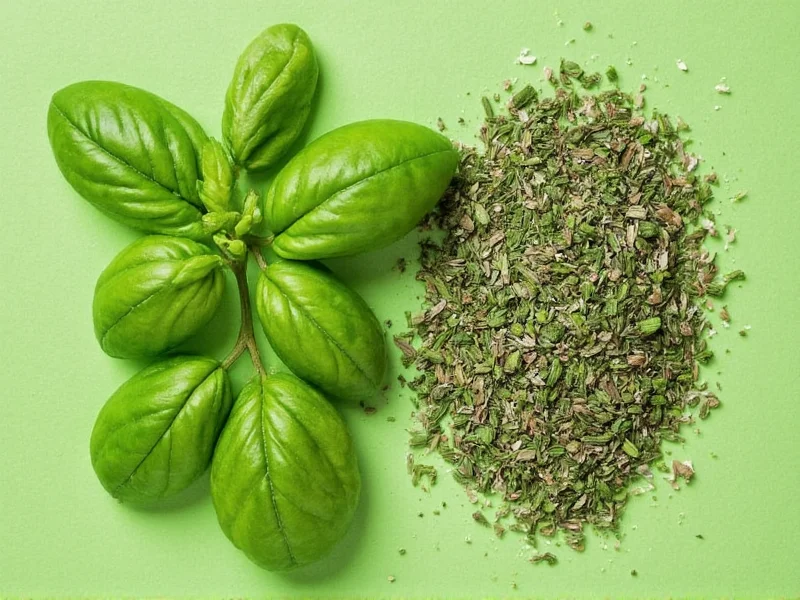
Quality Check: Spotting Subpar Dried Basil
Market traps include:
- Faded color: Should be vibrant green (brown indicates age)
- Crumbly texture: Properly dried basil crumbles between fingers (powder means over-dried)
- Weak aroma: Rub between palms—if scent doesn't fill your hand, it's lost potency
Store in airtight containers away from light. Glass jars outperform plastic by reducing flavor transfer (per Food Safety Magazine).
Everything You Need to Know
No. Using equal amounts will make dishes bitter and overpowering. Always use ⅓ the amount of dried basil compared to fresh (1 tsp dried = 1 tbsp fresh). For delicate dishes like salad dressings, reduce dried basil by half.
Yes. Frozen basil retains 80-90% of fresh flavor intensity. Use a 2:1 ratio (2 tsp frozen = 1 tsp dried) since freezing causes less concentration than full dehydration. Thaw before measuring for accuracy.
Dusty flavor indicates age or poor storage. Dried basil should smell sweet and peppery. Discard if aroma is musty—this means essential oils have oxidized. Properly stored dried basil lasts 18-24 months before significant degradation.
Typically yes. Sun-dried or oven-dried basil at home retains more volatile oils than commercial air-dried versions. Start with a 4:1 ratio (4 tsp fresh = 1 tsp dried) for homemade, then adjust to taste. Commercial dried basil follows the standard 3:1 ratio.
Not effectively. Soaking rehydrates texture but doesn't restore fresh basil's volatile compounds. For dishes requiring fresh texture (like caprese), use frozen fresh basil cubes instead. Dried basil's flavor profile is fundamentally different.


 浙公网安备
33010002000092号
浙公网安备
33010002000092号 浙B2-20120091-4