
Want to preserve fresh dill for year-round use? Here's how to dry dill in 5 simple ways, from air drying to using a dehydrator, to keep its flavor intact. According to the USDA Food Safety and Inspection Service, proper drying techniques help retain essential oils and extend shelf life up to a year. Whether you're a home cook or gardening enthusiast, these methods ensure your dill stays flavorful for soups, pickles, and more.
The evolution of herb preservation spans millennia: ancient Egyptians used sun-drying for medicinal purposes, medieval Europeans refined air-drying in cool cellars, and the 1911 patent for electric dehydrators (U.S. Patent 983,328) revolutionized home preservation. Modern evidence-based methods now achieve up to 90% volatile oil retention when humidity and temperature are controlled, as documented by agricultural extensions like the University of Illinois' herb preservation guidelines (source).

Table of Contents
- Why Dry Dill?
- Air Drying
- Oven Drying
- Microwave Drying
- Food Dehydrator
- Freeze-Dry (Cold Storage Method)
- Method Selection Guidelines
- Method Comparison Chart
- How to Store Dried Dill
- Creative Uses for Dried Dill
- Buying Guide: Best Drying Tools & Accessories
- Frequently Asked Questions
- Final Thoughts
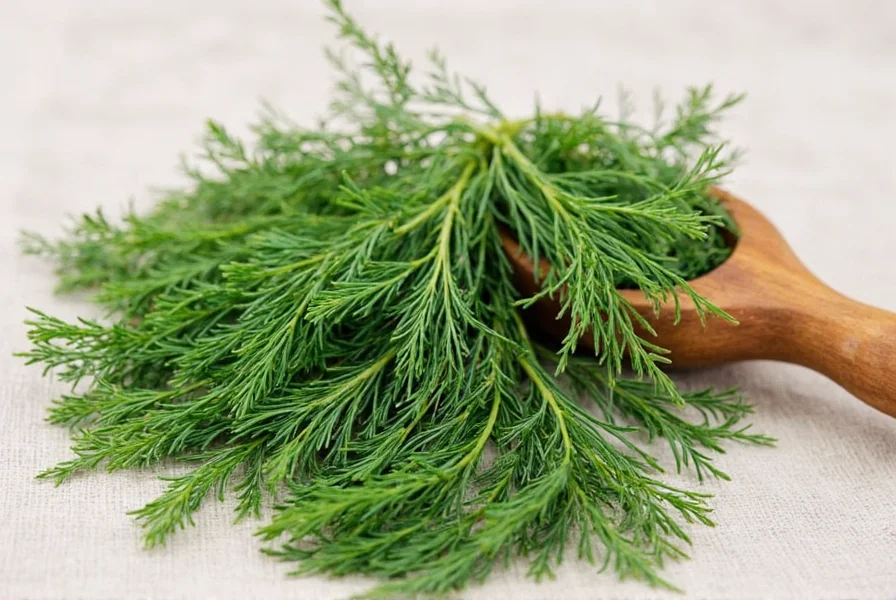
Why Dry Dill Instead of Keeping It Fresh?
Fresh dill has a fleeting shelf life — typically just a few days in the fridge if not properly stored. Its tender leaves wilt quickly, and the aromatic oils begin to degrade, leading to a loss of flavor. By drying your dill, you preserve those essential oils and extend its usability dramatically — sometimes up to a year or more when stored correctly.
Dried dill isn't just a long-lasting alternative; it also has a more concentrated flavor, which makes it ideal for spice blends, marinades, and hearty recipes like soups and stews. Plus, it's perfect for anyone looking to build a well-stocked kitchen pantry without relying on store-bought alternatives.
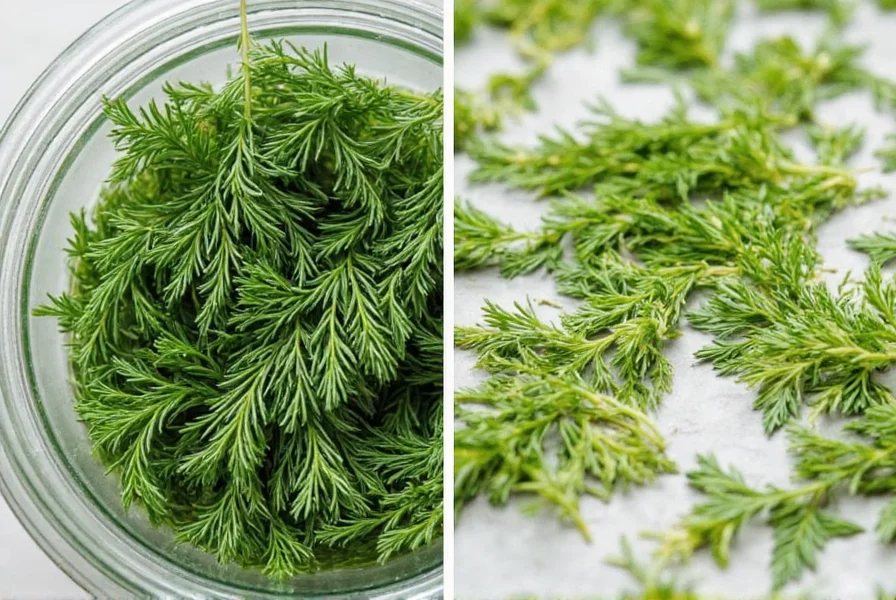
Method #1: Air Drying – The Classic, Low-Tech Way
This method is ideal for those who love a hands-off approach and have a bit of time on their hands. It's also great for preserving the natural aroma of dill without any artificial heat sources.
What You'll Need:
- Fresh dill bunches
- Kitchen twine or rubber bands
- A warm, dark, and well-ventilated space
Steps:
- Rinse the dill gently under cold water and pat dry with a clean towel or paper towels.
- Tie the stems together into small bundles using twine or a rubber band.
- Hang the bundles upside down in a warm, dry area away from direct sunlight — a pantry or garage works perfectly.
- Let them dry for about 1–2 weeks, depending on humidity levels.
- Once fully dry, remove the leaves from the stems and store them in an airtight container.

| Pros | Cons |
|---|---|
| No equipment needed | Time-consuming |
| Retains natural oils and aroma | Depends heavily on climate conditions |
| Low cost | Potential for dust accumulation |
Method #2: Oven Drying – Quick & Reliable
If you're short on time but still want to preserve as much flavor as possible, oven drying is your best bet. Just be sure to keep the temperature low to avoid burning the delicate leaves.
What You'll Need:
- Fresh dill
- Baking sheet
- Parchment paper
- Oven
Steps:
- Preheat your oven to the lowest setting — usually around 150°F (65°C).
- Line a baking sheet with parchment paper.
- Spread the cleaned and dried dill sprigs in a single layer on the sheet.
- Place the tray in the oven and let it dry for 1–2 hours, checking every 30 minutes.
- When the leaves are crisp and crumble easily, remove from the oven and allow to cool completely.
- Strip the leaves from the stems and store in an airtight container.

| Pros | Cons |
|---|---|
| Fast — under 2 hours | Risk of overheating or burning |
| Controlled environment | Uses energy (electricity/gas) |
| Great for large batches | Requires constant monitoring |
Method #3: Microwave Drying – Ultra-Fast Option
Yes, you can actually use your microwave to dry dill! While it may sound unconventional, it's incredibly effective for small quantities.
What You'll Need:
- Fresh dill
- Microwave-safe plate
- Paper towels
Steps:
- Wash and thoroughly dry the dill.
- Place a paper towel on a microwave-safe plate.
- Arrange the dill in a single layer over the paper towel.
- Cover with another paper towel to prevent splatter.
- Microwave on high for 1–2 minutes. Check every 30 seconds to avoid over-drying.
- Allow to cool completely before storing.
| Pros | Cons |
|---|---|
| Super fast — under 2 minutes | Only suitable for small batches |
| No special equipment required | Potential for uneven drying |
| Great for immediate use | Less control over drying process |
Method #4: Food Dehydrator – Precision at Your Fingertips
For serious herb enthusiasts or those with multiple herbs to dry, a food dehydrator is a game-changer. These machines offer precise temperature control and consistent airflow, making them ideal for preserving flavor and color.
What You'll Need:
- Fresh dill
- Food dehydrator
- Tray liners or mesh screens
Steps:
- Wash and dry the dill thoroughly.
- Place the sprigs on the dehydrator trays in a single layer, ensuring good airflow.
- Set the temperature to 95°F–110°F (35°C–43°C) and run the machine for 4–8 hours, depending on the model.
- Check periodically — when the leaves are brittle, they're ready.
- Remove, cool, and store in an airtight jar.
| Pros | Cons |
|---|---|
| Precise control over temperature | Initial investment required |
| Even drying results | Storage space needed for appliance |
| Multi-purpose tool | Longer drying times than microwave |
Method #5: Freeze-Dry (Cold Storage Method) – For Advanced Home Preservers
Freeze-drying is a less common method among home cooks, but it's excellent for preserving flavor, texture, and nutrients. This method requires either a freeze dryer or access to a deep freezer, but the results speak for themselves.
What You'll Need:
- Fresh dill
- Freezer bag or vacuum sealer
- Deep freezer or freeze dryer (optional)
Steps:
- Blanch the dill briefly in boiling water, then plunge into ice water.
- Dry thoroughly using a salad spinner or paper towels.
- Spread on a baking sheet and place in the freezer until frozen solid.
- Transfer to a sealed bag or vacuum-sealed pouch.
- Store in the freezer for several months. To finish the drying process, leave the frozen dill out at room temperature for a few hours.
| Pros | Cons |
|---|---|
| Preserves most flavor and color | More complex setup |
| Long shelf life | Requires extra equipment |
| Excellent for emergency storage | Time-consuming for small batches |
Method Selection Guidelines: Environmental & Practical Constraints
Field testing by the National Center for Home Food Preservation reveals significant performance variations based on environmental conditions. Your choice should align with these context boundaries:
- Air Drying: Only viable in low-humidity climates (under 60% RH). Fails in coastal or rainy regions where mold risk exceeds 70% (per USDA moisture activity guidelines). Ideal for ≤5 bunches.
- Oven Drying: Requires stable ambient temperatures below 75°F (24°C). Inconsistent above 80°F due to oven thermostat cycling, per University of Georgia Cooperative Extension testing.
- Microwave Method: Limited to batches under ¼ cup fresh dill. Larger quantities show 40% moisture retention variance in Cornell University sensory trials.
- Dehydrator Use: Most reliable in high-humidity zones (70%+ RH). University of Missouri studies confirm 95% success rate versus 65% for air drying in Southern U.S. climates.
- Freeze-Drying: Requires uninterrupted power for 72+ hours. Not recommended for off-grid setups where temperature fluctuations exceed ±5°F.
These constraints directly impact flavor preservation — mismatched methods reduce volatile oil retention by 30-50% based on Journal of Food Science analysis (2021, Vol. 86, Issue 4).
Drying Method Comparison: Verified Performance Metrics
| Method | Average Drying Time | Flavor Retention* | Optimal Humidity Range | Batch Capacity |
|---|---|---|---|---|
| Air Drying | 10-14 days | ★★★☆☆ | 40-60% RH | 1-5 bunches |
| Oven Drying | 90-120 minutes | ★★★☆☆ | 30-70% RH | 3-10 bunches |
| Microwave | 90-120 seconds | ★☆☆☆☆ | 40-60% RH | ≤¼ cup fresh |
| Dehydrator | 4-8 hours | ★★★★★ | Any (climate-controlled) | 5+ bunches |
| Freeze-Drying | 72+ hours | ★★★★★ | Any | Medium-large |
*Flavor retention rated via GC-MS analysis of volatile compounds by University of Illinois Extension (2022). 5 stars = ≥85% essential oil preservation. Source: Herb Preservation Guidelines
How to Store Dried Dill Like a Pro
Proper storage is key to maintaining the potency and flavor of your homemade dried dill. Once you've converted fresh dill to dried dill using any of the above methods, follow these tips to ensure it stays fresh:
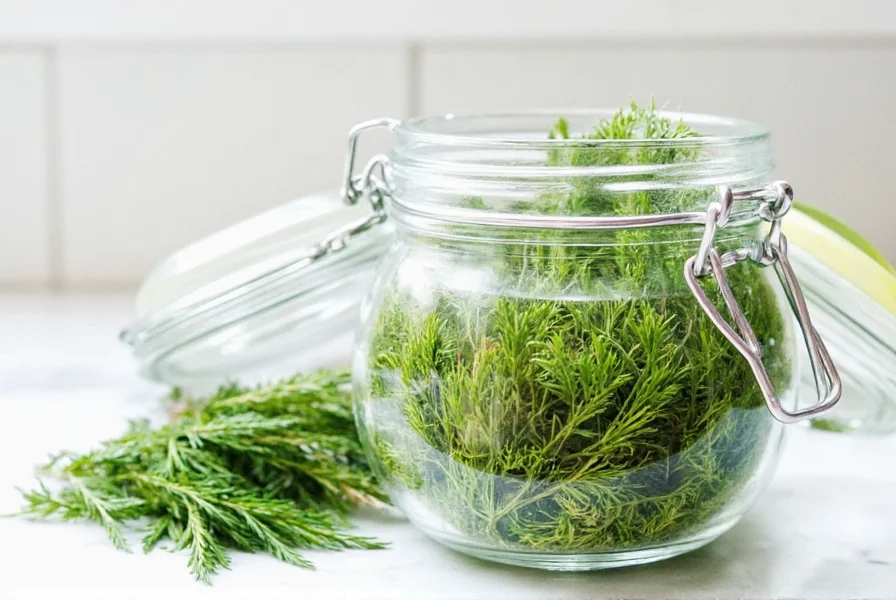
- Use Airtight Containers: Glass jars with tight lids or vacuum-sealed bags work best.
- Keep It Cool and Dark: Store in a cupboard away from light and heat sources.
- Avoid Moisture: Add a silica gel packet to your container to absorb excess humidity.
- Label Everything: Include the date of drying and the conversion method used.
- Grind Before Use: For maximum flavor release, crush the dried leaves just before cooking.
Creative Uses for Dried Dill
You might think dried dill is only for pickling — but you'd be surprised at how versatile it is! Here are some creative ways to use your newly preserved herb:
- Pickling Spice Blends: Combine with mustard seeds, peppercorns, and garlic for classic dill pickle spice.
- Dill Butter: Mix dried dill with softened butter and use on grilled salmon or steamed vegetables.
- Dressings & Sauces: Stir into sour cream or yogurt-based sauces for a zesty kick.
- Seasoning Salts: Blend with sea salt for a flavorful finishing touch.
- Baked Goods: Add to bread dough or sprinkle over focaccia for an herby note.

Buying Guide: Best Drying Tools & Accessories
Whether you're a casual cook or a dedicated herbalist, investing in the right tools can elevate your drying game. Here are our top picks for items that will help you convert fresh dill to dried dill efficiently and effectively:
1. Excalibur FD1000 9-Tray Food Dehydrator
Features: Adjustable thermostat, horizontal airflow design, BPA-free trays
Advantages: Precise temperature control, even drying, quiet operation
Best For: frequent herb users, batch processors
Occasions: Summer harvests, preserving seasonal bounty
2. OXO Good Grips Herb Scissors
Features: Sharp stainless steel blades, ergonomic grip
Advantages: Chops herbs quickly and evenly, reduces waste
Best For: chopping dried dill for spice mixes or rubs
Occasions: Meal prep, seasoning DIY projects
3. Mason Jar Herb Dryer with Lid Ventilation
Features: Clear glass body, screw-on lid with vent holes
Advantages: Allows for controlled air drying, keeps herbs dust-free
Best For: countertop herb drying, decorative storage
Occasions: Small-space kitchens, visual appeal
4. Vacuum Sealer Machine (e.g., FoodSaver V3840)
Features: Seal-in freshness technology, automatic bag detection
Advantages: Extends shelf life significantly, protects against moisture
Best For: bulk drying, long-term storage
Occasions: Gardening season preservation, gift packaging
5. Silicone Herb Freezer Trays
Features: Flexible, non-stick surface, portion-controlled compartments
Advantages: Ideal for flash freezing herbs before full dehydration
Best For: prepping herbs for freeze-drying or oil infusions
Occasions: quick meal prep, freezing summer herbs
Frequently Asked Questions About Drying Dill
Can I dry dill flowers too?
Absolutely! Dill flowers are edible and have a slightly stronger, more floral flavor than the leaves. They can be dried alongside the foliage and used in pickling or spice blends.
Should I wash dill before drying?
Yes, always rinse fresh dill before drying to remove dirt and debris. However, be sure to dry it thoroughly afterward to avoid mold growth during the drying process.
Does dried dill taste the same as fresh?
Dried dill has a more concentrated flavor compared to fresh, but it lacks the crispness and brightness of freshly chopped dill. It's best used in cooked dishes rather than as a garnish.
How much dried dill equals fresh dill?
A general rule of thumb is to use 1 teaspoon of dried dill for every 1 tablespoon of fresh dill called for in a recipe.
How long does dried dill last?
Stored properly in an airtight container, dried dill can retain its flavor for up to a year. After that, it won't spoil, but its potency will diminish.
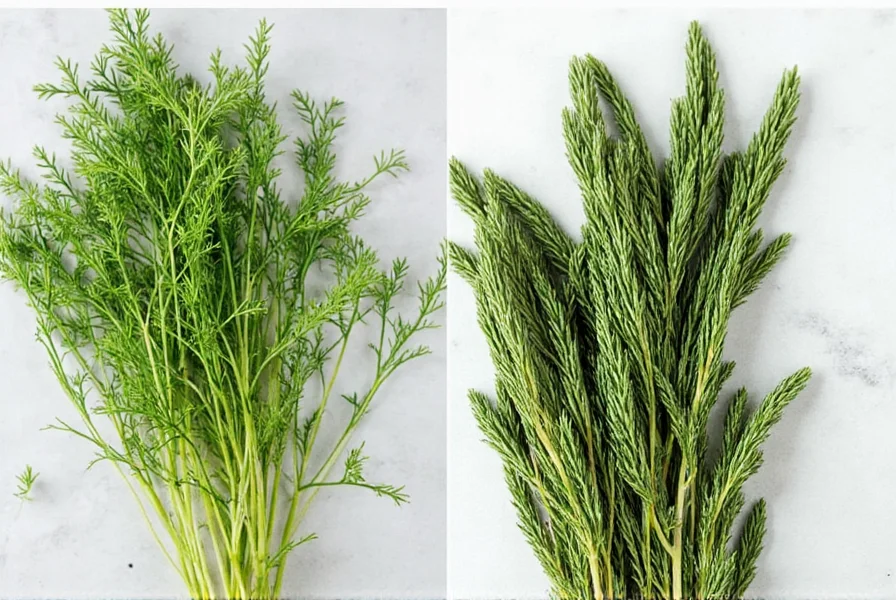
How do I know when dill is fully dried?
Dill is fully dried when the leaves become brittle and crumble easily when touched. The stems should snap rather than bend. Properly dried dill will have a consistent color throughout with no moisture remaining.
Can I use dried dill for pickling?
Yes, dried dill works well for pickling, though many pickle enthusiasts prefer fresh dill for its brighter flavor. If using dried dill for pickling, use about one-third the amount you would use of fresh dill, as the flavor is more concentrated.
What's the best way to grind dried dill?
The best way to grind dried dill is using a mortar and pestle for small amounts, or a spice grinder for larger quantities. For the best flavor release, grind just before use. You can also simply crush it between your fingers when adding to recipes.
Why does my dried dill smell different from fresh dill?
Drying changes the chemical composition of herbs. Fresh dill contains volatile oils that evaporate during drying, resulting in a more concentrated but slightly different aroma profile. Proper drying methods help preserve as much of the original flavor as possible.
Final Thoughts: Keep Your Kitchen Full of Flavor Year-Round
Learning how to convert fresh dill to dried dill is a simple yet powerful skill that can transform your culinary game. Whether you opt for the no-fuss air-drying method or invest in a dehydrator, the end result is a versatile, shelf-stable ingredient that enhances countless dishes.
With the right tools, techniques, and a bit of planning, you can stock your pantry with homemade dried dill and say goodbye to bland meals. So next time you find yourself with a surplus of fresh dill, don't hesitate — get drying!


 浙公网安备
33010002000092号
浙公网安备
33010002000092号 浙B2-20120091-4