
Dry Brining Chicken Breast: How Long Should You Wait for Flavor Heaven?

Have you ever tasted a perfectly juicy, flavor-packed chicken breast and wondered how the chef did it? Spoiler alert: it’s not magic—it’s dry brining. And if you’re asking yourself, “How long should I really leave my chicken in that salty rub before it turns into culinary gold?”—you're in the right place.
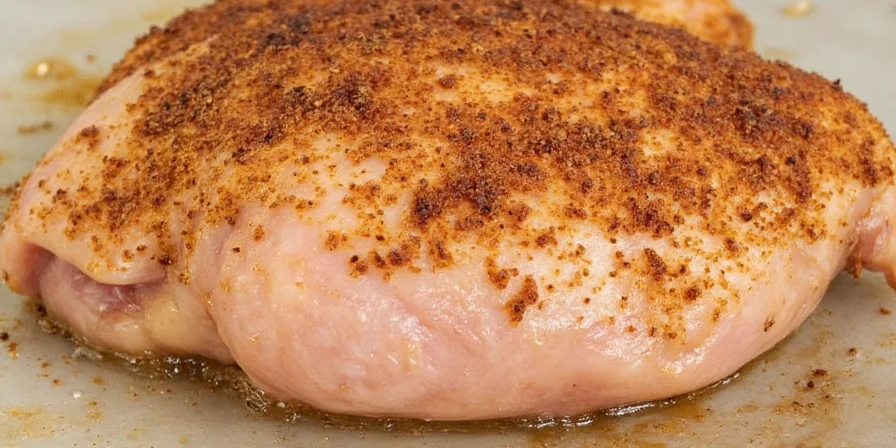
What Exactly Is Dry Brining Anyway?
Dry brining is like giving your chicken a spa day—but instead of cucumber water and massage oils, it's getting massaged with salt and spices. Unlike wet brining, which involves submerging meat in a liquid solution, dry brining simply means rubbing salt (and often other seasonings) directly onto the meat and letting it sit in the fridge for a while.
This process draws moisture out of the chicken, then the salt helps reabsorb some of it back into the meat along with the flavors you’ve added. The result? A juicier, more seasoned bird that practically begs to be grilled, baked, or pan-seared.
So... How Long *Should* You Dry Brine Chicken Breast?
You might think “if a little is good, a lot is better,” but when it comes to dry brining, timing is everything. Too short, and you miss out on all that deep flavor and juiciness. Too long, and you end up with something closer to a salt lick than a main dish.
The Sweet Spot: 4–24 Hours
- Minimum: 4 hours (ideal if you're in a rush)
- Recommended: 8–12 hours (perfect balance of flavor and texture)
- Maximum: 24 hours (for those who plan ahead—or forget they left chicken in the fridge!)
If you're using just salt, sticking to around 8–12 hours is ideal. But if you're mixing in herbs, garlic powder, paprika, or any of your favorite spice blends, you can stretch it up to 24 hours to let those flavors really work their way into the meat.
| Time | Moisture Retention | Flavor Penetration | Texture |
|---|---|---|---|
| 1 hour | Low | Poor | Dry after cooking |
| 4 hours | Moderate | Fair | Better than none |
| 8–12 hours | High | Good | Juicy & flavorful |
| 24+ hours | Very high | Deep | Slightly firmer exterior |
Pro Tips: Spice Hacks for Dry Brining Like a Pro
Ready to take your chicken game to the next level? Here are some handy spice storage & usage hacks to make your dry brine extra special—and keep your pantry fresh at the same time!
- Store Spices Right: Keep your spices in airtight containers away from light and heat. Moisture and air are the enemies of flavor!
- Use Fresh Salt: Yes, salt doesn’t go bad, but its potency does fade over time. Check expiration dates on your sea salt and kosher salt regularly.
- Grind Your Own: Whole spices retain flavor longer. Grind them just before use for maximum impact. Try making your own homemade poultry seasoning!
- Spice It Up: Go beyond salt—add smoked paprika, black pepper, thyme, rosemary, garlic powder, or even a touch of brown sugar for depth.
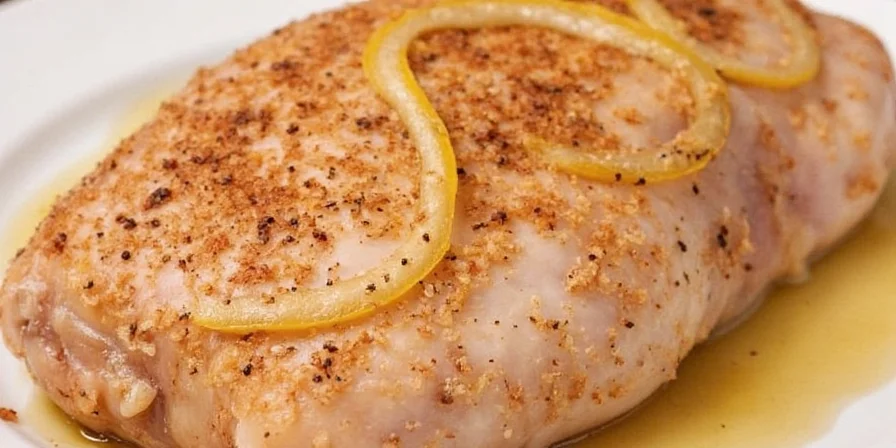
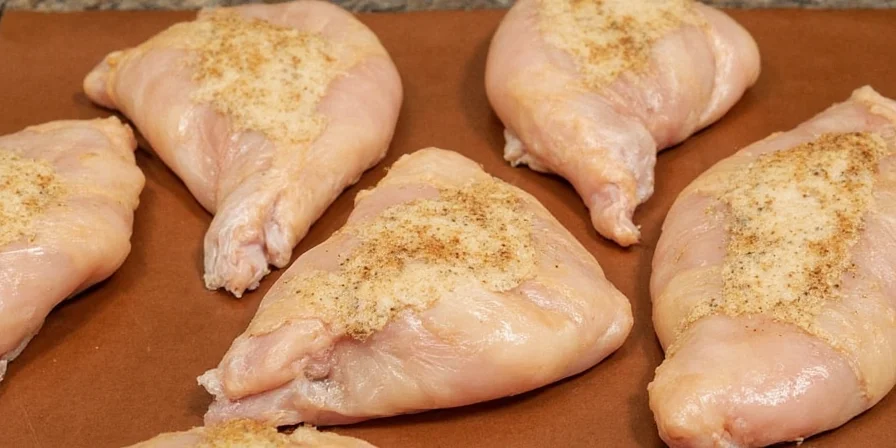
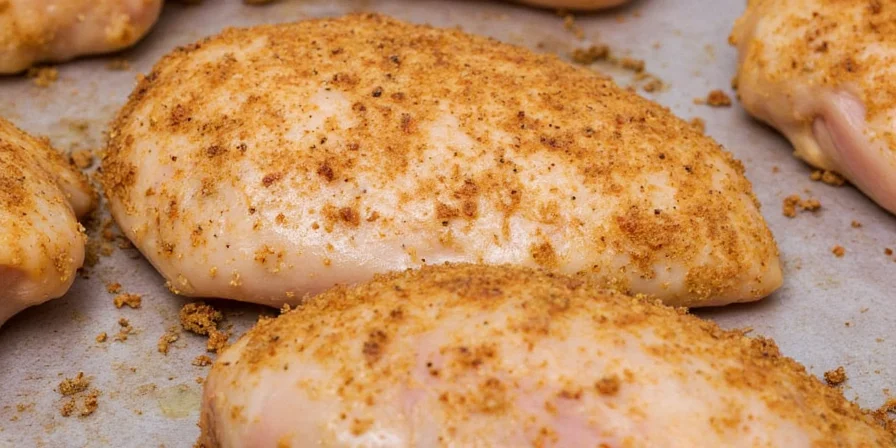
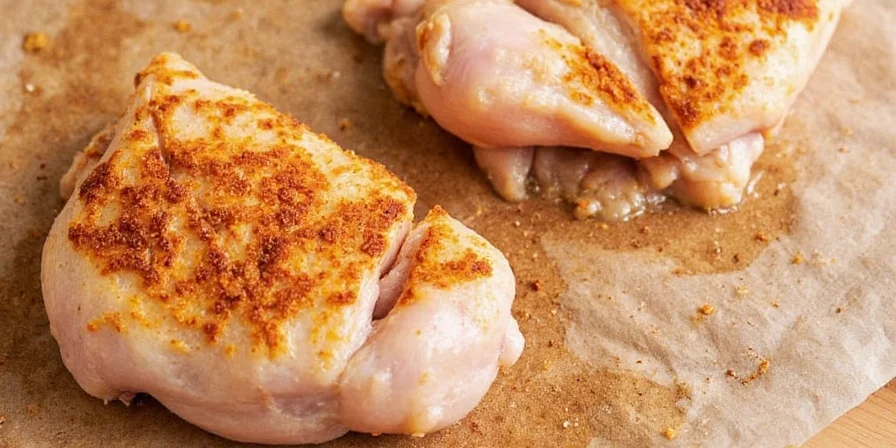
- Rub Smart: Evenly coat each chicken breast, then place them on a wire rack over a baking sheet. This allows air circulation so the skin crisps up beautifully later.
Don’t Skip the Resting Step!
Once your chicken has had its spa treatment in the fridge, resist the urge to cook it straightaway. Let it sit at room temperature for 20–30 minutes before cooking. Why? Because cold chicken goes into a hot pan like a scared cat into a bath—it seizes up and gets weird. Bringing it to room temp ensures even cooking and a tender finish.
Common Mistakes to Avoid
Even seasoned cooks mess this up sometimes. Here are a few rookie errors to steer clear of:
- Using too much salt: Stick to about ½ teaspoon per pound of chicken. More isn’t always merrier.
- Covering the chicken: Don’t wrap it in plastic or foil—letting it breathe is key for that crispy crust.
- Skipping patting dry: Before cooking, gently blot the surface with paper towels. This helps create that golden, crispy skin we all love.
- Not adjusting for size: If your chicken breasts are uneven in thickness, consider pounding them to an even ¾-inch thickness for uniform cooking.
Dry Brining vs. Wet Brining: What’s the Difference?
While both methods aim to enhance moisture and flavor, dry brining wins in convenience and texture. Here’s how they stack up:
| Dry Brining | Wet Brining | |
|---|---|---|
| Method | Salt + spices rubbed directly on meat | Meat submerged in saltwater solution |
| Time Required | 4–24 hours | 8–48 hours |
| Equipment Needed | Tray + wire rack | Large container + enough liquid |
| Resulting Texture | Crispier skin, more concentrated flavor | More moisture, but skin may steam rather than crisp |
| Spice Flexibility | Easy to add custom spice blends | Limited to what dissolves in liquid |
Wrapping It Up
Dry brining your chicken breast is a game-changer. With just a little planning and some basic kitchen skills, you can turn a humble piece of chicken into something truly spectacular. Remember:
- Stick to 4–24 hours
- Use quality spices stored properly
- Let it rest before cooking
- Pat dry for best results
Now go forth, season boldly, and roast with confidence!
Got Questions?
Drop a comment below or tag us in your next dry-brined masterpiece. We’d love to see how you spice it up!


 浙公网安备
33010002000092号
浙公网安备
33010002000092号 浙B2-20120091-4