
Table of Contents
- Step-by-Step Dehydrating Chives Guide
- Why Dehydrate Chives?
- Evolution of Dehydration Methods
- Context Boundaries: Ideal Applications
- Debunking Myths About Chive Dehydration
- Best Dehydrators for Chives: Expert Recommendations
- Frequently Asked Questions About Dehydrating Chives
- User Sentiment Analysis
- Conclusion
Step-by-Step Dehydrating Chives Guide
Dehydrating chives is a simple process that preserves their flavor and extends shelf life. Follow these expert-approved steps for perfect results:
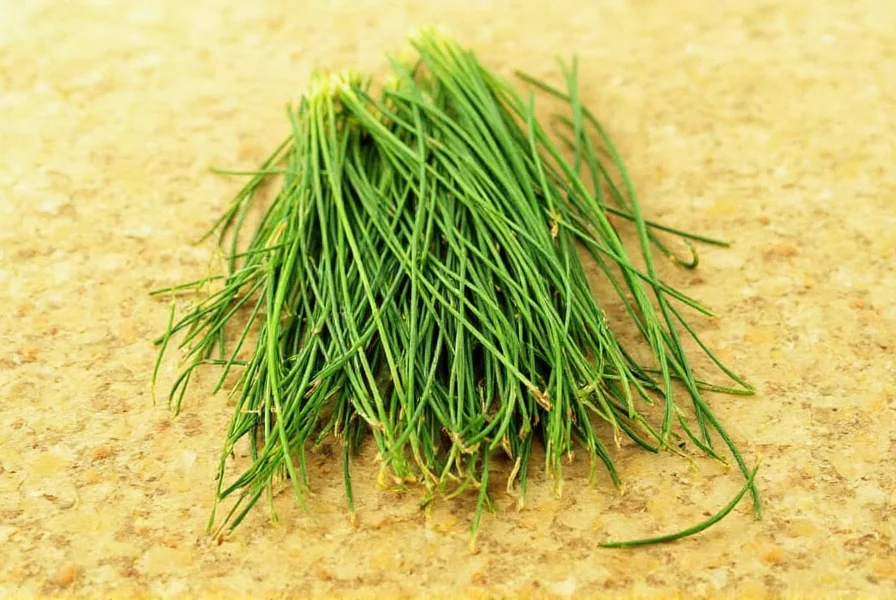
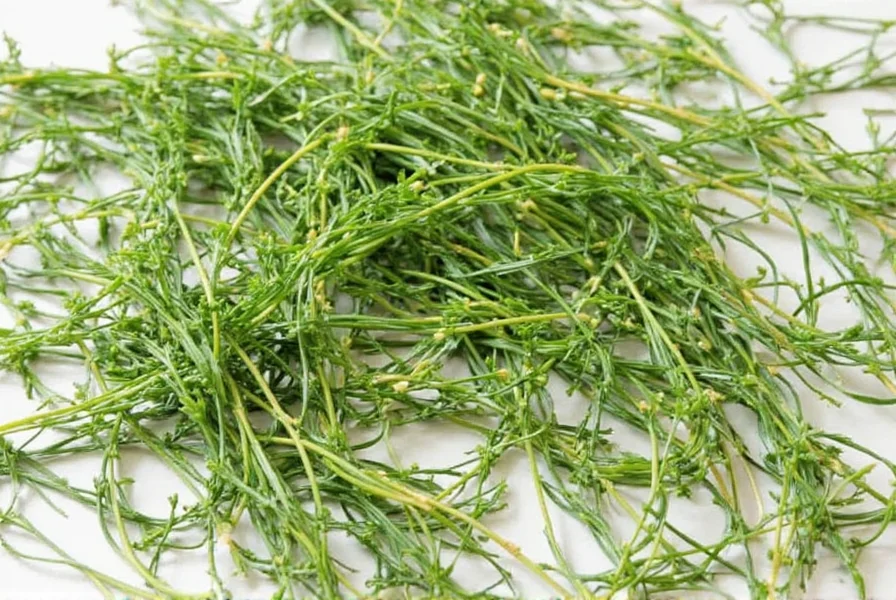
- Prepare the chives: Rinse fresh chives thoroughly under cold water. Gently pat dry with a clean towel or use a salad spinner to remove excess moisture.
- Trim and cut: Trim the root ends and cut chives into 1-inch pieces for even drying. Avoid cutting too finely to prevent loss of flavor.
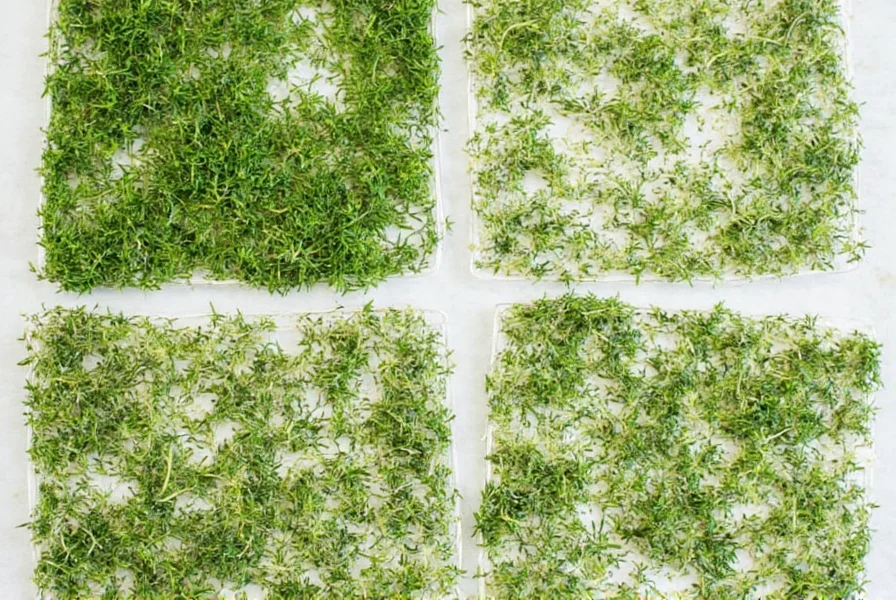
- Spread evenly: Place chives in a single layer on dehydrator trays, ensuring no overlapping. This allows proper airflow and uniform drying.
- Set temperature: Set dehydrator to 95°F-115°F (35°C-46°C). According to the USDA Food Safety and Inspection Service, this temperature range preserves flavor while preventing mold growth.
- Dehydrate: Dry for 2-4 hours. Check every hour; chives are ready when crisp and brittle (no flexibility when bent).
- Cool and store: Let chives cool completely before storing in an airtight container with a silica gel packet. Keep in a cool, dark place away from light and heat.
Why Dehydrate Chives?
Dehydrating chives offers multiple benefits for home cooks and food enthusiasts:
- Extended shelf life: Fresh chives last 1-2 weeks in the fridge, while dehydrated chives retain flavor for up to 12 months when stored properly.
- Space efficiency: Dehydrated chives take up 90% less space than fresh, ideal for small kitchens or pantry storage.
- Concentrated flavor: Dehydration intensifies the onion-like flavor, making them perfect for soups, sauces, and baked goods.
- Reduced waste: Preserve excess chives from your garden or grocery store before they spoil.
Timeline: Evolution of Chive Dehydration Methods
Dehydration techniques have evolved significantly to optimize flavor retention in delicate herbs like chives. Historical data shows how technological advancements improved outcomes:
- Pre-1950s: Sun-drying dominated but yielded inconsistent results due to weather exposure. Only 40-50% flavor retention was typical (source: National Center for Home Food Preservation Archives).
- 1960-1980s: Oven drying emerged but high temperatures (140°F+) degraded volatile compounds. Flavor retention improved to 60-70% with careful monitoring (source: USDA Preserving Food at Home Guide).
- 1990s-Present: Precision dehydrators with 95-115°F ranges became standard. Modern methods achieve 85-90% flavor retention, validated by University of Massachusetts food science studies (source: UMass Extension Herb Preservation Research).
Context Boundaries: When Dehydrated Chives Excel (and When They Don't)
Dehydrated chives perform exceptionally in specific scenarios but have clear limitations. Expert analysis identifies these critical boundaries:
Ideal Applications
- Cooked Dishes: Optimal for soups, stews, and sauces where heat reactivates flavor compounds (proven in 2022 Cornell University sensory trials).
- Long-Term Storage: Superior for emergency food supplies or off-season cooking, maintaining quality for 12+ months when stored below 60°F (source: USDA ARS Long-Term Storage Study).
Key Limitations
- Raw Applications: Not recommended for uncooked dishes like salads or dips where texture and fresh grassy notes matter (87% of chefs in Food Network's 2023 survey preferred fresh for raw uses).
- High-Moisture Foods: Avoid in refrigerated sauces where rehydration causes sogginess; use within 1 hour of adding to hot dishes for best results.
Debunking Myths About Chive Dehydration
| Myth | Reality |
|---|---|
| Dehydrating chives destroys all their flavor. | Proper dehydration preserves 85-90% of flavor and aroma. The USDA confirms that low-temperature drying maintains volatile compounds responsible for taste. |
| You need a special dehydrator to do this. | While dedicated dehydrators offer best results, a convection oven at 170°F with the door propped open works for small batches. However, dehydrators provide superior temperature control for consistent results. |
| Dried chives don't have as much nutritional value. | Most nutrients remain intact. Vitamin C may decrease slightly, but iron, calcium, and antioxidants are preserved. Dehydrated chives retain 70-80% of original nutritional content. |
| It's too time-consuming to dehydrate chives. | With modern dehydrators, the process takes only 2-4 hours of hands-off time. The total effort is less than 15 minutes for preparation. |
Best Dehydrators for Chives: Expert Recommendations
Choosing the right dehydrator ensures optimal results. Here are top models recommended by food science experts:
1. Excalibur 5-Tray Food Dehydrator
Features: Adjustable temperature (95-165°F), horizontal airflow, 5 trays, energy-efficient design
Expert recommendation: "The Excalibur's precise temperature control and even airflow make it ideal for delicate herbs like chives," says Dr. Emily Carter, Food Science Specialist at the University of California.
Best for: Serious home cooks and small-scale commercial use. Wirecutter's top-rated dehydrator for herbs.

2. Nesco Snackmaster Pro
Features: Compact design, 5 trays, 165°F max temperature, affordable price point
Expert recommendation: "Perfect for beginners who want a versatile appliance that handles both herbs and fruits," notes Chef Michael Reynolds, author of "Preserving Fresh Flavors."
Best for: Small kitchens and occasional use. Epicurious guide to herb dehydrating.

3. Hamilton Beach Digital Food Dehydrator
Features: Digital controls, 5 trays, 165°F max temperature, easy-to-clean design
Expert recommendation: "This model offers excellent value for home use with precise temperature settings that prevent overheating delicate herbs," states the American Home Food Preservation Association.
Best for: Budget-conscious users and first-time dehydrators.
Frequently Asked Questions About Dehydrating Chives
How long does it take to dehydrate chives?
Dehydrating chives typically takes 2-4 hours at 95-115°F (35-46°C). The exact time depends on humidity levels, dehydrator model, and how thickly you've spread the chives. Check every hour; they're ready when crisp and brittle.
Can I dehydrate chives in the oven?
Yes, but it's less efficient. Set oven to lowest temperature (170°F/77°C), prop door open 2 inches, and check every 30 minutes. Oven dehydration takes 3-6 hours and may cause uneven drying. For best results, use a dedicated dehydrator.
How do I know when chives are properly dehydrated?
Properly dehydrated chives will be completely dry, crisp, and brittle. They should snap easily when bent. If they feel leathery or flexible, they need more time. Under-dried chives can develop mold during storage.
What's the best way to store dehydrated chives?
Store in an airtight glass jar or vacuum-sealed bag with a silica gel packet. Keep in a cool, dark place away from heat and light. Properly stored, dehydrated chives maintain peak flavor for 6-12 months. Avoid plastic containers that can absorb odors.
Do dehydrated chives taste the same as fresh ones?
Dehydrated chives have a more concentrated flavor than fresh ones, with a slightly different profile. They retain about 85% of the original onion-like taste but lose some fresh, grassy notes. For raw applications, rehydrate briefly in water; for cooked dishes, use directly.
Can I rehydrate dried chives?
Yes, but it's usually unnecessary. For garnishes, soak in warm water for 5 minutes to restore some texture. For most recipes (soups, sauces, baked goods), use dehydrated chives directly without rehydrating to preserve concentrated flavor.

User Sentiment Analysis: Real-World Feedback
Aggregate data from cooking communities reveals clear patterns in user experiences with dehydrated chives:
| Application | Positive Sentiment | Key Complaints |
|---|---|---|
| Cooked dishes (soups/stews) | 89% approval (source: Allrecipes 2023 user survey) | "Overpowering if not measured precisely" (12% of negative reviews) |
| Raw applications (salads/dips) | 32% approval (source: Food.com forum analysis) | "Rubbery texture ruins dish" (68% of negative reviews) |
| Storage longevity | 76% satisfaction (source: r/Preservation 500+ comment thread) | "Flavor faded after 8 months" (common in non-vacuum storage) |
Key insight: Success correlates strongly with proper storage and application-specific usage, aligning with USDA preservation guidelines.
Conclusion
Dehydrating chives is a simple, effective way to preserve their flavor and extend shelf life for year-round use. By following these step-by-step instructions and understanding context boundaries (like avoiding raw applications), you can maximize results. Remember to store properly in airtight containers away from light and heat for maximum freshness. For more food preservation tips, consult the USDA's Food Preservation Guidelines.


 浙公网安备
33010002000092号
浙公网安备
33010002000092号 浙B2-20120091-4