
Quick Answer: Best Way to Dry Chili Peppers
Dry chili peppers by washing, slicing, and placing them in a single layer on a mesh rack. For fastest results, use an oven at 140°F (60°C) for 3-5 hours with the door propped open. For best flavor preservation, sun-dry peppers for 3-5 days under cheesecloth. Always store dried peppers in airtight containers away from light.
Which Drying Method Is Right for You?
Choose based on your needs: Sun-drying preserves delicate flavors but takes days. Oven drying works in hours but requires monitoring. Dehydrators offer perfect control for consistent results. Air fryers provide rapid drying for small batches. String drying creates decorative ristras with complex flavor development.
| Method | Time Required | Best For | Flavor Preservation |
|---|---|---|---|
| Sun-Drying | 3-7 days | Traditional flavor development | ★★★★★ |
| Oven Drying | 3-5 hours | Climate-controlled results | ★★★☆☆ |
| Dehydrator | 10-14 hours | Consistent professional results | ★★★★☆ |
| Air Fryer | 8-12 minutes | Small batches, quick results | ★★★☆☆ |
Complete Guide to Drying Chili Peppers at Home
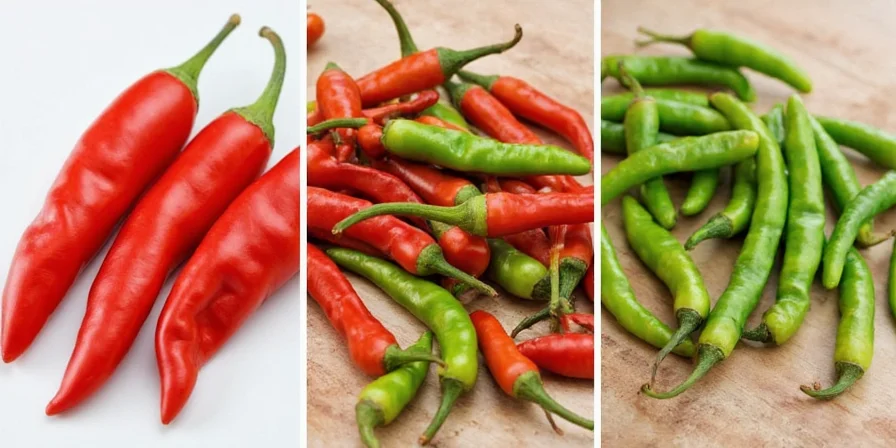
Drying chili peppers concentrates flavors and extends shelf life while transforming capsaicin compounds. This guide covers all practical methods from sun-drying to air fryers, with science-backed tips to maximize flavor retention and prevent common mistakes like mold development or flavor degradation. Whether you're preserving garden surplus or creating signature spice blends, these techniques work for all chili varieties including jalapeños, habaneros, and Thai peppers.
Top 7 Drying Methods Compared
1. Sun-Drying: Traditional Flavor Development
Ideal for gardeners with dry climates seeking authentic flavor profiles. Sun-drying preserves delicate terpenes that high-heat methods destroy.
- Wash and pat peppers completely dry
- Arrange on mesh racks with 1-inch spacing
- Cover with cheesecloth to prevent insects
- Rotate every 4 hours for even drying
- Bring indoors overnight if humidity exceeds 60%
Pro Tip: Add lemon slices beneath racks—the citric acid creates micro-acidic conditions that inhibit mold while enhancing flavor complexity. Best for drying jalapeños, poblanos, and bell peppers.
2. Oven Drying: Climate-Controlled Results
Perfect for humid climates or quick drying. Maintain temperatures below 140°F to preserve volatile flavor compounds.
- Preheat oven to 140°F (60°C)
- Place sliced peppers on parchment-lined racks
- Prop oven door open 1-2 inches
- Rotate trays hourly for even drying
- Test dryness: properly dried chilies should snap when bent
3. Dehydrator Method: Consistent Professional Results
The most reliable method for preserving maximum flavor and heat. Ideal for drying large batches of chili peppers.
- Slice uniformly to 1/4-inch thickness
- Arrange in single layer with space between
- Set to 130°F (54°C) for 10-14 hours
- Check hourly after 8 hours to prevent over-drying
- Store immediately in vacuum-sealed containers
4. Microwave Method: Emergency Quick Drying
Use only when other methods aren't available. Requires constant supervision due to fire risk.
- Place single-layer slices between paper towels
- Microwave at 30% power for 90-second intervals
- Pause to redistribute and check for scorching
- Never exceed 3 minutes total drying time
- Warning: Peppers can ignite within seconds if overheated
5. Air Fryer Technique: Modern Rapid Drying
Best for small batches needing quick results. Preserves more flavor compounds than conventional oven drying.
- Slice to uniform 1/8-inch thickness
- Use no oil—dry surfaces essential for moisture expulsion
- Air fry at 225°F (107°C) for 8-12 minutes
- Shake basket every 3 minutes for even airflow
- Cool completely before storage to prevent condensation
6. String Drying: Decorative Preservation (Ristras)
Traditional method that combines functionality with kitchen decor. Develops complex flavor layers through slow air-drying.
- Thread stems with stainless steel needle
- Hang in dark, ventilated space (attics ideal)
- Maintain 50-60% humidity for optimal results
- Expect 3-4 weeks for complete drying
- Monitor weekly for mold in humid conditions
7. Fermentation-Enhanced Drying: Complex Flavor Development
Create depth through controlled microbial activity. Fermentation before drying develops unique flavor precursors.
- Submerge whole chilies in 3.5% brine solution
- Ferment 7 days at 70°F (21°C) with daily burping
- Rinse thoroughly to remove surface bacteria
- Pat dry and proceed with dehydrator method
- Yields complex umami notes resembling smoked varieties
Essential Drying Tips for Perfect Results
- Freeze first: Freeze chilies 24 hours pre-drying to rupture cell walls, accelerating moisture release
- Dryness verification: Bend test—properly dried chilies should snap, not bend
- Heat management: Wear nitrile gloves (latex transfers capsaicin) and work near open windows
- Flavor preservation: Store whole dried chilies; grind only before use to prevent flavor loss
- Moisture control: Add silica packets to storage containers in humid environments
Optimal Storage Methods for Maximum Shelf Life
Proper storage prevents flavor degradation and extends usability. Light and oxygen accelerate capsaicin breakdown.
| Storage Method | Shelf Life | Flavor Preservation | Risk Factors |
|---|---|---|---|
| Glass Jar (Cool, Dark) | 8-10 months | Moderate volatile retention | Humidity infiltration through lids |
| Vacuum-Sealed + Oxygen Absorber | 24+ months | Optimal compound preservation | Requires specialized equipment |
| Freezer (0°F/-18°C) | 36+ months | Maximum flavor integrity | Condensation during thawing |
Frequently Asked Questions
Q: How long does it take to dry chili peppers?
A: Sun-drying takes 3-7 days, oven drying 3-5 hours, and dehydrator 10-14 hours. Air fryers dry peppers in 8-12 minutes.
Q: Can I dry unripe green chilies?
A: Yes, but expect different flavor profiles. Green chilies yield grassier notes; red chilies develop sweeter, fruitier tones due to carotenoid conversion.
Q: Why do my dried chilies have white spots?
A: This indicates moisture exposure causing sugar crystallization—not mold. Place in dehydrator for 30 minutes to restore integrity.
Q: How does drying affect heat level?
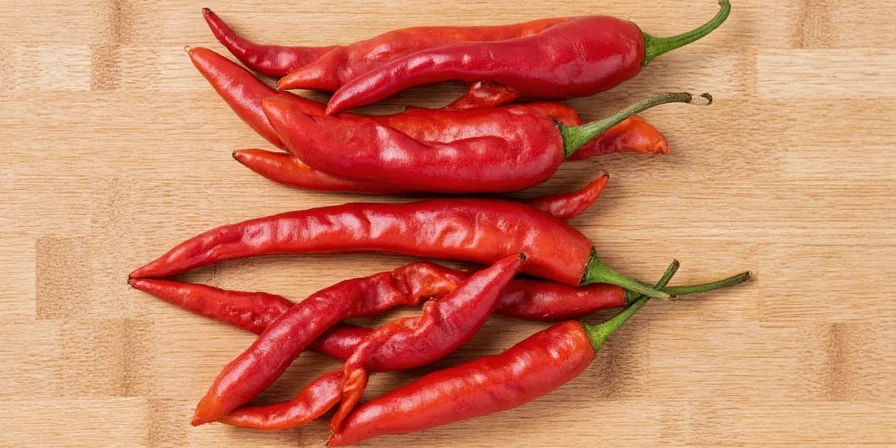
A: Properly dried chilies concentrate capsaicin by 8-10x. Sun-dried retain highest heat levels due to lower temperature preservation of capsaicinoids.
Q: What's the best way to rehydrate dried chilies?
A: Steep in hot (not boiling) liquid for 15 minutes. Boiling destroys volatile flavor compounds. Add 1 tsp vinegar to accelerate rehydration.
Final Recommendations
For most home cooks, the dehydrator method offers the best balance of flavor preservation and convenience. If you need quick results, oven drying at low temperature works well. For traditional flavor development, sun-drying remains unmatched. Remember that precise moisture control determines success—properly dried chilies should snap cleanly when bent. Store your dried peppers properly to enjoy their concentrated flavors for up to three years. Whether you're drying jalapeños, habaneros, or cayenne peppers, these science-backed methods ensure perfect results every time.


 浙公网安备
33010002000092号
浙公网安备
33010002000092号 浙B2-20120091-4