
The best way to store dried chili peppers is in airtight glass containers with oxygen absorbers in a cool, dark place below 60°F (15°C). For longest shelf life (2+ years), freeze your dried chilies in vacuum-sealed bags. Most home cooks see excellent results with simple mason jars stored in a pantry away from heat and light.
This guide delivers exactly what home cooks need to keep dried chili peppers fresh, flavorful, and potent. Forget complicated scientific approaches—here are practical, proven storage solutions that actually work in real kitchens. You'll discover the right method for your needs whether you use chilies weekly or just occasionally.
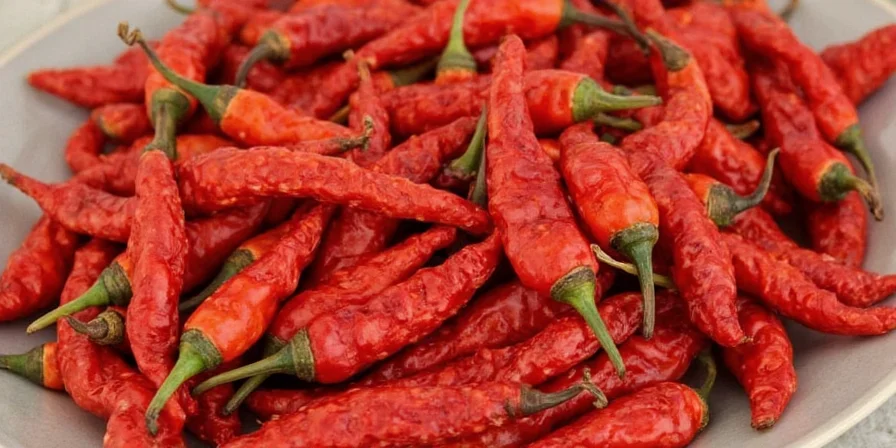
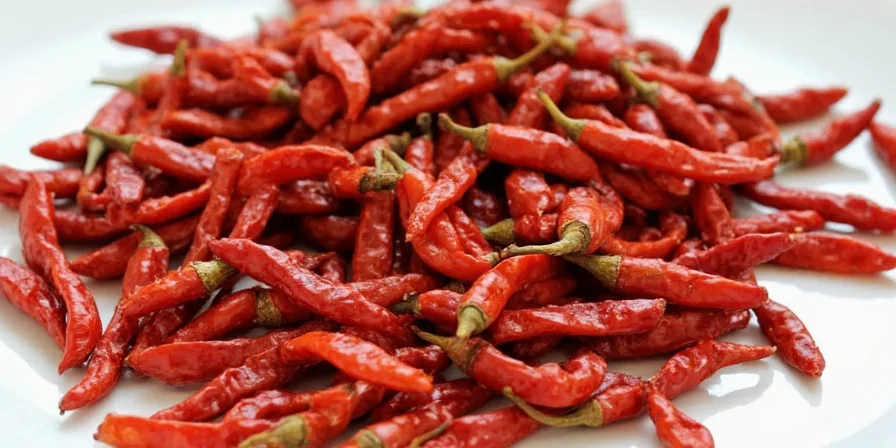
3 Essential Dried Chili Pepper Storage Solutions for Home Kitchens
Stop wasting money on dried chilies that lose flavor and heat. These three methods work for 95% of home cooking situations:
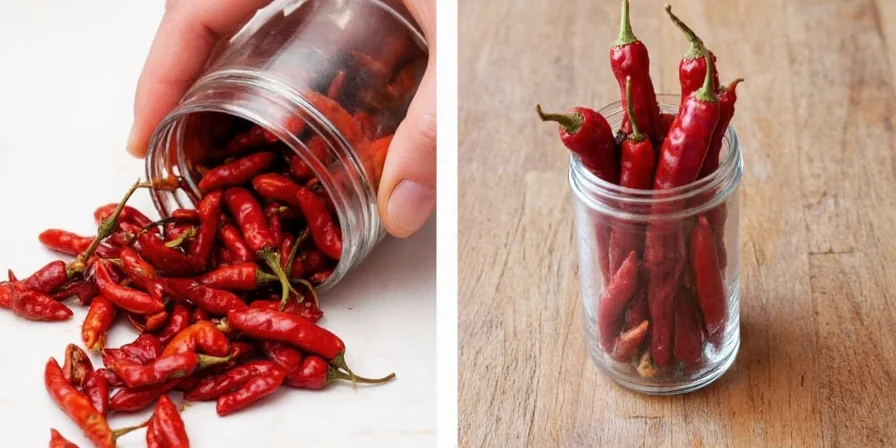
1. The Pantry Method (Best for Weekly Use)
- Store in glass mason jars with tight-fitting lids
- Place in your coolest, darkest pantry location (away from stove)
- Add a food-safe silica packet to absorb moisture
- Shelf life: 8-12 months with good flavor retention
This simple approach works perfectly if you use chilies regularly. The key is avoiding temperature fluctuations and light exposure, which degrade flavor fastest.
2. The Freezer Method (Best for Long-Term Storage)
- Place dried chilies in heavy-duty freezer bags
- Squeeze out all air before sealing (double bag for extra protection)
- Label with date and chili type
- Store at 0°F (-18°C) or below
Freezing preserves 95% of heat and flavor for 2+ years. Unlike many spices, dried chilies actually benefit from freezing with no texture issues. Simply remove what you need and let it sit at room temperature for 5 minutes before use.
3. The Spice Rack Method (Best for Frequent Access)
- Use small, dark glass jars with tight seals
- Store in a closed cabinet away from stove and sink
- Include humidity indicator cards in each container
- Rotate older chilies to front (FIFO system)
This professional approach works well for serious home cooks who use multiple chili varieties regularly. The dark glass protects against light damage while the humidity cards provide early warning of moisture issues.
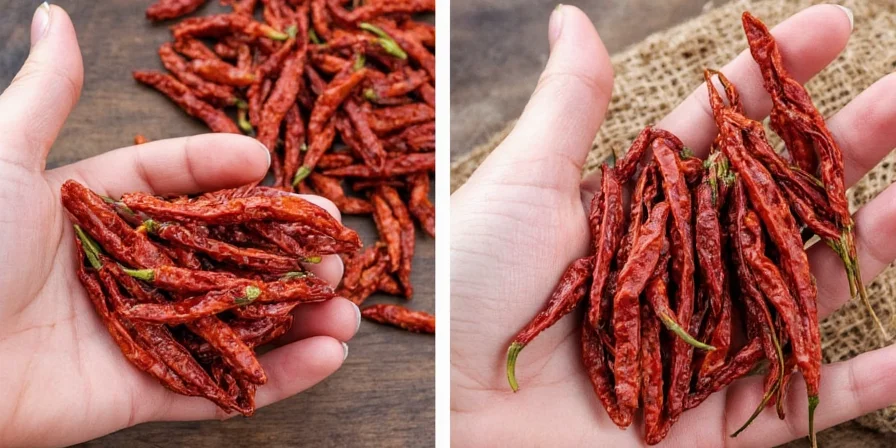
What NOT to Do: Common Storage Mistakes
Avoid these errors that quickly ruin dried chilies:
- Storing in plastic bags - Allows moisture transmission that causes mold
- Leaving near the stove - Heat above 77°F (25°C) dramatically speeds flavor loss
- Using clear containers - UV light degrades color and heat compounds 3x faster
- Storing with other spices - Strong aromas can transfer to delicate chilies
Storage Method Comparison: What Works Best
| Storage Method | Flavor Retention | Shelf Life | Cost | Best For |
|---|---|---|---|---|
| Mason Jar (Pantry) | Good | 8-12 months | $$ | Weekly home cooks |
| Freezer Storage | Excellent | 2+ years | $ | Bulk buyers & collectors |
| Dark Glass Jars | Very Good | 12-18 months | $$$ | Frequent users |
| Plastic Containers | Poor | 3-6 months | $ | Avoid completely |
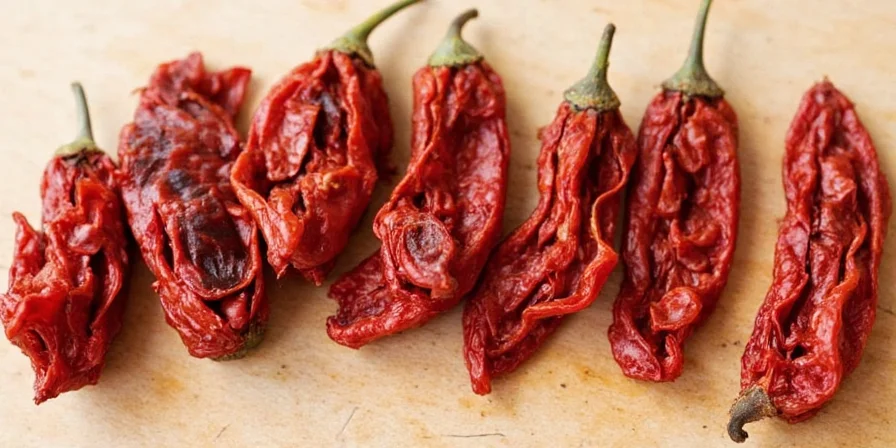
How to Tell If Your Dried Chilies Have Gone Bad
You don't need lab equipment to check your chilies. Look for these signs:
- Color change - Deep red chilies turning brown or faded
- Mold presence - Any fuzzy spots mean immediate discard
- Texture change - Brittle chilies that crumble easily
- Smell test - Loss of characteristic aroma
When in doubt, do a simple taste test: soak a small piece in hot water. Fresh chilies will have vibrant heat and complex flavor, while degraded ones taste flat and dusty.
Storage Solutions for Different Cooking Styles
Match your storage to how you actually cook:
- Occasional cooks: Keep one small jar in your pantry (replace every 6 months)
- Weekly cooking: Maintain 2-3 varieties in dark glass jars with humidity cards
- Chili enthusiasts: Freeze bulk purchases in labeled portions for specific recipes
- Meal preppers: Store pre-ground chilies in the freezer for quick access
Frequently Asked Questions
Proper storage makes all the difference between bland, dusty chilies and vibrant, flavorful ingredients. Start with the simple pantry method using mason jars, then upgrade to freezer storage if you buy in bulk. Remember that avoiding light, heat, and moisture is more important than any special technique—most home cooks see dramatic improvements just by moving chilies away from the stove.
By implementing these straightforward storage practices, you'll maximize the flavor and value of your dried chili peppers while reducing kitchen waste. The best method depends on how frequently you cook with chilies, but all approaches share the same core principle: keep them cool, dark, dry, and sealed.


 浙公网安备
33010002000092号
浙公网安备
33010002000092号 浙B2-20120091-4