

How to Pan Fry a Steak to Medium Rare — Like a Pro, Without Breaking a Sweat
Welcome to the ultimate steak lover’s guide! If you’ve ever wondered how top chefs manage to serve up that perfect medium rare steak every time — with a crispy sear, juicy center, and just the right amount of flavor — then you’re in for a treat.
This article isn’t just about frying a steak; it’s about transforming your kitchen into a mini-steakhouse. We’ll take you through everything from choosing the right cut to mastering spice-enhanced techniques that make all the difference. And yes, there’s even a secret hack involving paprika that might just blow your mind.
Contents
- Step 1: Choosing the Right Cut
- Step 2: Prep Like a Pro
- Step 3: Seasoning & Spice Hacks
- Step 4: The Art of Frying
- Step 5: Resting Your Meat (Yes, It Matters)
- Bonus Tips & Tricks
- Common Mistakes to Avoid
- FAQ: All Your Burning Questions Answered
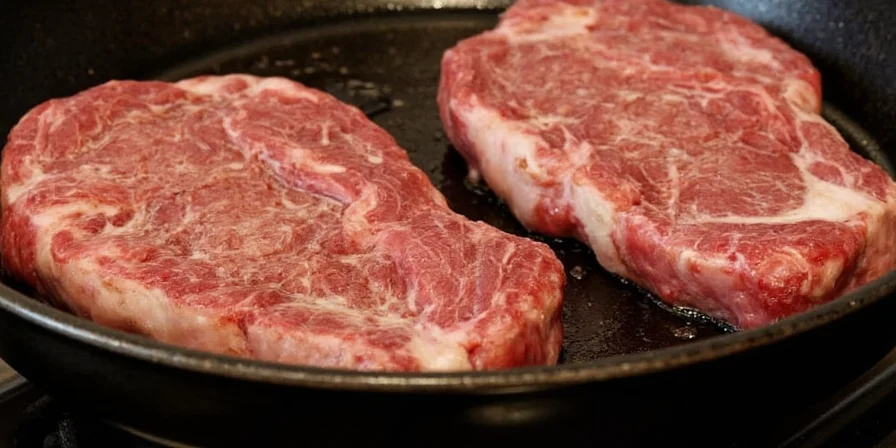
Step 1: Choosing the Right Cut
If you want that perfect medium rare finish, start with the right cut. Not all steaks are created equal. Here’s a quick breakdown:
| Cut Name | Flavor Profile | Fat Content | Best For |
|---|---|---|---|
| Striploin (New York Strip) | Rich, bold | Moderate marbling | Classic sear lovers |
| Ribeye | Intensely beefy | High fat content | Bold flavor seekers |
| Filet Mignon | Mild, buttery | Low fat | Tender bites |
Step 2: Prep Like a Pro
Before you even think about turning on the stove, here’s what you need to do:
- Bring it to room temperature: Take your steak out of the fridge at least 30–45 minutes before cooking. Cold meat = uneven cooking.
- Dry it off: Use paper towels to pat both sides dry. This helps you get that glorious crust we all dream about.
- Trim the excess: Unless you like chewing gristle, trim any thick silver skin or unnecessary fat around the edges.
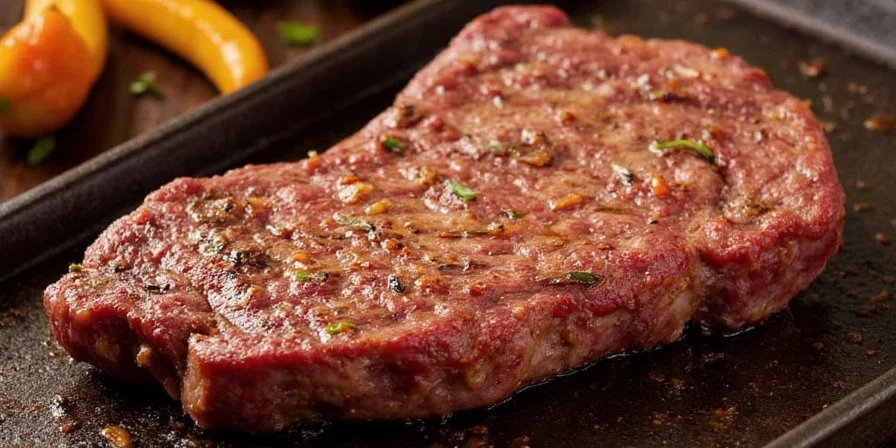
Step 3: Seasoning & Spice Hacks
You can never underestimate the power of proper seasoning. But this isn’t just salt and pepper — we’re going full flavor mode.
- Salt early: Salt your steak at least 40 minutes ahead if possible (or cook immediately after salting). Salting too early without enough time lets moisture escape, but not long enough for reabsorption.
- Pepper timing: Add black pepper right before cooking to avoid bitterness from burning.
- Spice it up: Try adding a pinch of smoked paprika or garlic powder to the rub. It enhances the sear and gives depth.

The Spice Hack You Didn’t Know You Needed
Here’s a little-known trick: sprinkle a small amount of paprika onto your steak before searing. When heated, paprika releases aromatic oils that caramelize beautifully under high heat — giving you an extra layer of nutty, smoky flavor.
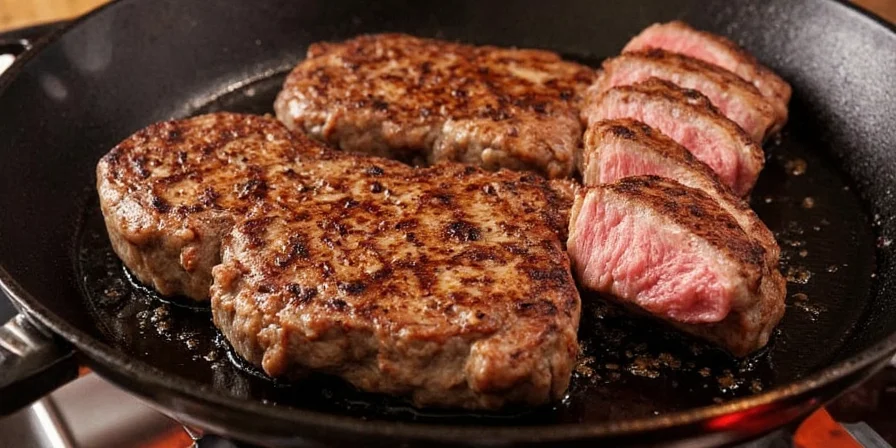
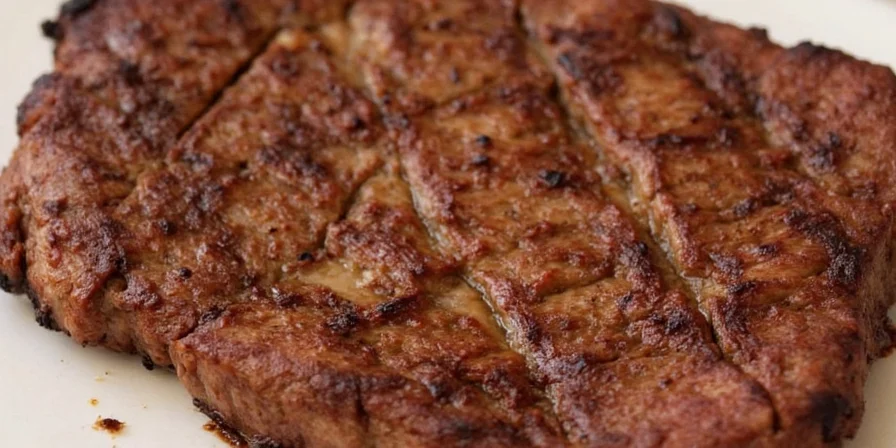
Step 4: The Art of Frying
Now comes the fun part — the sizzle!
- Pan selection: Cast iron is ideal, but stainless steel works too. Non-stick? Not recommended for searing due to lower heat tolerance.
- Oil choice: Use high smoke point oil like avocado oil or grapeseed oil. Butter is great, but add it later once the steak starts browning.
- Heat it up: Get that pan hot — really hot. You should see light smoke rising before you add the steak.
- Don’t crowd the pan: Cook one or two steaks at a time. Overcrowding lowers the pan temperature and leads to steaming instead of searing.
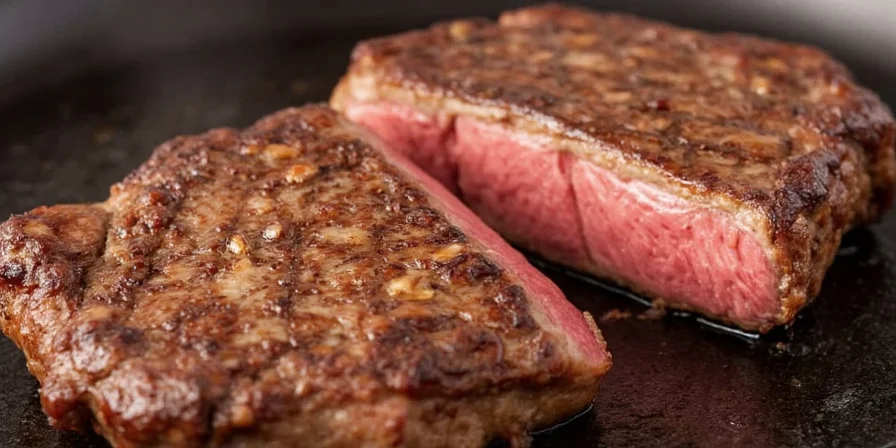
Cooking Time Reference for Medium Rare
| Thickness | Time per side | Internal Temp |
|---|---|---|
| 1 inch | 3–4 minutes each side | 130°F – 135°F |
| 1.5 inches | 4–5 minutes each side | 130°F – 135°F |
| 2 inches | 5–6 minutes each side + oven finish | 130°F – 135°F |
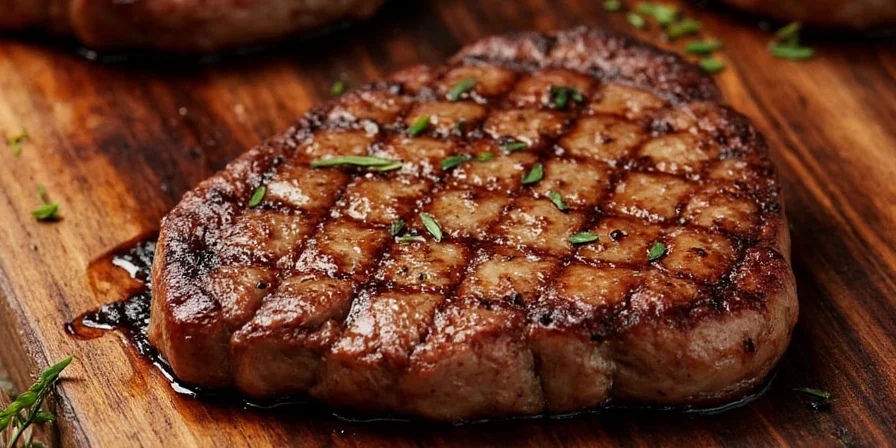
Step 5: Resting Your Meat (Yes, It Matters)
Once your steak hits that perfect temp, don’t slice in just yet. Let it rest!
- Why rest? It allows juices to redistribute, so your first bite doesn’t leave you with a puddle on the plate.
- How long? 5–10 minutes depending on thickness.
- Warm place: Place on a wire rack over a tray (to prevent soggy bottom) and loosely tent with foil.
Bonus Tips & Tricks
- Add butter at the end: Toss in a few pats of butter during the last minute of cooking. Baste it over the steak with a spoon for rich, glossy flavor.
- Use aromatics: Crushed garlic cloves, rosemary, or thyme tossed into the pan during the final moments infuse amazing aroma.
- Flip frequently: Contrary to old myths, flipping every 30–60 seconds actually promotes even cooking and reduces overcooking risk.
Common Mistakes to Avoid
- Not preheating the pan: Cold pans = sad steaks.
- Crowding the pan: Leads to gray edges, not brown ones.
- Overhandling: Resist the urge to move the steak around. Let it sear.
- Slicing too soon: Juices run, joy diminishes.
FAQ: All Your Burning Questions Answered
Can I use a non-stick pan? While possible, it won't give you the best sear due to lower heat retention. Stick to cast iron or stainless steel for better results.
Should I salt the steak overnight? Yes, especially thicker cuts. Overnight salting allows deeper penetration and better flavor integration.
Do I need a thermometer? Definitely. Guessing internal temps often leads to overcooked disasters. A good instant-read thermometer is a game-changer.
Can I use olive oil? Extra virgin olive oil has a low smoke point and burns easily. Use refined olive oil or other high smoke point oils like avocado or canola.
What if my steak is still tough? You might be slicing against the grain incorrectly. Always look for muscle fiber direction and cut perpendicular to it.
Conclusion: Your Journey to Medium Rare Mastery
Congratulations — you now have all the tools, tricks, and tips needed to pan-fry a restaurant-worthy medium rare steak in your own kitchen. With the right cut, proper prep, smart seasoning, and a dash of spice magic, you’re well on your way to steakhouse glory.
Remember, cooking steak is part science, part art, and part love. So go ahead — fire up that pan, grab your favorite cut, and let the sizzle begin!


 浙公网安备
33010002000092号
浙公网安备
33010002000092号 浙B2-20120091-4