
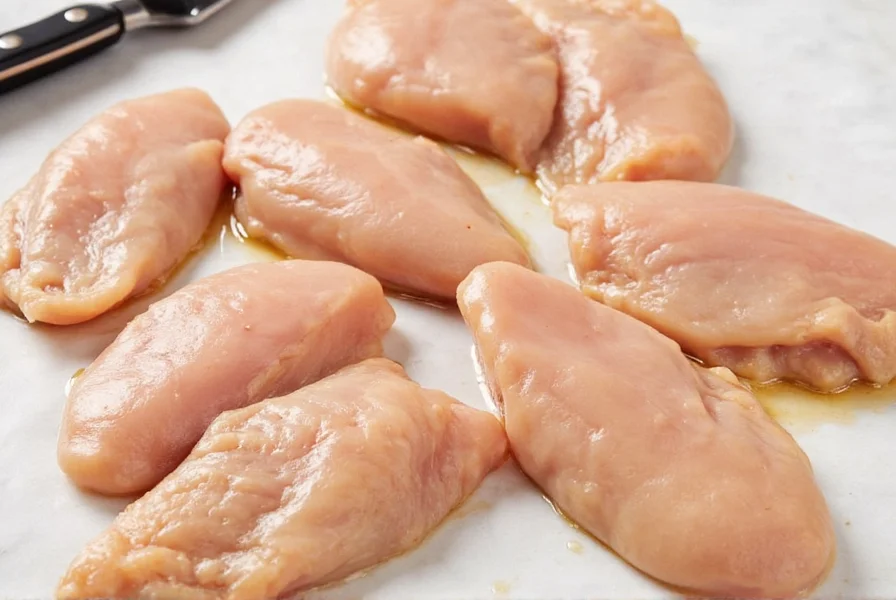
Brining boneless chicken breasts is a simple technique that infuses moisture and enhances flavor, preventing dryness during cooking. The ideal brine ratio is 1 tablespoon kosher salt per 1 cup water for each pound of chicken, with a brining time of 4-12 hours in the refrigerator. This process works through osmosis and protein denaturation, where salt draws moisture into the meat while causing proteins to retain more water. Here's a complete guide to perfect brining every time.
Table of Contents
- Why Brining Works: The Science Behind Moisture Retention
- Brine Basics: Exact Ratios and Ingredients
- Step-by-Step Brining Process
- Cooking Methods for Brined Chicken Breasts
- Spice and Ingredient Storage for Optimal Flavor
- Frequently Asked Questions About Brining Boneless Chicken Breasts
- Final Thoughts on Consistent Results
Why Brining Works: The Science Behind Moisture Retention
Boneless chicken breasts are lean cuts that easily lose moisture during cooking. Brining solves this through two key mechanisms:
- Osmosis: Salt in the brine creates a concentration gradient that pulls water into the meat cells
- Protein Denaturation: Salt causes muscle proteins to unwind and form a matrix that traps more water during cooking
According to the USDA Food Safety and Inspection Service, proper brining increases chicken's moisture retention by up to 15% compared to unbrined chicken. This science-backed technique ensures consistently juicy results regardless of cooking method.
Brine Basics: Exact Ratios and Ingredients
| Ingredient | Purpose | Quantity per 1 lb chicken |
|---|---|---|
| Kosher Salt | Adds flavor, helps retain moisture | 1 tablespoon |
| Water | Base liquid | 1 cup |
| Sugar | Balances saltiness, promotes browning | 1 teaspoon |
| Garlic, Thyme, Peppercorns | Adds depth and aroma | To taste |
For optimal results, always use non-iodized salt like kosher or sea salt. Iodized table salt can impart metallic flavors. The brine should be completely dissolved before adding chicken, and always prepared with cold water to prevent bacterial growth.
Step-by-Step Brining Process
- Prepare the brine: Dissolve salt and sugar in cold water. Add aromatics like garlic, thyme, or citrus zest. Ensure all ingredients are fully dissolved.
- Submerge the chicken: Place boneless chicken breasts in a food-safe container or resealable bag. Ensure they're completely covered by the brine. For multiple pieces, use a container large enough to prevent overcrowding.
- Refrigerate: Store in the refrigerator for 4-12 hours. Never brine at room temperature. For smaller breasts (6-8 oz), 4-6 hours is sufficient. For larger breasts (10-12 oz), 8-12 hours is ideal.
- Rinse and dry: After brining, rinse chicken under cold water to remove excess surface salt. Pat completely dry with paper towels before cooking to ensure proper browning.
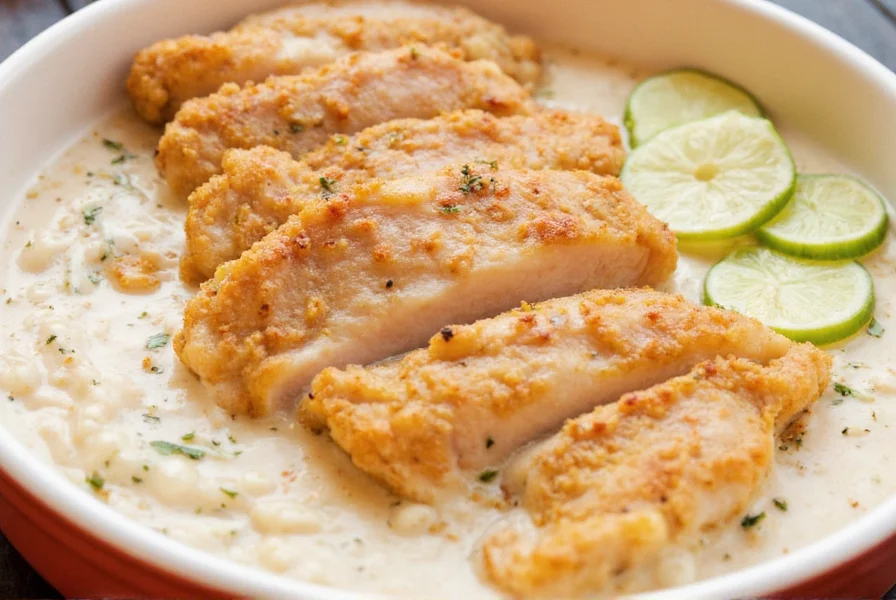
Cooking Methods for Brined Chicken Breasts
Brined chicken responds differently to various cooking methods. Here's how to achieve perfect results:
Grilling
- Let chicken rest at room temperature for 30 minutes before grilling
- Preheat grill to medium-high heat (375-400°F)
- Grill for 6-8 minutes per side, or until internal temperature reaches 165°F
- Rest for 5 minutes before serving to allow juices to redistribute
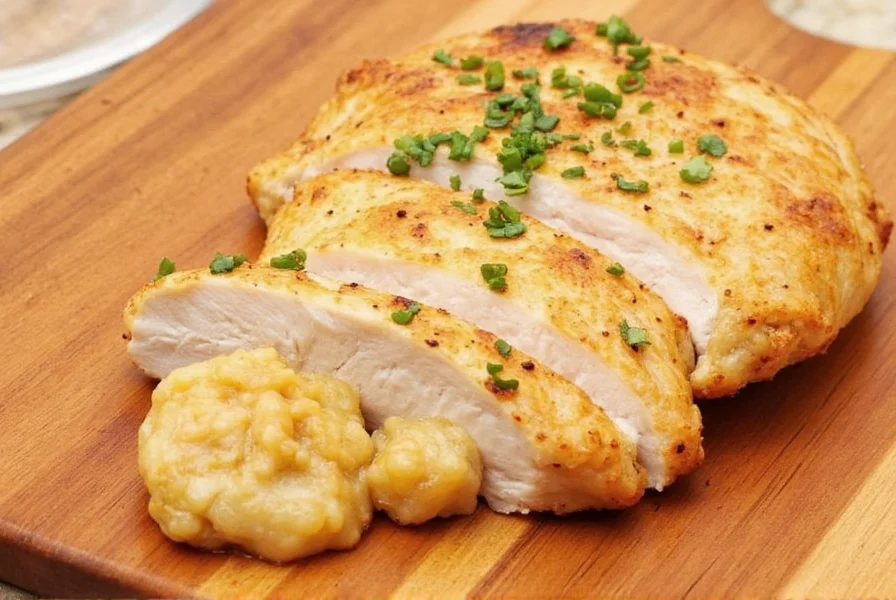
Pan-Searing
- Heat 1-2 tablespoons oil in skillet over medium-high heat
- Sear chicken for 5-7 minutes per side until golden brown
- Check internal temperature reaches 165°F
- Rest for 3-5 minutes before slicing
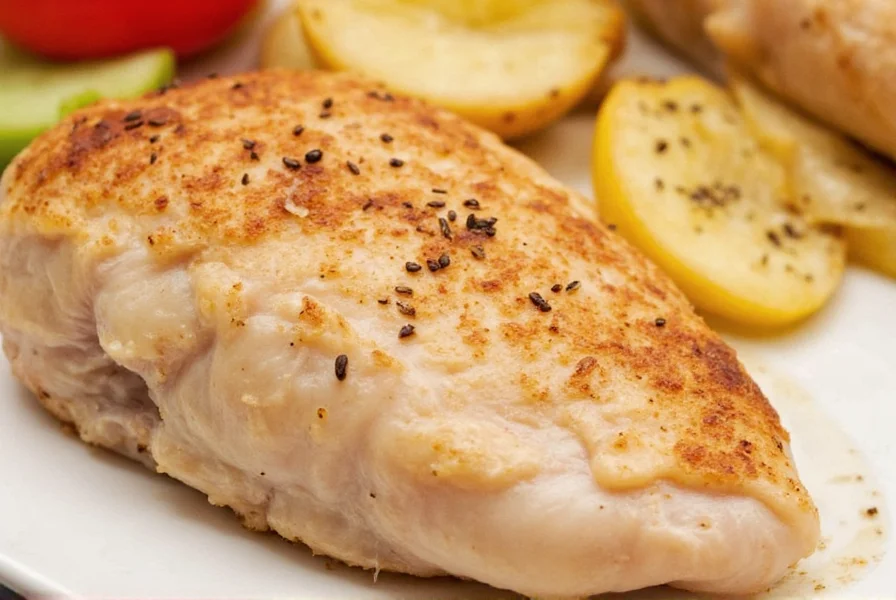
Baking
- Preheat oven to 400°F (200°C)
- Place chicken on baking sheet lined with parchment paper
- Bake for 20-25 minutes or until internal temperature reaches 165°F
- For extra crispiness, broil for the last 2 minutes
Spice and Ingredient Storage for Optimal Flavor
| Spice/Ingredient | Storage Tip | Shelf Life |
|---|---|---|
| Kosher Salt | Store in a cool, dry place | Indefinite |
| Fresh Herbs | Wrap in damp paper towel, refrigerate | 5-7 days |
| Dried Thyme | Keep in sealed jar away from light | 1-3 years |
| Lemon Zest | Freeze in ice cube tray with water | Up to 6 months |
Frequently Asked Questions About Brining Boneless Chicken Breasts
How long should I brine boneless chicken breasts?
For boneless chicken breasts, the ideal brining time is 4-12 hours. Smaller breasts (6-8 oz) need 4-6 hours, while larger breasts (10-12 oz) benefit from 8-12 hours. Brining longer than 12 hours can make the meat too salty or spongy. Always keep chicken refrigerated during brining to prevent bacterial growth.
What's the basic ratio for a chicken brine?
The standard brine ratio is 1 tablespoon kosher salt per 1 cup water for each pound of chicken. Add 1 teaspoon sugar per cup of water to balance saltiness and promote browning. Always use non-iodized salt like kosher or sea salt for best results. For a 1.5 lb chicken breast, use 1.5 tablespoons salt and 1.5 cups water.
Do I need to rinse chicken after brining?
Yes, rinsing is recommended by the USDA Food Safety and Inspection Service. A quick rinse under cold water removes excess surface salt, preventing an overly salty taste. After rinsing, pat the chicken completely dry with paper towels before cooking to ensure proper browning and crust formation.
Can I reuse brine?
No, you should never reuse brine that has come in contact with raw chicken. The brine absorbs bacteria from the raw meat, making it unsafe for future use. Always discard used brine and make a fresh batch for each brining session to prevent foodborne illness.
Is dry brining as effective as wet brining?
Yes, dry brining can be equally effective. Rub 1 teaspoon kosher salt per pound of chicken directly onto the meat, then refrigerate for 4-12 hours. Dry brining penetrates the meat more evenly than wet brining and creates better surface browning. It's particularly effective for thinner chicken breasts.
What happens if I over-brine chicken?
Over-brining (more than 12 hours for boneless chicken breasts) causes excessive salt absorption, making the meat too salty. It also breaks down proteins too much, resulting in a spongy or rubbery texture. The USDA recommends not exceeding 12 hours of brining time for safety and quality reasons.
Can I use table salt instead of kosher salt for brining?
You can use table salt, but you must adjust the quantity. Table salt is denser than kosher salt, so use 3/4 teaspoon table salt for every 1 tablespoon of kosher salt called for in a recipe. However, table salt often contains iodine, which can impart a slight metallic taste. Kosher salt is preferred for brining because it dissolves evenly and doesn't contain additives.
Do I need to cook chicken immediately after brining?
No, you don't need to cook immediately after brining. After removing chicken from the brine, pat it dry and let it rest in the refrigerator for 1-2 hours before cooking. This allows the surface to dry thoroughly, which promotes better browning when cooking. However, don't wait more than 24 hours before cooking brined chicken to maintain food safety.
Final Thoughts on Consistent Results
Brining boneless chicken breasts is a science-backed technique that consistently delivers juicy, flavorful results. By understanding the osmosis and protein denaturation processes, using precise salt ratios, and following proper food safety guidelines, you can transform dry chicken breasts into restaurant-quality dishes every time.
Remember to always refrigerate during brining, rinse after brining, and use a food thermometer to ensure safe cooking temperatures. With these practices, you'll never have dry, flavorless chicken again.


 浙公网安备
33010002000092号
浙公网安备
33010002000092号 浙B2-20120091-4