
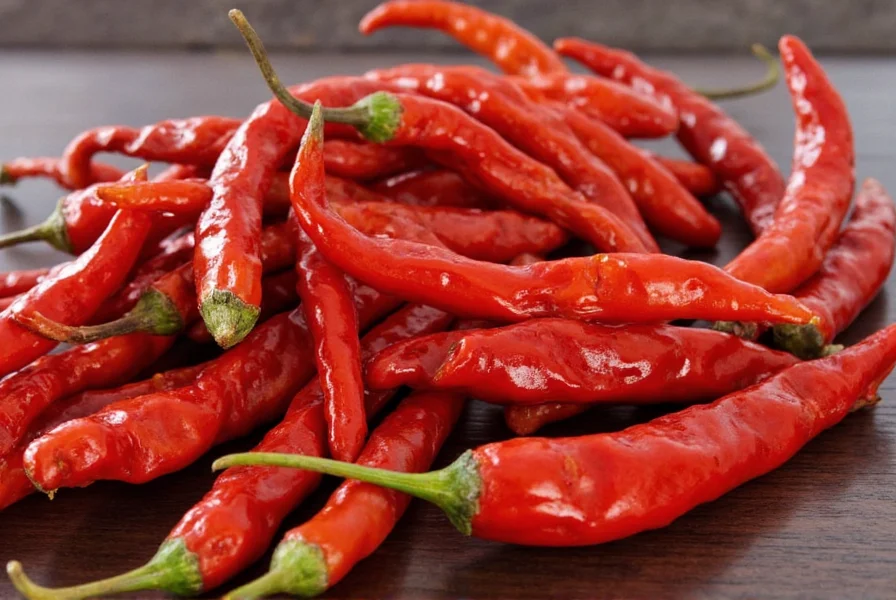
Dried chiles unlock rich, complex flavors that fresh peppers can't match. Here's how to prepare and use them effectively:
- Rehydrate properly for smooth sauces
- Toast to intensify natural oils
- Use the right tools for blending
- Create custom chile oil
- Freeze for long-term freshness
| Tool | Pros | Cons | Best For |
|---|---|---|---|
| Blender | Smooth consistency | Larger volume required | Making sauces or purees |
| Food Processor | Good for chunkier blends | Less powerful than blenders | Making mole paste or marinades |
| Mortar & Pestle | Authentic texture and control | Labor-intensive | Small batches and traditional recipes |
| Immersion Blender | Handy for small pots | Not ideal for very dry chiles | On-the-go blending |
| Name | Flavor Profile | Heat Level | Best For | Recommended Brand |
|---|---|---|---|---|
| Ancho | Earthy, sweet, raisiny | Low | Moist sauces, soups, rubs | El Mexicano |
| Guajillo | Fruity, tart, herbal | Medium | Salsas, marinades, moles | Goya |
| Chipotle | Smoky, spicy, rich | High | Meat rubs, stews, BBQ sauces | La Costeña |
| Arbol | Grassy, fiery, bright | Very High | Hot oil, pickling, garnish | Don Miguel |
| Thai Bird | Super spicy, floral | Extremely High | Curries, chili oils, stir-fries | Maesri |
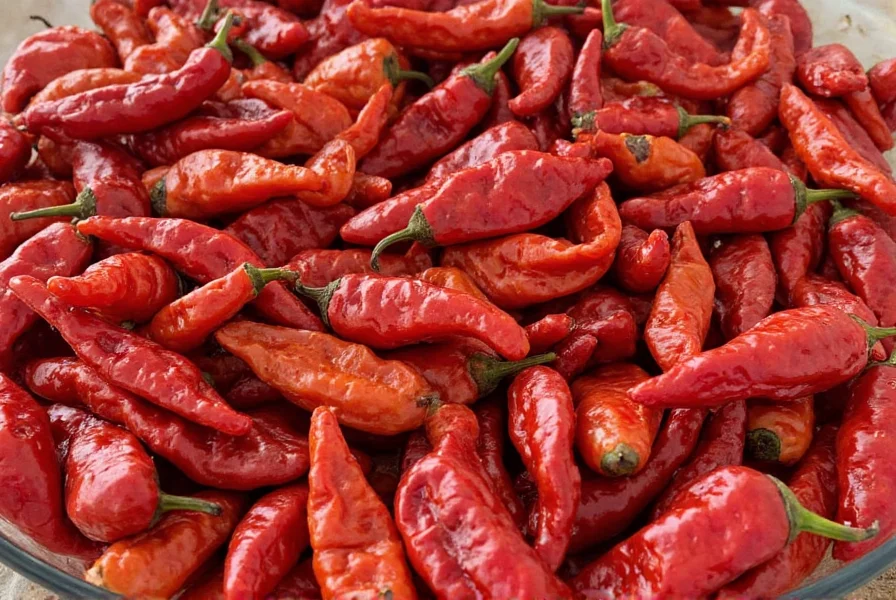
Why Cook with Dried Chiles?
Dried chiles deliver unmatched depth of flavor—earthy, smoky, fruity, or chocolatey depending on variety. They're shelf-stable, versatile, and budget-friendly, making them essential for chefs and home cooks alike.
Rehydrate Like a Pro
Proper rehydration softens chiles for sauces and pastes:
- Rinse under warm water to remove dust
- Remove stems and seeds (optional for heat control)
- Submerge in steaming-hot water (not boiling) for 20-30 minutes
- Drain and squeeze excess water before blending
Bonus Tip:
Use broth or citrus juice instead of water to infuse extra flavor during rehydration.
Toast for Maximum Flavor
Toast chiles to release essential oils and intensify flavor:
- Heat dry skillet over medium heat
- Add whole or halved chiles (seeds removed for less heat)
- Toast each side 10-20 seconds until fragrant and darker
- Avoid burning—they turn bitter quickly
Use the Right Tools for Blending
Choose tools based on your desired texture:
Build Your Own Chile Oil
Control heat and flavor with homemade chile oil:
- Toast and crush dried chiles (e.g., arbol or Thai bird)
- Heat neutral oil with aromatics (garlic, ginger)
- Pour hot oil over chiles and let sit overnight
- Strain and store in clean bottle
Pro Tip:
Add pinch of salt or sugar to balance flavors and enhance natural sweetness.
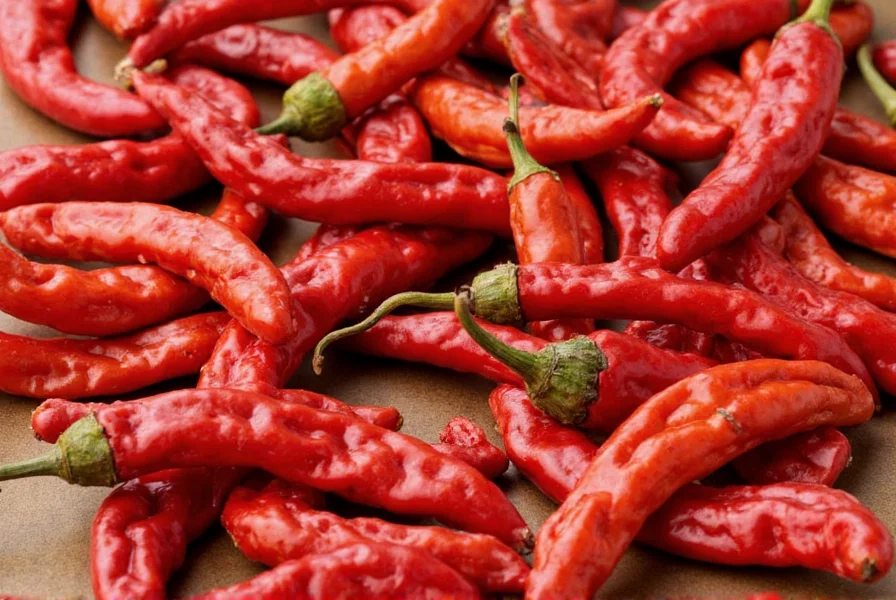
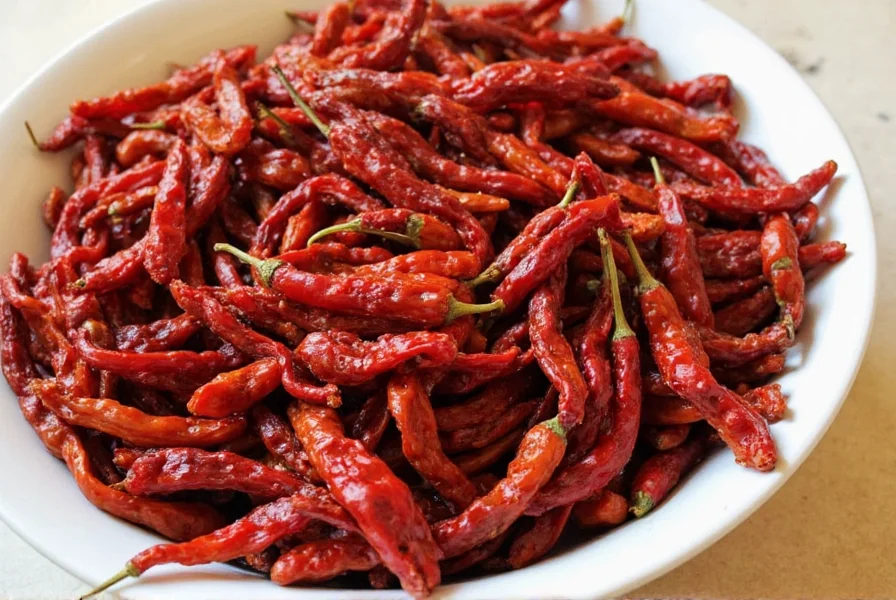
Freeze for Freshness
Extend shelf life by freezing:
- Store in zip-top freezer bags or airtight containers
- Squeeze out excess air
- Label and freeze up to one year
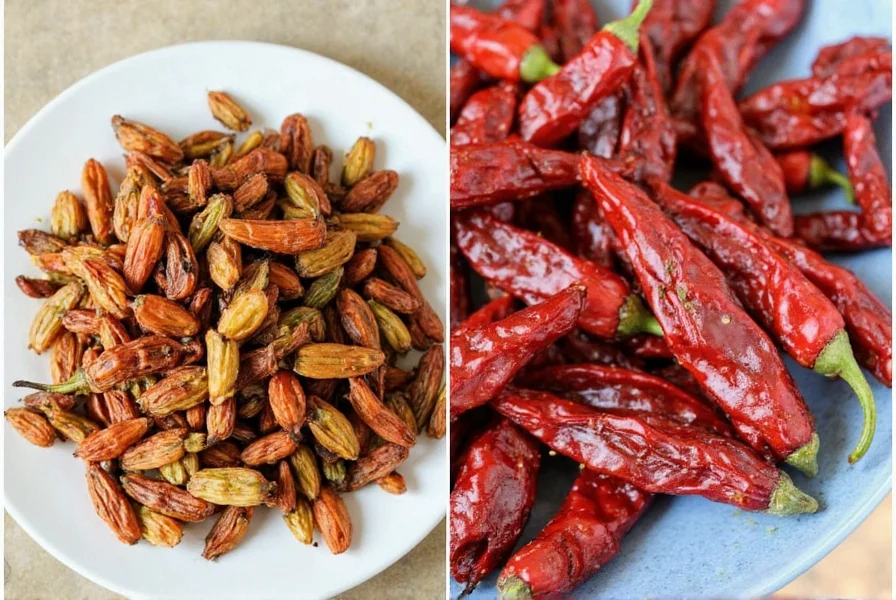
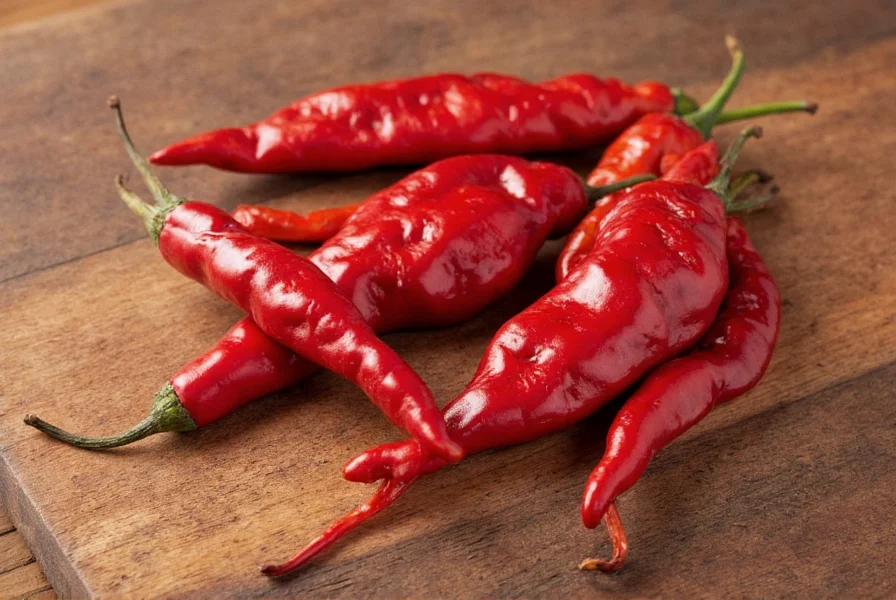
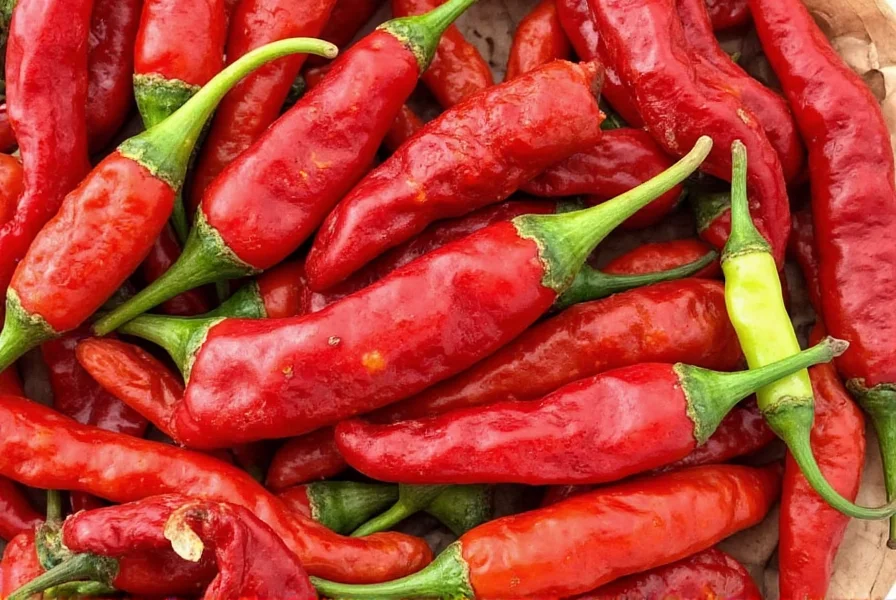
Buying Guide: What to Look For
Choose dried chiles with vibrant color, pliable texture, and aromatic smell. Avoid brittle or faded specimens.
Frequently Asked Questions
How long do dried chiles last?
Properly stored dried chiles maintain best flavor for 6-12 months. Store in airtight containers in cool, dark places. Freeze for longer storage. They won't spoil but lose potency over time.
Can I substitute fresh chiles for dried ones?
Yes, but with flavor differences. Dried chiles develop deeper complexity. Substitute 1 dried chile with 2-3 fresh chiles of same variety. Note that dried versions have unique earthy-sweet notes missing in fresh.
How do I know if my dried chiles have gone bad?
Check for brittle texture, faded color, musty smell, mold, or off taste. Properly stored chiles should be pliable, vibrant, and aromatic. If only losing potency, they're still safe but may need increased quantity.
Do I need to remove seeds from dried chiles?
Depends on heat preference. Seeds and membranes contain most capsaicin. Remove for milder flavor; keep for more heat. For small chiles like arbol, removing seeds is difficult—focus on stem removal.
What's the difference between ancho and guajillo chiles?
Ancho (dried poblanos) are earthy, sweet, and low-heat. Guajillo (dried mirasol) are fruity, tart, and medium-heat. Anchos work in rich sauces; guajillos excel in salsas and marinades. They're often combined for complex flavor profiles.
How can I reduce the heat level of dried chiles?
Remove seeds and membranes, shorten rehydration time (15-20 mins), add dairy or sweetness (honey/sugar), use less chile than recipe calls for, and skip toasting which intensifies heat.
Final Thoughts
Mastering dried chiles unlocks endless culinary possibilities. From smoky chipotle sauces to vibrant enchilada bases, these techniques turn humble pods into flavor powerhouses. Experiment with different varieties and enjoy the journey to bolder dishes.


 浙公网安备
33010002000092号
浙公网安备
33010002000092号 浙B2-20120091-4