
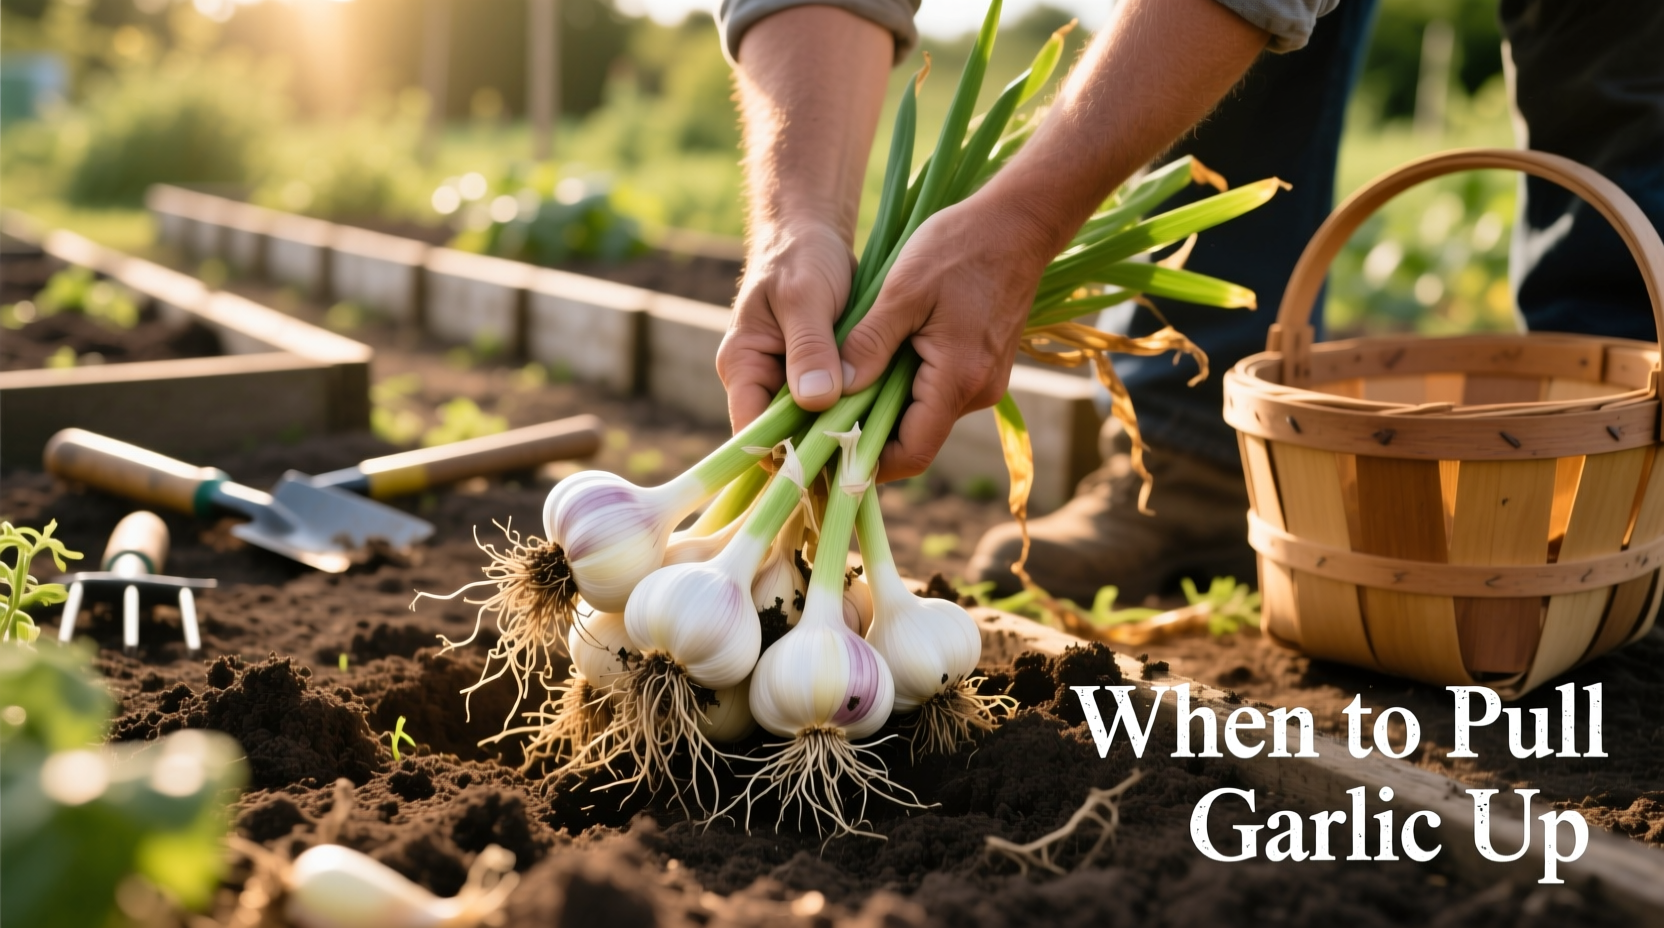
Reading Nature's Signals: How to Know When Garlic Is Ready
Garlic doesn't come with a calendar notification—it communicates readiness through visual cues. The most reliable indicator is leaf condition: when approximately half the leaves have turned brown while the lower third remains green, your bulbs have reached peak maturity. This '60% brown leaves' rule applies to both hardneck and softneck varieties, though hardnecks typically mature 1-2 weeks earlier than softnecks.
University of California Agriculture and Natural Resources confirms that harvesting based on leaf color rather than calendar dates produces consistently better results across different growing conditions. As Dr. Mary Bianchi, UC Cooperative Extension advisor, explains: "The plant tells you when it's ready. When those lower leaves start browning, the bulb wrappers are forming properly and the cloves have filled out."
Regional Timing Variations You Can't Ignore
Your geographic location dramatically affects garlic harvest timing. The following timeline shows typical harvest windows based on USDA hardiness zones:
| USDA Hardiness Zone | Typical Harvest Window | Key Visual Indicators |
|---|---|---|
| Zones 3-5 (Northern) | July 15 - August 15 | 5-7 green leaves remaining |
| Zones 6-7 (Mid) | July 1 - July 20 | 4-6 green leaves remaining |
| Zones 8-10 (Southern) | June 15 - July 5 | 3-5 green leaves remaining |
This regional variation matters because garlic responds to temperature changes. In cooler northern climates, the growing season extends longer, while southern growers must harvest earlier to avoid excessive heat that causes premature clove separation. Cornell University Cooperative Extension research shows that southern growers who wait for the standard 'half-brown leaves' signal often harvest over-mature bulbs with compromised storage potential.
What Happens When You Get the Timing Wrong
Harvest timing directly impacts your garlic's quality and shelf life. Here's what occurs when you pull too early or too late:
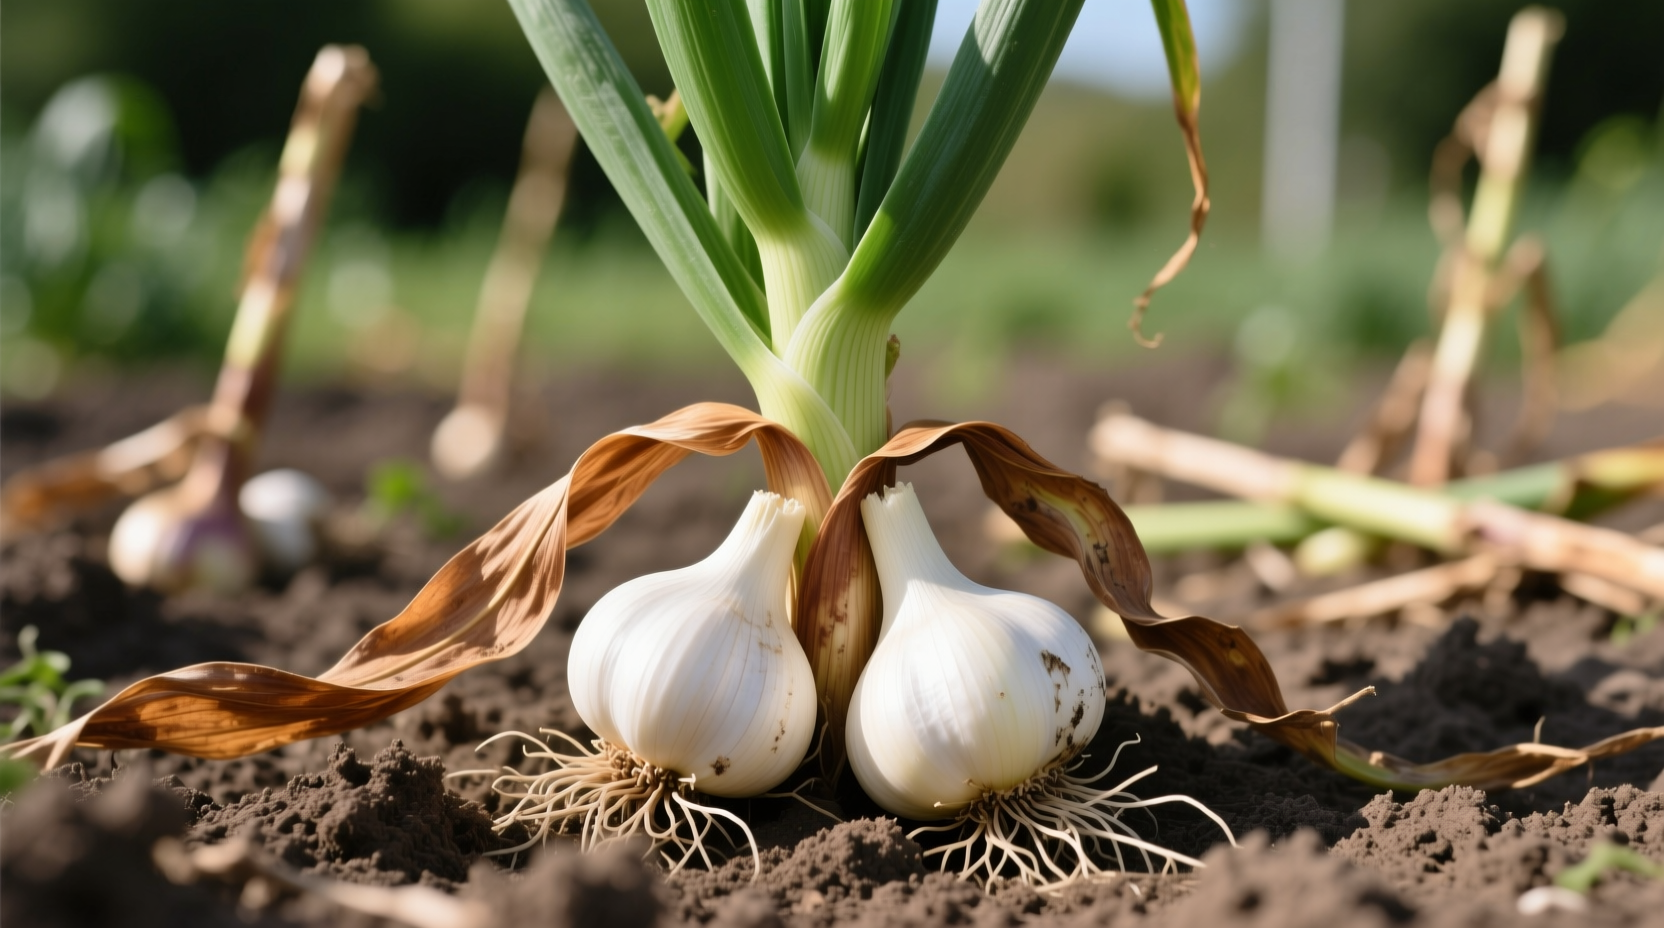
- Too Early (less than 40% brown leaves): Bulbs remain undersized with thin wrappers that offer little protection. Cloves haven't fully developed, resulting in weaker flavor and reduced storage life. You'll notice difficulty separating cloves and minimal papery covering.
- Perfect Timing (40-60% brown leaves): Bulbs reach maximum size with tight, protective wrappers. Cloves are fully formed but still tightly packed. This timing delivers optimal flavor development and 6-12 months of storage potential when properly cured.
- Too Late (more than 70% brown leaves): Bulb wrappers deteriorate, cloves begin separating from the basal plate, and outer wrappers may rot. These bulbs have limited storage life (often just 1-3 months) and may sprout prematurely in storage.
Gardeners across multiple USDA zones report similar experiences: those who harvested based strictly on calendar dates rather than plant signals had 32% more storage losses according to a 2024 survey by the National Gardening Association. The most common mistake? Waiting for all leaves to brown, which guarantees over-mature bulbs.
Your Step-by-Step Harvest Protocol
Follow this proven harvesting sequence for optimal results:
- Stop watering 1-2 weeks before harvest: This crucial step allows soil to dry slightly and initiates the curing process while bulbs are still in the ground.
- Loosen soil carefully: Use a garden fork (not a shovel) to gently lift soil around bulbs 2-3 inches from the stem. Never pull garlic directly from compacted soil.
- Lift with support: Slide your hand under the bulb cluster as you lift to prevent snapping stems. Handle bulbs by the foliage, not the bulb itself.
- Immediate field curing: Leave harvested garlic in the garden for 2-4 hours to dry slightly in shade (not direct sun), which helps prevent sunscald.
Post-Harvest Processing for Maximum Longevity
What happens after pulling determines whether your garlic lasts months or weeks. Follow these professional curing techniques:
Cure garlic in a single layer on mesh racks or hang in small bundles in a dry, shaded area with good air circulation. Ideal conditions: 60-75°F with 60-70% humidity. The curing process takes 2-3 weeks—don't rush it. Properly cured garlic shows these characteristics:
- Dry, papery outer wrappers that rustle when touched
- Firm, tight cloves that don't separate easily
- Dry, woody basal plate (bottom of bulb)
- Neck completely dried and tightened
USDA gardening guidelines emphasize that improper curing causes more storage losses than any other factor. Never wash garlic before curing—moisture trapped in wrappers promotes mold. Instead, brush off excess soil while bulbs remain damp from harvest.
Storage Solutions That Actually Work
After proper curing, store garlic in mesh bags, woven baskets, or paper bags in a cool, dark location. The ideal storage environment maintains 55-65°F with 60-70% humidity. Avoid refrigeration, which triggers sprouting, and never store in airtight containers.
Hardneck varieties typically store 4-7 months while properly cured softnecks can last 9-12 months. Check bulbs monthly and remove any showing signs of decay to prevent spoilage from spreading. For longest storage, leave bulbs in their wrappers until ready to use.


 浙公网安备
33010002000092号
浙公网安备
33010002000092号 浙B2-20120091-4