The Right Way to Trim Parsley for Maximum Flavor and Minimal Waste
When you learn how to trim parsley correctly, you'll transform this common herb from a tedious chore into an efficient kitchen task that enhances your cooking. Most home cooks waste nearly a third of their parsley by discarding tender upper stems along with the woody bases. Professional chefs know that proper parsley preparation separates the usable portions that add vibrant flavor from the fibrous parts that ruin texture.
Why Proper Parsley Trimming Matters More Than You Think
Trimming parsley isn't just about appearance—it directly impacts your dishes' flavor profile and texture. The lower third of parsley stems contains tough cellulose fibers that won't break down during cooking, creating unpleasant mouthfeel in finished dishes. Meanwhile, the upper two-thirds contain essential oils that deliver parsley's characteristic fresh, slightly peppery flavor.
| Parsley Section | Texture | Flavor Contribution | Recommended Use |
|---|---|---|---|
| Lower third (woody base) | Fibrous, tough | Bitter, minimal flavor | Compost or stock |
| Middle section | Semi-tender | Moderate flavor | Stocks, long-cooked dishes |
| Upper third (leafy portion) | Delicate, tender | Maximum fresh flavor | Finishing, salads, sauces |
This structural breakdown, verified by food science research from the University of Massachusetts Amherst's culinary program, explains why selective trimming matters. Their studies on herb composition (ag.umass.edu/crops-soils) confirm that essential oil concentration increases dramatically in the upper portions of parsley stems.
Gathering Your Tools: What You Really Need
Unlike many kitchen tasks, proper parsley trimming requires minimal equipment:
- Sharp chef's knife or paring knife (dull blades crush stems)
- Cutting board with stable surface
- Bowl for collecting trimmed parsley
- Optional: Kitchen shears for quick trimming of small quantities
Avoid using food processors for initial trimming—they create uneven cuts that accelerate wilting. Save mechanical chopping for the final preparation stage after proper trimming.
Step-by-Step: The Professional Parsley Trimming Method
Step 1: Prepare Your Parsley Bundle
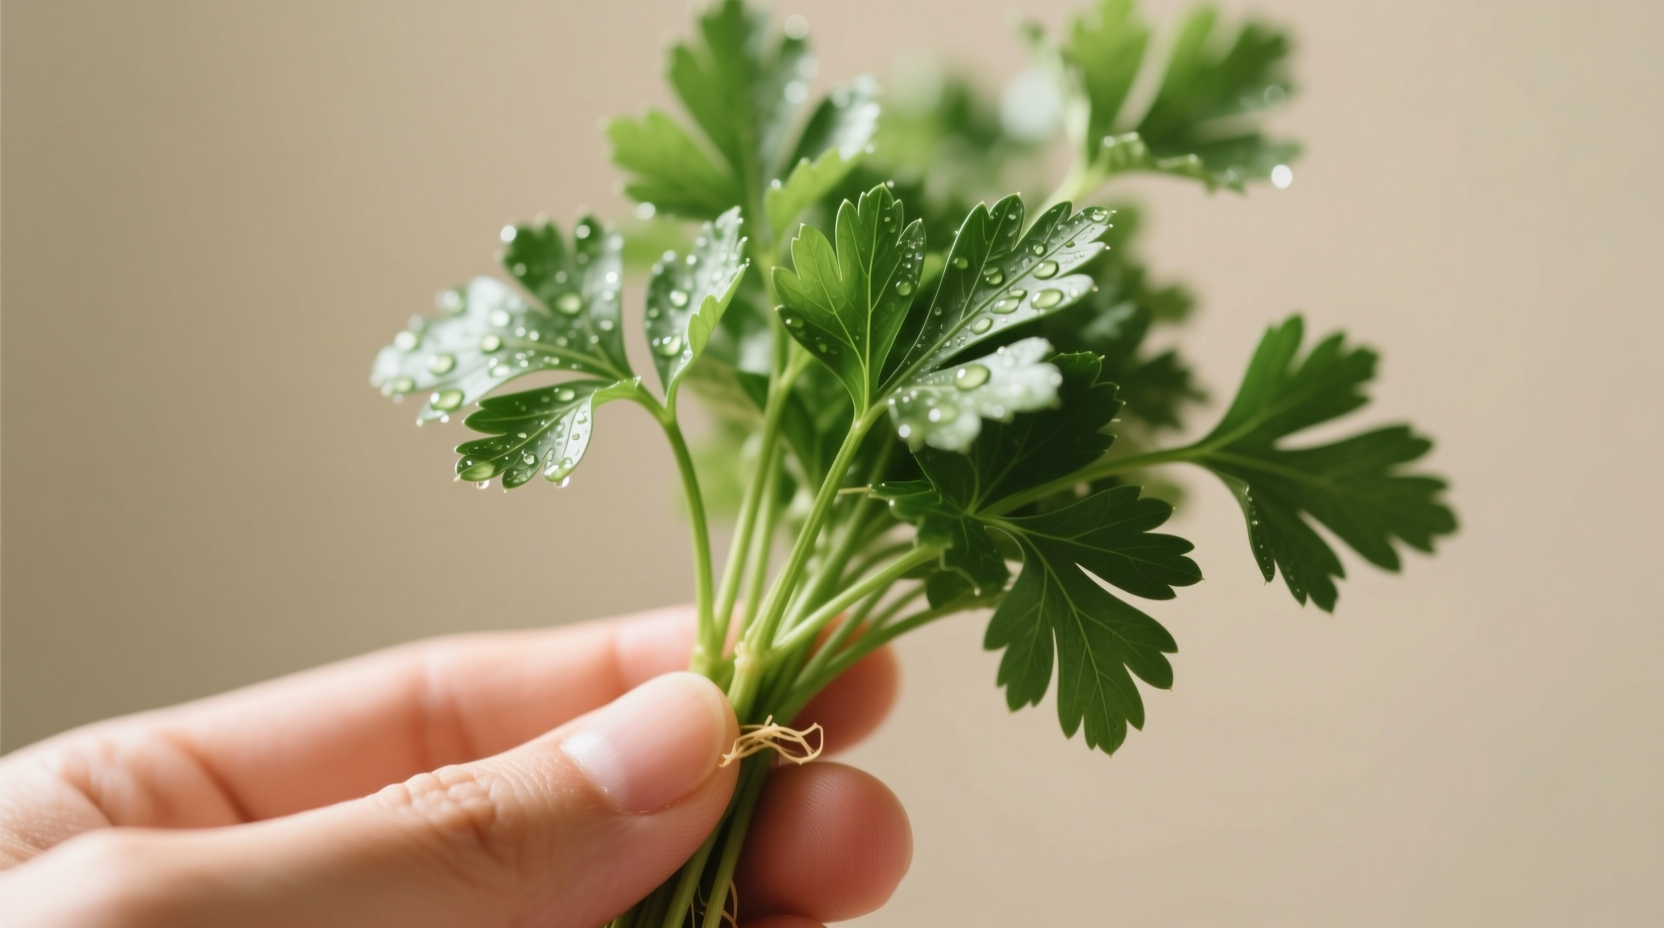
Hold your parsley bunch firmly at the base. If stems are extremely muddy, rinse briefly under cold water and shake vigorously to remove excess moisture. Never soak parsley—it accelerates spoilage. For pre-washed supermarket parsley, skip washing entirely to prevent excess moisture absorption.
Step 2: Identify the Natural Separation Point
Look for where the stems transition from thick and woody to thinner and more flexible. This typically occurs about 1.5-2 inches above the very bottom. Gently bend a stem—if it snaps cleanly, you've found the right spot. If it bends without breaking, move higher.

Step 3: Make Your First Cut
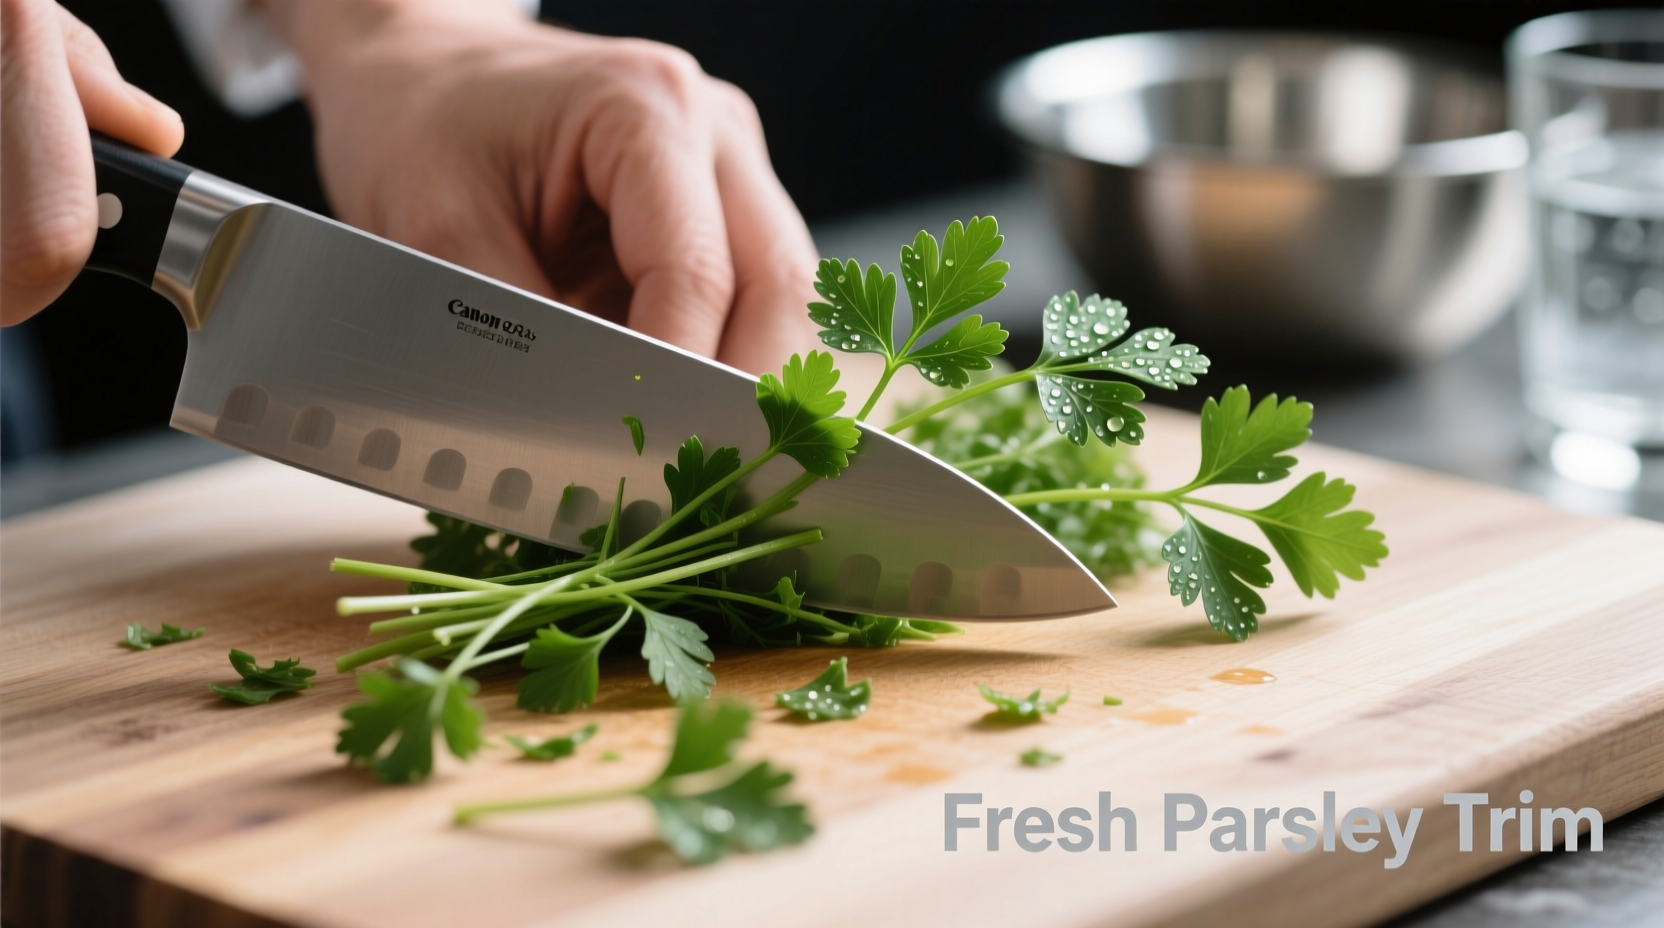
Using a sharp knife, slice horizontally across all stems at your identified separation point. This single cut removes the unusable woody bases while preserving maximum leafy portions. For larger quantities, lay stems flat and cut in batches of 5-6 stems at a time.
Step 4: Separate Leafy Stems from Tough Bases
Gather the leafy upper portions into one pile and the woody bases into another. Don't discard the middle-section stems—they're perfect for stocks and long-simmered dishes. The University of California Cooperative Extension confirms that these mid-stems contain valuable flavor compounds that extract fully during extended cooking (ucanr.edu/sites/UrbanHort).
Step 5: Final Leaf Preparation (Optional)
For recipes requiring only leaves (like tabbouleh or chimichurri), hold individual stems by the very tip and run your fingers downward against the grain to strip leaves. This technique preserves leaf integrity better than chopping whole stems.
Avoid These Common Parsley Trimming Mistakes
Even experienced home cooks make these critical errors that waste valuable herb and compromise flavor:
- Trimming too high: Removing more than the lower third sacrifices flavorful stems. Professional chefs consistently preserve at least 65% of the original stem length.
- Using dull knives: Crushed stems release bitter compounds and wilt faster. Always use sharp blades for clean cuts.
- Washing after trimming: Moisture accelerates spoilage. Wash only if necessary, and always before trimming.
- Discarding all stems: Tender upper stems contain concentrated flavor—chop them finely for sauces and dressings.
Storing Trimmed Parsley for Maximum Freshness
Properly trimmed parsley lasts 7-10 days when stored correctly. Place trimmed parsley upright in a glass with 1 inch of water, like flowers, and cover loosely with a plastic bag. Change water every 2 days. For longer storage, chop parsley with a bit of olive oil and freeze in ice cube trays—a technique validated by the National Center for Home Food Preservation (nchfp.uga.edu).
Creative Uses for Parsley Stems You Shouldn't Waste
Don't toss those middle-section stems! They're flavor powerhouses for:
- Making instant herb oil (blend stems with olive oil)
- Adding to vegetable stocks (more flavor than leaves)
- Creating compound butter (finely chopped stems)
- Infusing vinegar for salad dressings
Research from the Culinary Institute of America shows that parsley stems contain higher concentrations of certain volatile compounds than leaves, making them ideal for infused preparations where texture isn't critical (www.ciachef.edu).
When to Adjust Your Trimming Technique
The ideal trimming method varies based on your culinary application:
- For garnishes: Trim individual sprigs, preserving 2-3 inches of stem for elegant presentation
- For tabbouleh: Remove all stems completely for optimal texture
- For stocks: Use entire stems except the very woody bases
- For sauces: Keep tender upper stems and chop finely with leaves
This context-dependent approach ensures you maximize both flavor and usability for each specific application—a principle emphasized in professional culinary training programs worldwide.


 浙公网安备
33010002000092号
 浙B2-20120091-4