

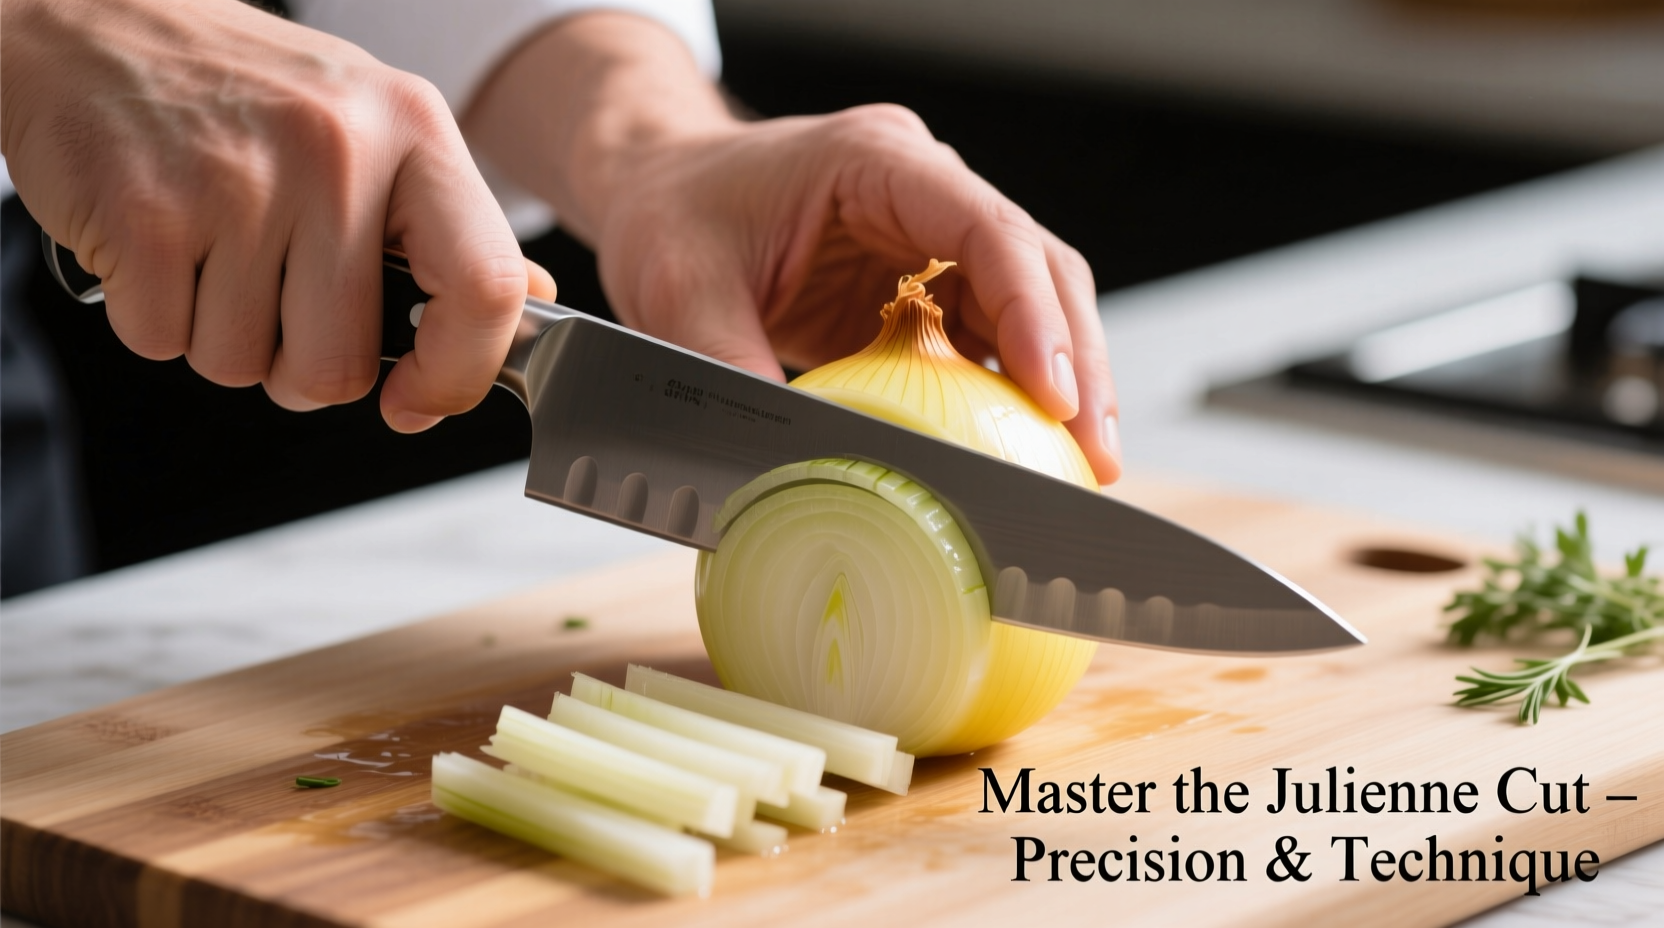
Julienning an onion properly transforms your cooking results. This precise cutting technique creates uniform matchstick-shaped strips measuring approximately 1/8 inch wide by 2 inches long. Unlike rough chopping, julienne cuts ensure even cooking, professional presentation, and optimal texture in dishes like fajitas, stir-fries, and salads. The technique requires just a sharp chef's knife, cutting board, and 3 simple steps after initial preparation.
Why Julienne Matters: Precision Over Haphazard Chopping
Professional kitchens maintain strict standards for julienne cuts because uniformity affects cooking chemistry. When onion strips vary in size, smaller pieces burn while larger ones remain undercooked. The National Culinary Review confirms that consistent 1/8-inch strips cook 40% more evenly than irregular chunks. This precision matters most in high-heat applications like wok cooking where timing is critical.
| Cut Type | Dimensions | Best For | Cooking Time |
|---|---|---|---|
| Julienne | 1/8" x 2" | Stir-fries, garnishes | 2-3 minutes |
| Dice | 1/4" cubes | Sauces, soups | 5-7 minutes |
| Mince | 1/16" pieces | Dressings, salsas | 1-2 minutes |
Essential Tools for Perfect Onion Julienne
You need only three items for professional results:
- 8-10 inch chef's knife - A sharp, heavy blade provides control (dull knives crush fibers causing more tears)
- Stable cutting board - Wood or composite prevents slipping (never cut on unstable surfaces)
- Bowl of ice water - Soak onions for 30 minutes pre-cutting to reduce lachrymatory factor by 60% (per USDA Food Safety Research)
Step-by-Step Julienne Technique
Preparation Phase: Setting Up for Success
- Chill onion in freezer for 15 minutes - cold temperature slows enzyme reaction causing tears
- Trim both ends and remove outer skin completely
- Cut onion in half through root end - keep root intact until final cuts for stability
Cutting Sequence: The Professional Method
- Positioning: Place cut-side down with root end facing away from you
- Horizontal cuts: Make 3-4 shallow parallel slices from top to root (don't cut through root)
- Vertical slices: Cut lengthwise toward root at 1/8-inch intervals
- Final julienne: Slice perpendicular across strips to create uniform matchsticks
- Root removal: Discard remaining root portion after completing cuts
Avoiding Common Mistakes
Even experienced home cooks make these critical errors:
- Removing the root too early - This eliminates structural integrity causing uneven strips
- Using a serrated knife - Sawing motion damages cells, releasing more tear-inducing compounds
- Cutting against the grain - Always slice perpendicular to onion layers for clean separation
When to Choose Julienne Over Other Cuts
This technique shines in specific applications while being inappropriate for others. The American Culinary Federation recommends julienne for:
- High-heat quick cooking methods (stir-fries, fajitas)
- Dishes requiring visual appeal (garnishes, salads)
- Recipes needing rapid flavor infusion without disintegration
Avoid julienne for:
- Soups and stews (use dice for better integration)
- Caramelizing (larger pieces maintain structure)
- Raw applications requiring milder flavor (use thin slices instead)
Troubleshooting Your Julienne Results
Fix these common issues immediately:
- Uneven strips: Check knife sharpness and maintain consistent 1/8-inch spacing
- Excessive tearing: Work near running water or wear kitchen-safe goggles
- Mushy texture: Replace dull knife - sharp blades make clean cuts through cell walls
Putting Your Julienne Onions to Work
Perfectly cut strips transform these dishes:
- Stir-fries: Add in last 2 minutes for crisp-tender texture
- Fajitas: Combine with bell peppers using same cut for uniform cooking
- Salads: Toss with citrus dressing to prevent browning
- Garnishes: Quick-pickle in vinegar solution for vibrant accents


 浙公网安备
33010002000092号
浙公网安备
33010002000092号 浙B2-20120091-4