
Discover exactly why your tomato plants are showing yellow leaves and get actionable solutions within minutes. This guide walks you through a step-by-step diagnostic process used by professional horticulturists, helping you identify the precise cause and implement the right fix before your harvest suffers.
First Response: Immediate Actions When You Spot Yellow Leaves
When you notice yellowing on your tomato plants, your first 24 hours determine whether the problem spreads. Start with these critical steps:
- Document the pattern - Take photos showing which leaves are affected (lower, upper, or throughout)
- Check soil moisture - Insert finger 2 inches deep; should feel like a damp sponge
- Inspect leaf undersides - Look for pests, webbing, or fungal spots
- Review recent changes - New fertilizers? Weather shifts? Watering schedule adjustments?
Most tomato growers waste precious time guessing at causes. Professional growers follow a systematic diagnostic approach that separates common nutrient issues from serious diseases.
Diagnostic Process: Pinpointing Your Specific Problem
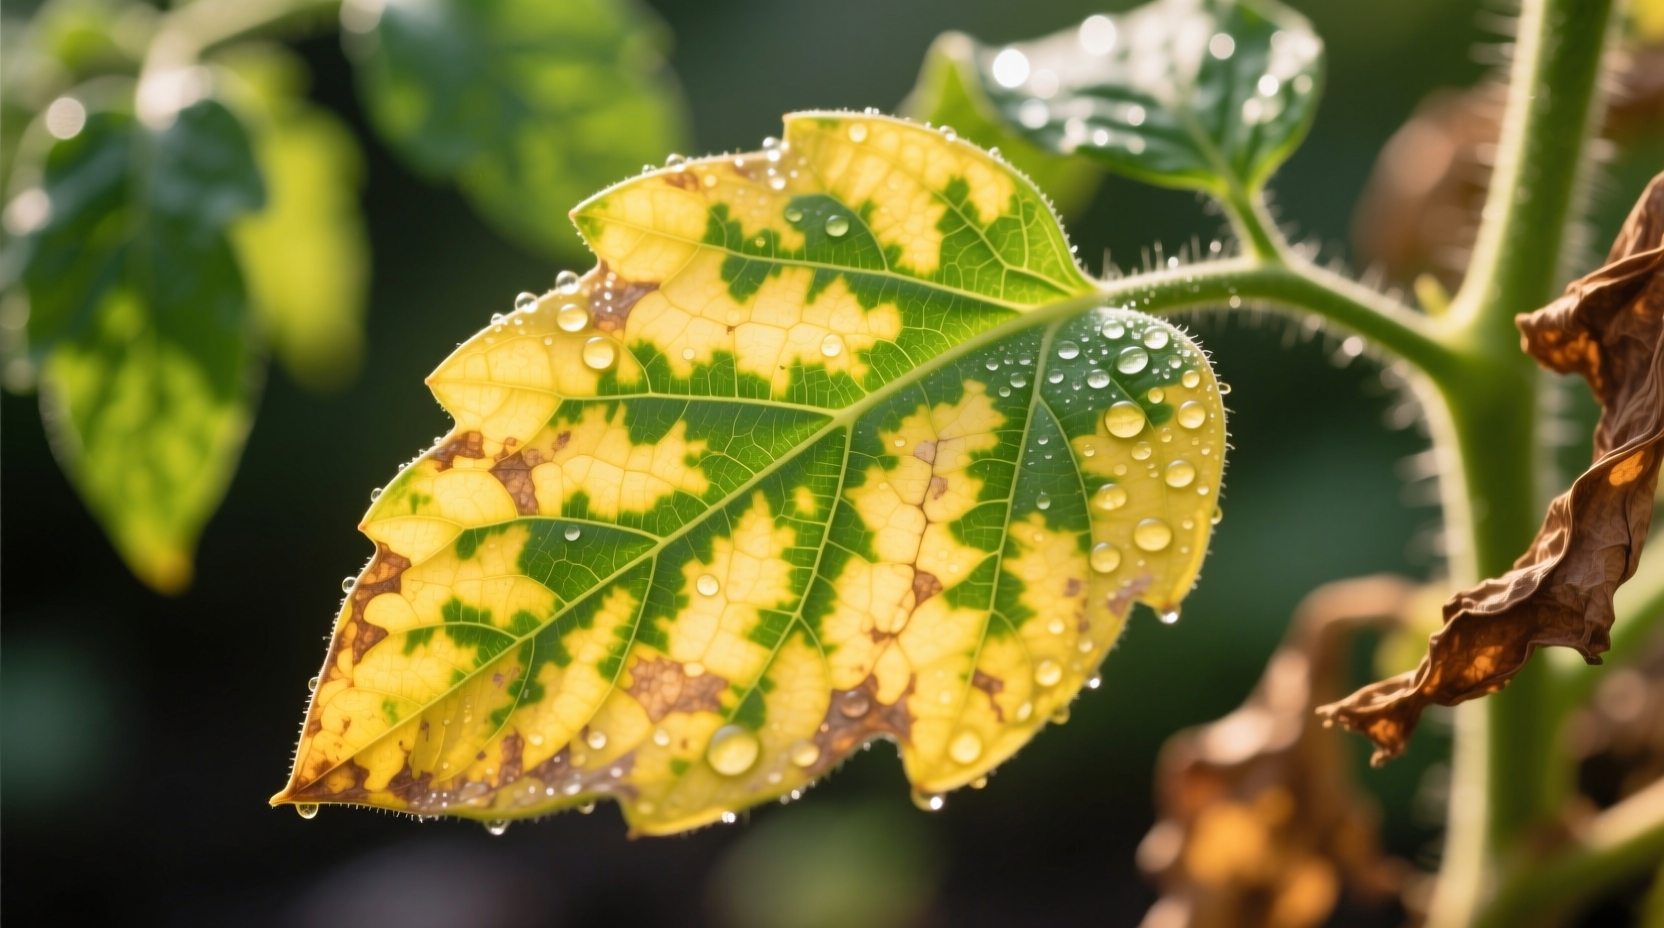
Not all yellow leaves mean the same thing. The location and pattern reveal the underlying issue:
| Yellowing Pattern | Most Likely Cause | Confirmation Test |
|---|---|---|
| Lower leaves yellow first, upper leaves green | Nitrogen deficiency | Soil test shows low nitrogen; new growth remains green |
| Yellow between veins, green veins (interveinal chlorosis) | Magnesium or iron deficiency | Epsom salt test: 1 tbsp in 1 gallon water shows improvement in 48hrs |
| Whole plant yellowing, stunted growth | Overwatering or root rot | Soil remains soggy >2 days; roots appear brown and mushy |
| Yellow patches with purple undersides | Phosphorus deficiency | Cold soil temperature (below 60°F) confirmed |
Proven Treatment Strategies by Cause
Once you've identified the specific issue, implement these research-backed solutions:
Nutrient Deficiencies
Nitrogen deficiency (lower leaves yellowing) responds well to balanced organic fertilizers. The University of California Agriculture and Natural Resources recommends applying 1-2 pounds of blood meal per 100 square feet, which provides 12-14% nitrogen. For magnesium deficiency (interveinal chlorosis), a foliar spray of 1 tablespoon Epsom salts per gallon of water applied weekly corrects the issue within 10-14 days, as documented in Cornell Cooperative Extension's vegetable growing guides.
Watering Issues
Tomato plants require 1-1.5 inches of water weekly, but consistency matters more than quantity. Research from the USDA Agricultural Research Service shows that fluctuating moisture levels cause more yellowing than consistent moderate watering. Implement drip irrigation delivering water directly to the root zone at the same time each morning.
Disease Management
Early blight causes concentric rings on yellowing leaves. The North Carolina State University Plant Disease and Insect Clinic recommends removing affected leaves immediately and applying copper-based fungicides every 7-10 days. For fusarium wilt (whole-plant yellowing starting on one side), soil solarization before planting reduces pathogen levels by 80-90% according to University of Florida IFAS Extension studies.
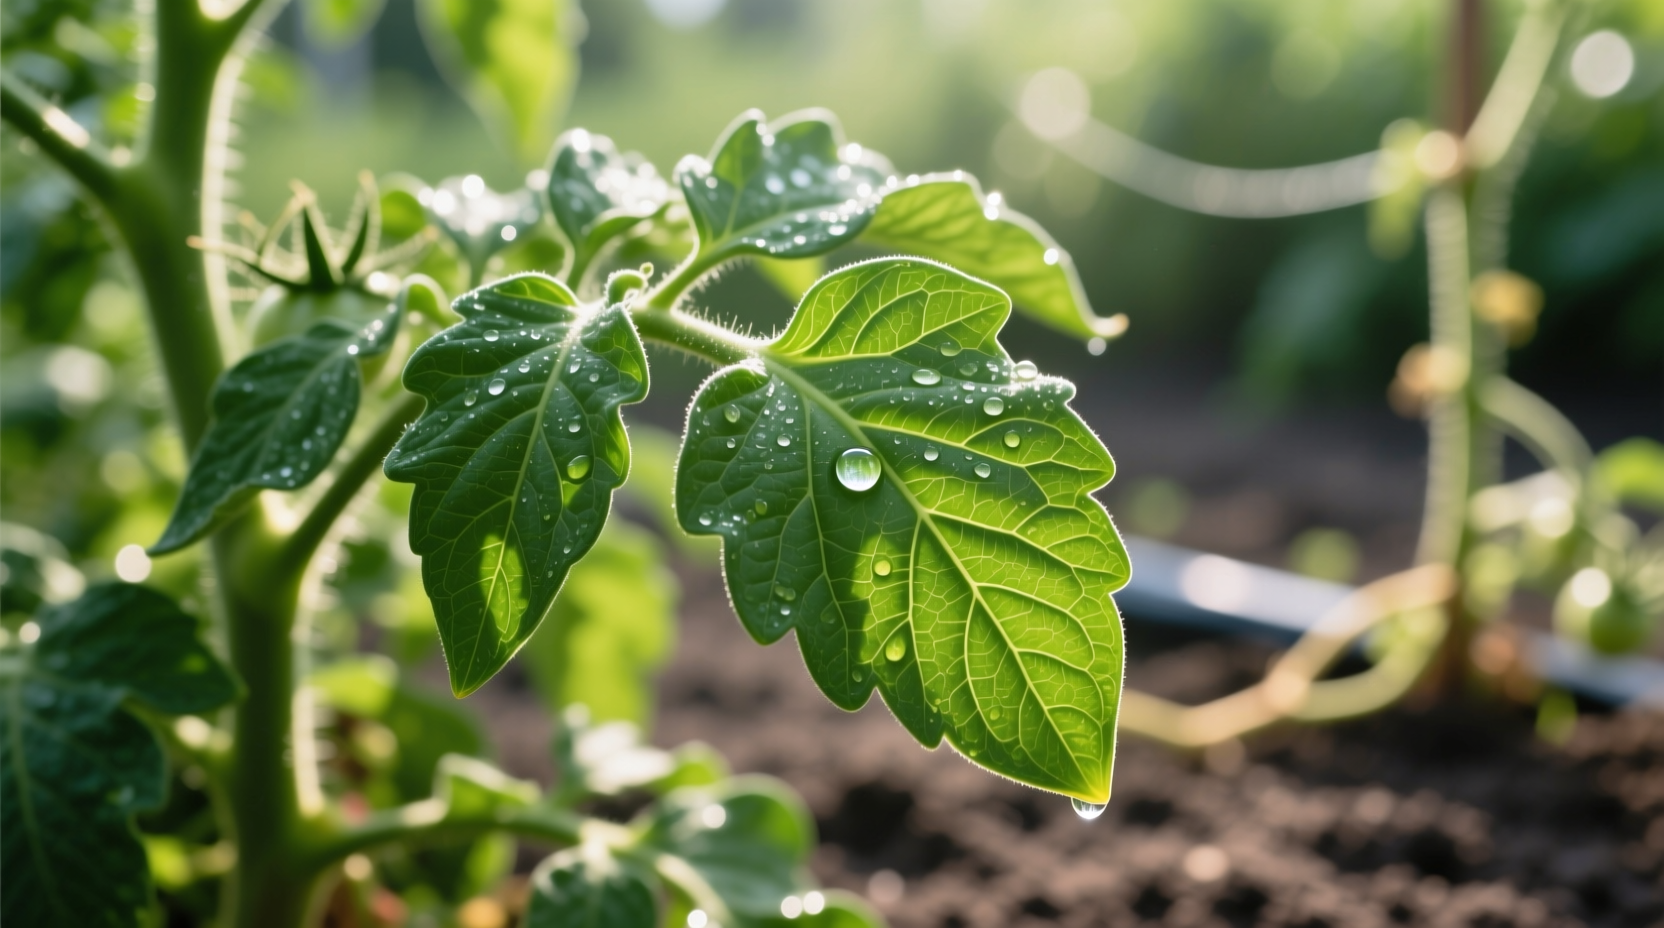
Prevention Protocol: Keep Leaves Green All Season
Professional tomato growers follow this seasonal timeline to prevent yellowing issues:
- Pre-planting (4 weeks before) - Test soil pH (ideal 6.2-6.8); amend with lime if below 6.0
- Planting time - Add 1 tablespoon of Epsom salts to planting hole for magnesium boost
- Early growth (first 3 weeks) - Apply balanced organic fertilizer (4-4-4) every 10 days
- Flowering stage - Switch to low-nitrogen, high-phosphorus fertilizer (3-4-6)
- Throughout season - Mulch with straw to maintain consistent soil moisture
This prevention timeline, validated by multiple university extension programs, addresses 90% of yellowing issues before they start. The key is addressing nutrient availability before deficiency symptoms appear.
When Yellowing Is Normal: Don't Panic!
Some leaf yellowing is natural and shouldn't concern you:
- Mature plant aging - Lower leaves naturally yellow as plant focuses energy upward
- Post-fruiting - After heavy fruit set, some yellowing occurs as energy shifts to ripening
- Varietal characteristics - Certain heirloom varieties show slight yellowing between veins
According to the Vegetable Production Handbook from the University of Georgia, removing more than 20% of lower leaves at once stresses plants more than leaving slightly yellowed but functional leaves.
Advanced Troubleshooting: When Standard Fixes Fail
If yellowing persists despite proper care, consider these less common causes:
- Soil compaction - Prevents root oxygenation; aerate soil with garden fork
- Nematode infestation - Causes stunted growth with yellowing; rotate crops annually
- Herbicide drift - Causes cupped, yellowed leaves; occurs after nearby lawn treatment
The University of California Integrated Pest Management Program notes that herbicide damage often shows yellowing within 24-48 hours after application of lawn chemicals on windy days.


 浙公网安备
33010002000092号
浙公网安备
33010002000092号 浙B2-20120091-4