

Table of Contents
- Introduction: The Science Behind Perfect Chicken
- What Dry Brining Really Does (Beyond Salt)
- Why Wet Brining Fails Where Dry Brining Excels
- Spice Engineering: Building Flavor at the Molecular Level
- Precision Dry Brined Chicken Protocol
- Advanced Technique Adjustments
- Critical Errors and Scientific Corrections
- Frequently Asked Questions
Introduction: The Science Behind Perfect Chicken
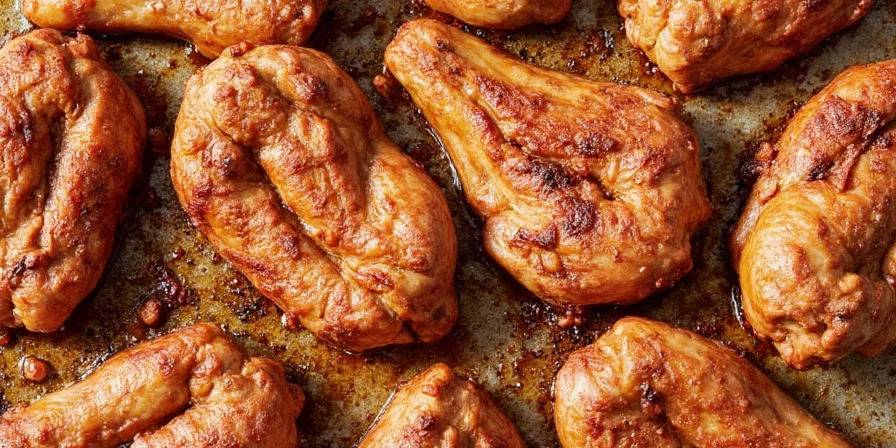
This guide delivers actionable dry brining methodology for home cooks seeking restaurant-quality results. Forget bland poultry—dry brining transforms texture and flavor through precise protein manipulation. We explain the biochemical process while providing immediately applicable techniques.

Dry brining isn't magic—it's controlled osmosis. When salt contacts chicken, it dissolves surface moisture, creating a concentrated brine that penetrates muscle fibers. This denatures proteins, allowing them to retain more water during cooking while seasoning permeates deeply. The result? Crisp skin and uniformly juicy meat without waterlogged texture.
What Dry Brining Really Does (Beyond Salt)
Dry brining leverages three simultaneous biochemical reactions: osmosis redistributes moisture, protein denaturation improves water retention, and enzymatic breakdown tenderizes connective tissue. Unlike wet brining's dilution effect, dry methods concentrate flavors while optimizing texture.
| Technique | Mechanism | Flavor Impact | Texture Result |
|---|---|---|---|
| Dry Brining | Osmosis + protein denaturation | Concentrated seasoning throughout | Uniform juiciness, crisp skin |
| Wet Brining | Water absorption dilution | Surface-level flavor only | Waterlogged texture, soggy skin |
Why Wet Brining Fails Where Dry Brining Excels
Wet brining's fundamental flaw: it forces water into muscle fibers through diffusion, diluting natural juices. When cooked, this excess water evaporates violently, causing shrinkage and dryness. Dry brining avoids this by working with the meat's natural moisture.
- Maillard reaction optimization: Dry surfaces achieve 300°F+ faster, creating complex flavor compounds
- Water activity control: Salt reduces microbial growth potential while enhancing moisture binding
- Time efficiency: No container prep or solution balancing required
Spice Engineering: Building Flavor at the Molecular Level
Effective spice application exploits solubility principles. Fat-soluble compounds (paprika, cayenne) require oil contact, while water-soluble elements (garlic powder) bond with meat moisture. This blend creates layered flavor integration:
- Salt selection: Kosher salt's pyramid structure provides controlled dissolution (1.5x volume of table salt needed for equivalent sodium)
- Acid modulation: Citric acid (0.5% of rub weight) accelerates protein breakdown without texture damage
- Global fusion profiles:
- Sichuan variation: 1 tsp Sichuan peppercorn powder + 0.5 tsp chili flake (triggers unique numbing receptor response)
- Mediterranean fusion: 1 tsp dried oregano + 0.5 tsp lemon zest (terpenes enhance aroma release)
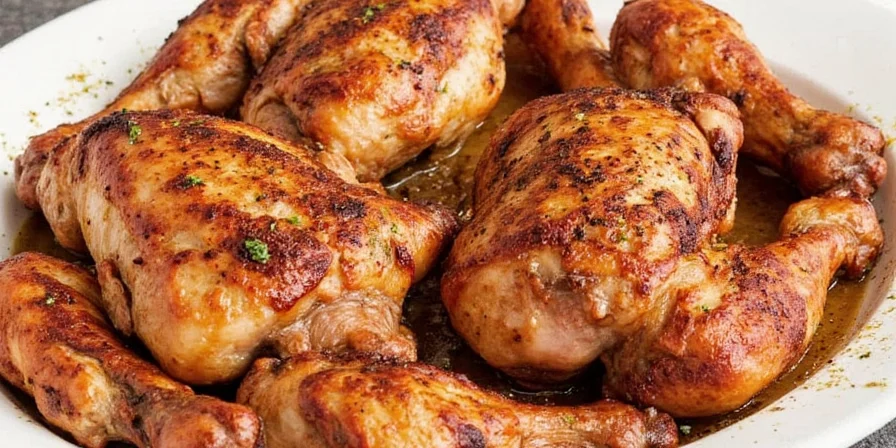
Precision Dry Brined Chicken Protocol
Follow this temperature-controlled process for reproducible results. Timescale calibrated for standard refrigerator conditions (34-38°F).
Ingredients:
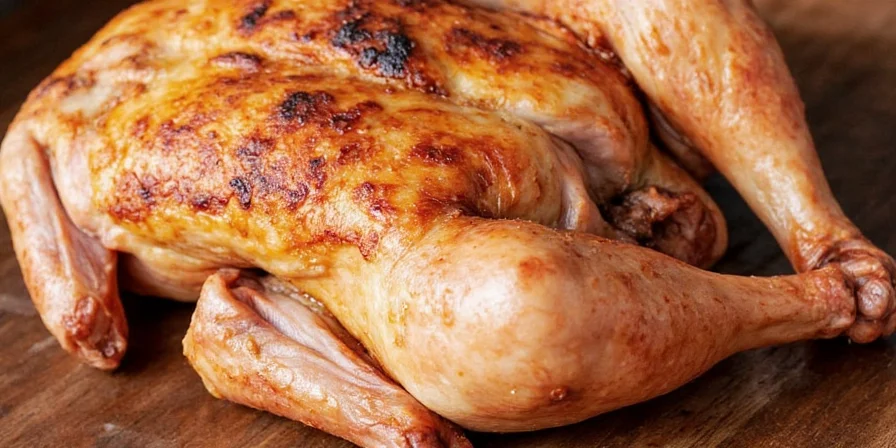
- 1 whole chicken (3–5 lbs) or pieces
- 1 tbsp kosher salt (or 2 tsp table salt)
- 1 tsp black pepper (freshly ground)
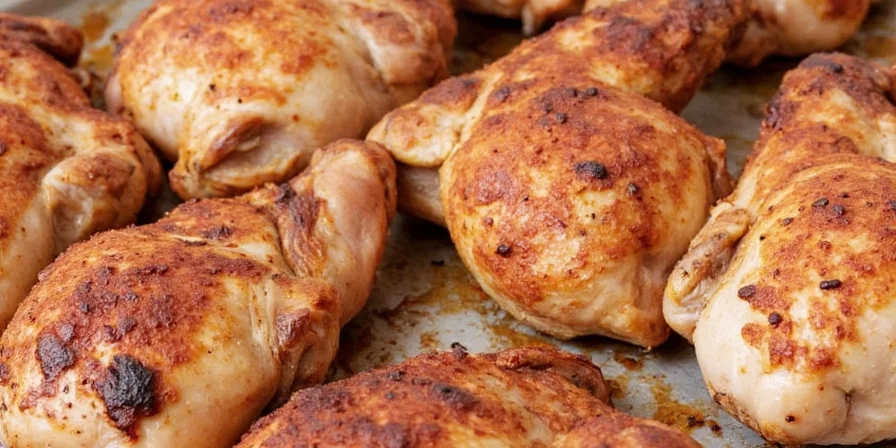
- 1 tsp paprika
- ½ tsp garlic powder
- ½ tsp onion powder
- 0.25 tsp citric acid (optional for accelerated penetration)
Execution:
- Surface preparation: Pat chicken bone-side down on wire rack for 10 minutes to air-dry epidermis
- Rub formulation: Mix dry ingredients excluding salt; blend salt separately for 30 seconds before combining
- Strategic application: Rub 70% mixture under skin, 30% on surface. Cavity receives concentrated application
- Time-temperature protocol: Refrigerate uncovered 12 hours minimum (24 hours optimal for whole birds)
- Thermal transition: Remove 45 minutes pre-cook for even thermal conductivity
- Cooking parameters: Roast at 375°F until internal temp reaches 163°F (carryover cooking achieves 165°F)
Advanced Technique Adjustments
- Humidity control: Place uncovered chicken on bottom shelf for optimal airflow in frost-free refrigerators
- Salt calibration: For birds >5 lbs, use 1.25 tbsp salt per 5 lbs (linear scaling prevents under-seasoning)
- Skin integrity: Avoid plastic wrap contact—use parchment paper tenting if covering required
- Thermal profiling: Insert probe thermometer during last 30 minutes to monitor internal temp rise rate
- Flavor layering: Apply 50% rub pre-brine, 50% post-refrigeration for surface intensity
Critical Errors and Scientific Corrections
Common failures stem from misunderstanding meat science. Implement these evidence-based corrections:
| Observed Failure | Root Cause | Evidence-Based Correction |
|---|---|---|
| Salty surface layer | Insufficient brine time for diffusion | Extend refrigeration to 18+ hours for whole birds |
| Soggy skin despite drying | Refrigerator humidity >65% | Store uncovered on lowest shelf with bowl of baking soda nearby |
| Inconsistent juiciness | Uneven rub application density | Use digital scale for rub (0.75% of meat weight) |
| Bland flavor penetration | Table salt substitution without adjustment | Reduce table salt by 25% or increase brine time 25% |
Frequently Asked Questions
How does dry brining affect cooking time?
Dry brined chicken cooks 8-12% faster due to reduced surface moisture. Begin temperature checks 10 minutes earlier than standard recipes. The internal temperature rise accelerates during the final cooking phase.
Can I dry brine other meats?
Yes, but adjust timing: turkey (48 hours), pork chops (24 hours), steak (48 hours). Delicate fish requires only 30-60 minutes. Always calculate salt at 0.5-0.75% of meat weight for optimal results across proteins.
Why avoid rinsing after brining?
Rinsing removes surface seasoning and reintroduces moisture that impedes crisping. The salt has already penetrated; surface residue contributes to Maillard reaction. Pat dry instead for optimal browning without flavor loss.
Does dry brining work for air frying?
Air frying benefits significantly from dry brining. The reduced surface moisture prevents steam buildup, allowing rapid crust formation. Reduce air fryer temperature by 25°F compared to standard recipes to prevent over-browning during the shorter cook time.


 浙公网安备
33010002000092号
浙公网安备
33010002000092号 浙B2-20120091-4