
Discover the professional techniques for transforming raw sunflower seeds into delicious, nutritious snacks. Whether you're harvesting from your garden or working with store-bought seeds, this comprehensive guide reveals the exact methods culinary experts use to achieve perfectly roasted, flavorful sunflower seeds every time. You'll learn preparation secrets that improve texture, maximize nutritional value, and create restaurant-quality results in your own kitchen.
Understanding Sunflower Seed Types and Quality
Not all sunflower seeds are created equal. Black oil sunflower seeds (Helianthus annuus) contain higher oil content (40-50%) ideal for roasting, while striped confectionery seeds have thicker shells better suited for direct consumption. When selecting seeds, look for uniform color without dark spots which indicate mold development. The USDA reports that properly stored sunflower seeds maintain peak quality for 2-3 months at room temperature and up to 1 year when refrigerated.
| Seed Type | Best For | Oil Content | Shelling Difficulty |
|---|---|---|---|
| Black Oil | Roasting, oil extraction | 40-50% | Moderate |
| Striped Confectionery | Direct consumption | 25-30% | Easy |
| Giant Russian | Ornamental, bird feed | 20-25% | Difficult |
Essential Preparation Before Processing
Proper seed preparation dramatically impacts final quality. Begin by sorting through your seeds to remove any plant debris, damaged seeds, or foreign materials. For garden-harvested seeds, thorough drying is critical – the National Sunflower Association recommends air-drying seeds for 3-7 days until moisture content drops below 10%. When working with commercial seeds, check expiration dates as rancidity develops quickly in high-oil seeds. Professional chefs always rinse seeds in cold water before processing to remove dust and potential contaminants.
Professional Roasting Techniques
Master the three professional roasting methods that deliver superior results:
Oven Roasting (Most Consistent Results)
Preheat oven to 300°F. Spread seeds in single layer on parchment-lined baking sheet. For enhanced flavor, soak seeds in 1/4 cup salt dissolved in 2 cups water for 8 hours before roasting. Bake 30-40 minutes, stirring every 10 minutes until golden brown. Remove immediately from pan to prevent overcooking. This low-and-slow method preserves healthy fats while developing complex flavors.
Air Fryer Method (Fastest Option)
Set air fryer to 320°F. Place single layer of seeds in basket (don't overcrowd). Cook 15-20 minutes, shaking basket every 5 minutes. Air frying creates exceptional crunch with minimal oil absorption. The University of Minnesota Extension confirms air frying reduces oil usage by 70-80% compared to traditional deep frying while maintaining texture.
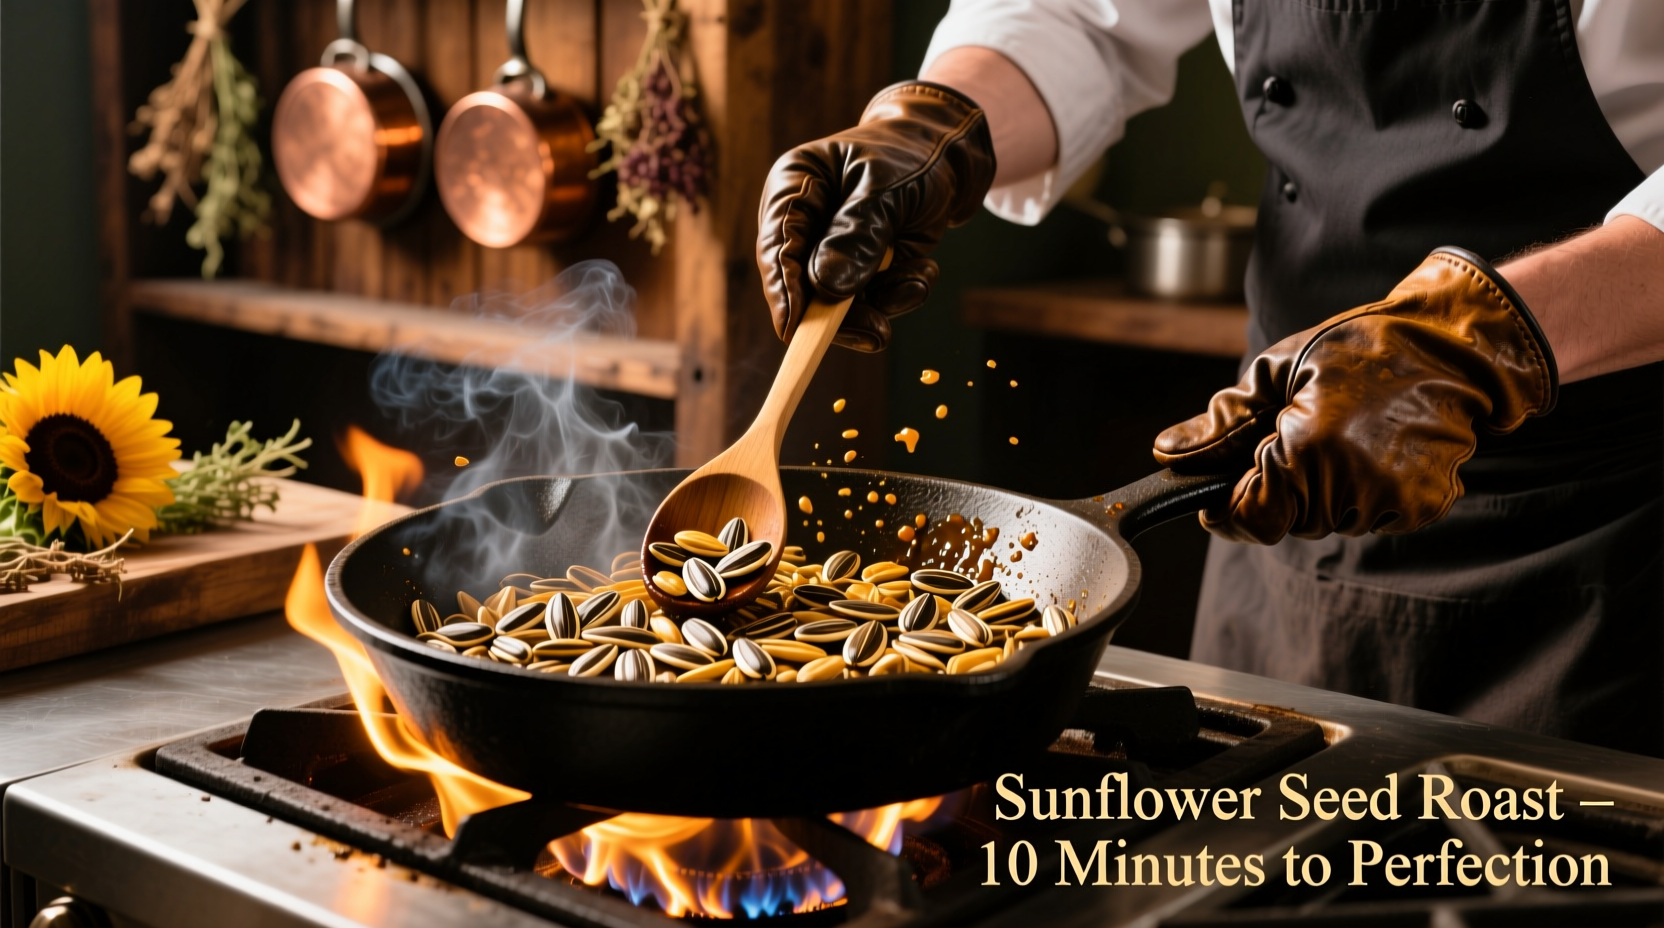
Stovetop Technique (Traditional Approach)
Use heavy cast iron skillet over medium-low heat. Add seeds in single layer with 1 teaspoon oil per cup of seeds. Stir constantly for even heating. Cook 10-15 minutes until golden. This method requires more attention but provides immediate visual and aroma feedback for perfect timing.
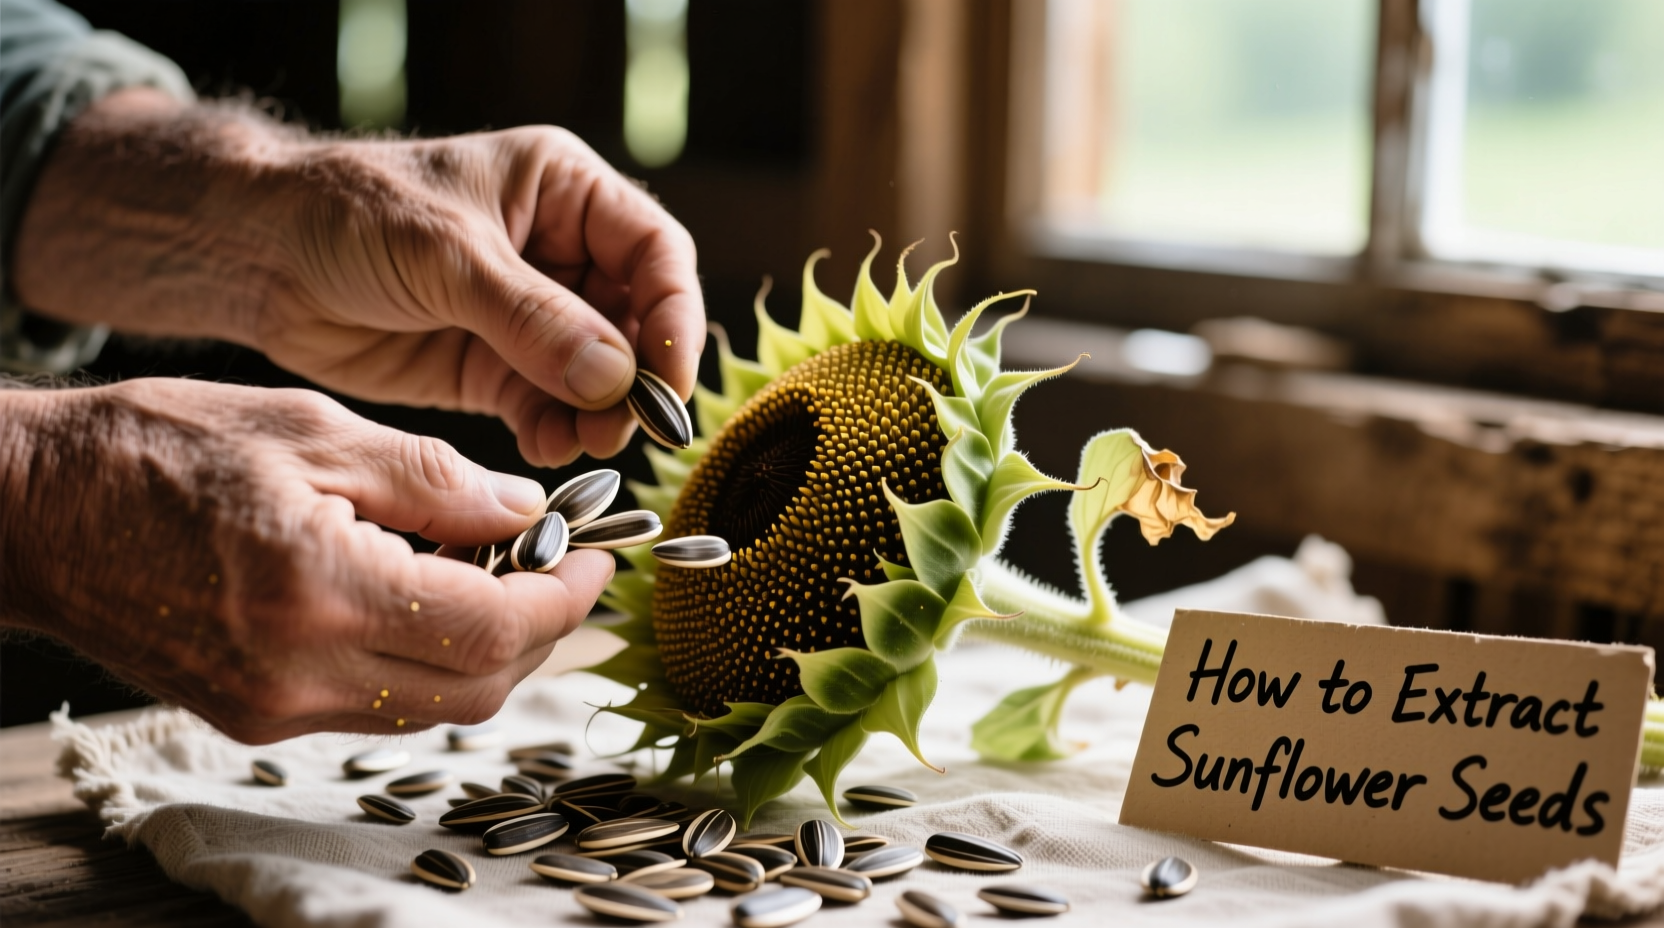
Shelling Techniques for Perfect Results
Many home cooks struggle with shelling sunflower seeds efficiently. Professional chefs recommend these proven methods:
- The Two-Step Bite: Gently bite along the seam of the shell, then use your tongue to separate kernel from shell
- Tool-Assisted Method: Use specialized sunflower seed crackers or nutcrackers set to lowest pressure
- Batch Processing: For large quantities, place dried seeds between two clean kitchen towels and gently roll with rolling pin
Avoid excessive moisture during shelling as it causes seeds to stick to shells. The American Heart Association notes that properly shelled sunflower seeds retain maximum vitamin E content, with just one ounce providing 47% of your daily requirement.
Storage Solutions for Maximum Freshness
Improper storage causes sunflower seeds to turn rancid within weeks. Follow these professional storage guidelines:
- Short-term (1-2 months): Airtight container at room temperature away from light
- Medium-term (6 months): Refrigerate in glass container with oxygen absorber
- Long-term (1 year+): Vacuum seal and freeze
The FDA recommends storing high-oil seeds like sunflowers below 70°F to prevent lipid oxidation. Always label containers with processing date as nutritional value declines significantly after 12 months.
Troubleshooting Common Problems
Even experienced cooks encounter issues with sunflower seeds. Here's how to solve the most frequent problems:
Bitter or Burnt Seeds
Cause: Oven temperature too high or uneven heating. Solution: Always use lower temperatures (300°F max) and stir frequently. Invest in an oven thermometer as most ovens run hotter than displayed.
Mushy Texture After Roasting
Cause: Insufficient drying before roasting or moisture contamination. Solution: Ensure seeds are completely dry (10% moisture or less) before processing. The National Sunflower Association provides moisture testing guidelines for home use.
Difficulty Removing Shells
Cause: Seeds not fully dried or improper shelling technique. Solution: Allow freshly harvested seeds to dry 7-10 days before processing. For commercial seeds, try the towel-rolling method described earlier.
Culinary Applications Beyond Snacking
Professional chefs utilize sunflower seeds in diverse applications:
- Baking: Substitute up to 25% of flour with finely ground sunflower seeds for nutty flavor
- Crusted Proteins: Use crushed roasted seeds as crust for fish or chicken
- Salad Enhancements: Toast seeds with spices for gourmet salad toppings
- Vegan Cooking: Create dairy-free “parmesan” with ground seeds, nutritional yeast, and garlic
Dietitians at the Academy of Nutrition and Dietetics highlight sunflower seeds as excellent sources of magnesium, selenium, and vitamin B6, making them valuable additions to balanced diets.


 浙公网安备
33010002000092号
浙公网安备
33010002000092号 浙B2-20120091-4