
Starting tomato seeds gives home gardeners a significant advantage over buying seedlings. You'll access unique heirloom varieties unavailable at nurseries, save 50-75% compared to purchasing plants, and develop stronger seedlings through controlled early growth conditions. This comprehensive guide walks you through every critical step from seed selection to transplanting, based on agricultural research and proven gardening practices.
When to Start Tomato Seeds: Timing is Everything
Getting your planting schedule right determines your entire growing season's success. The optimal window depends on your local climate and last frost date:
| USDA Hardiness Zone | Last Frost Date | Seed Starting Window | Transplant Date |
|---|---|---|---|
| 3-4 | May 15-June 1 | March 15-31 | May 25-June 10 |
| 5-6 | May 1-15 | March 1-15 | May 10-25 |
| 7-8 | April 15-30 | February 15-March 1 | April 25-May 10 |
| 9-10 | March 15-31 | January 15-31 | March 25-April 10 |
This planting timeline comes from the University of Georgia Cooperative Extension, which has tracked regional gardening patterns for over 100 years. Remember that microclimates in your specific location may require adjustments to these general guidelines.
Essential Materials for Successful Seed Starting
Don't waste time and seeds with improper equipment. Professional gardeners use these specific materials for optimal germination:
- Seed starting containers: 3-4 inch pots with drainage holes or biodegradable pots (avoid garden soil in containers)
- Soil mix: Sterile seed starting mix (never use regular potting soil which compacts)
- Lighting: 14-16 hours daily under LED grow lights positioned 2-4 inches above seedlings
- Temperature control: Heat mat maintaining 75°F soil temperature until germination
- Watering tools: Spray bottle for initial moisture and small watering can for later stages
According to research from Penn State Extension, using a sterile seed starting mix reduces damping-off disease by 83% compared to regular potting soil. This critical difference separates successful seed starters from those who repeatedly fail with leggy, diseased seedlings.
Step-by-Step Seed Planting Process
Follow these precise steps for maximum germination success:
- Moisten seed starting mix until it feels like a damp sponge (not dripping wet)
- Fill containers leaving 1/2 inch space at top, gently firming soil
- Plant 2 seeds per container 1/4 inch deep, covering lightly with mix
- Mist surface with water and cover with humidity dome or plastic wrap
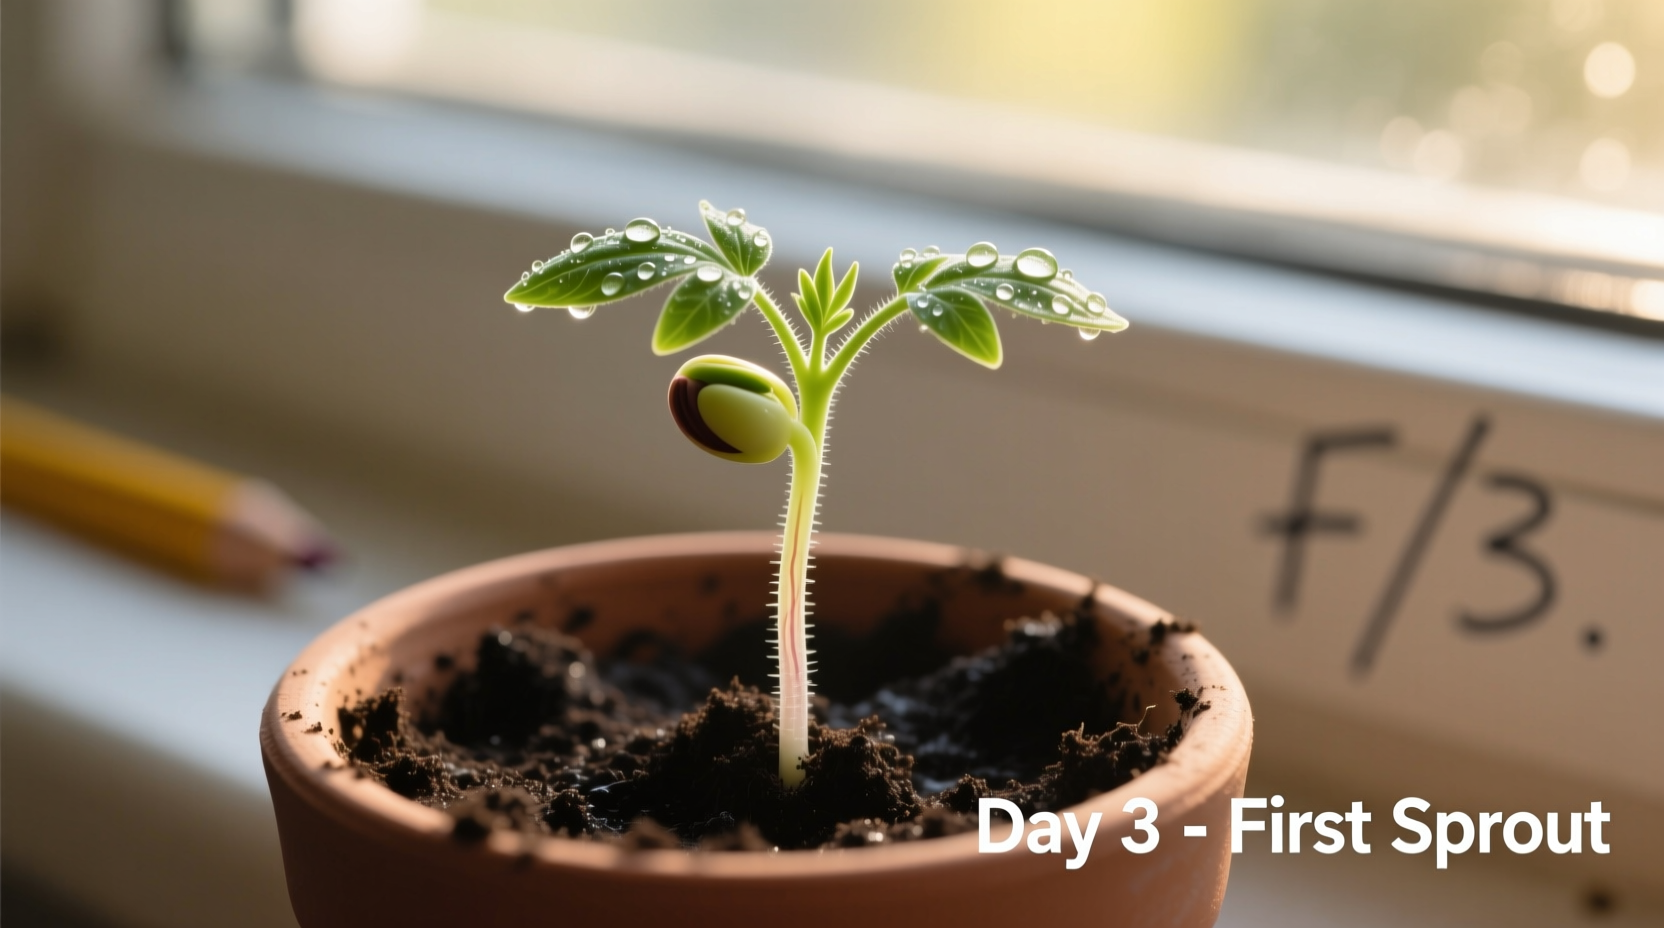
- Place on heat mat at 75-80°F until first sprouts appear (5-10 days)
- Once sprouted, remove cover and move to bright light source immediately
- Thin to strongest seedling per container when first true leaves develop
Timing matters significantly during germination. The New Jersey Agricultural Experiment Station found that tomato seeds germinate in 5-6 days at 80°F but take 11-12 days at 60°F. Cooler temperatures not only delay germination but produce weaker seedlings more susceptible to disease.

Seedling Care: Beyond Germination
Many gardeners succeed at germination but fail at seedling development. Avoid these common pitfalls:
Light Requirements
Natural window light rarely provides enough intensity. Seedlings require 1,500-2,500 foot-candles of light for 14-16 hours daily. Rotate containers daily if using natural light, but LED grow lights positioned 2-4 inches above plants provide consistent, adequate illumination. Insufficient light causes leggy, weak stems that struggle after transplanting.
Watering Techniques
Water from below by placing containers in a tray of water for 15-20 minutes, allowing soil to absorb moisture through drainage holes. This encourages deeper root growth and prevents damping-off disease. Allow soil to dry slightly between waterings—consistently soggy soil suffocates roots and promotes fungal diseases.
Temperature Management
After germination, maintain daytime temperatures of 70-75°F and nighttime temperatures of 60-65°F. Higher temperatures encourage rapid, weak growth while lower temperatures stunt development. A simple thermometer placed at soil level helps monitor actual conditions.
Troubleshooting Common Seed Starting Problems
Identify and solve these frequent issues before they ruin your seedlings:
- Leggy seedlings: Caused by insufficient light. Solution: Increase light intensity/duration or use oscillating fan to strengthen stems
- Damping-off: Fungal disease causing seedlings to collapse. Solution: Use sterile mix, water from below, improve air circulation
- Yellowing leaves: Often indicates nutrient deficiency. Solution: Begin weekly half-strength fertilizer after first true leaves appear
- Blossom end rot later: Prevent by maintaining consistent moisture and adding calcium to soil mix early
Context matters when addressing problems. For example, damping-off prevention techniques work best in humid climates but may cause drying issues in arid regions. The Oregon State University Extension recommends different moisture management approaches based on regional humidity levels—proof that successful gardening requires adapting general principles to local conditions.
Hardening Off: The Critical Transition
Skip this step and your carefully nurtured seedlings will suffer transplant shock. Follow this 7-day hardening schedule:
- Days 1-2: 1-2 hours in shaded outdoor area
- Days 3-4: 3-4 hours with morning sun
- Days 5-6: All day outdoors in partial sun
- Day 7: Full sun exposure overnight
Monitor seedlings closely during this process. If leaves wilt, return them to shade immediately. This gradual acclimation process strengthens cell walls and prepares plants for outdoor conditions, reducing transplant shock by up to 70% according to Cornell University research.
Transplanting for Maximum Growth
When transplanting to your garden or larger containers:
- Choose overcast days or late afternoon to minimize stress
- Bury stems up to first set of true leaves to encourage additional root growth
- Water thoroughly after planting and maintain consistent moisture
- Apply 2-3 inches of organic mulch after plants establish
Tomato plants uniquely benefit from deep planting because they develop roots along buried stems. This technique creates stronger root systems that support more vigorous growth and higher yields throughout the season.
Frequently Asked Questions
How deep should I plant tomato seeds?
Plant tomato seeds 1/4 inch deep in seed starting mix. Planting too deep prevents germination, while too shallow causes seeds to dry out. Cover lightly with mix and mist with water to maintain consistent moisture during germination.
Why are my tomato seedlings growing tall and thin?
Leggy seedlings indicate insufficient light. Tomato seedlings require 14-16 hours of bright light daily. Move lights closer (2-4 inches above plants) or increase natural light exposure. A small oscillating fan can also strengthen stems by simulating wind conditions.
When should I start fertilizing tomato seedlings?
Begin fertilizing when seedlings develop their first set of true leaves (after the initial seed leaves). Use a balanced, water-soluble fertilizer at half strength once weekly. Over-fertilizing at this stage can damage delicate roots and cause excessive leafy growth at the expense of root development.
How long before transplanting should I stop using a heat mat?
Discontinue heat mat use immediately after seeds germinate and sprouts appear. Continuing heat after germination encourages weak, leggy growth. Once seedlings emerge, maintain daytime temperatures of 70-75°F and nighttime temperatures of 60-65°F for optimal development.


 浙公网安备
33010002000092号
浙公网安备
33010002000092号 浙B2-20120091-4