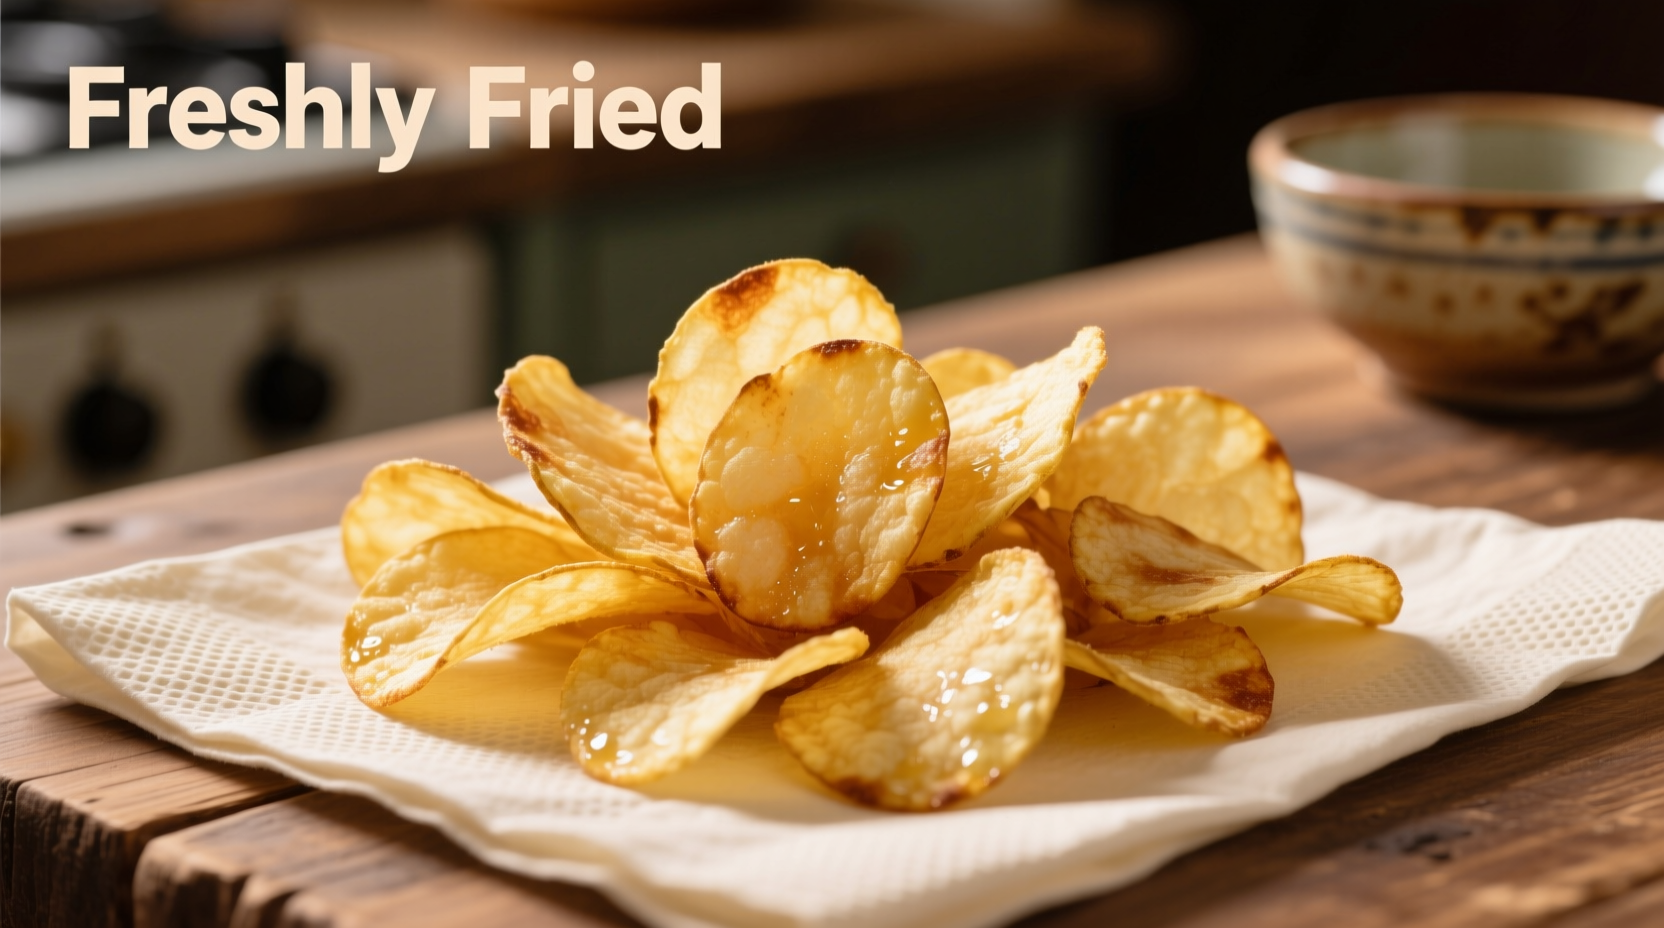
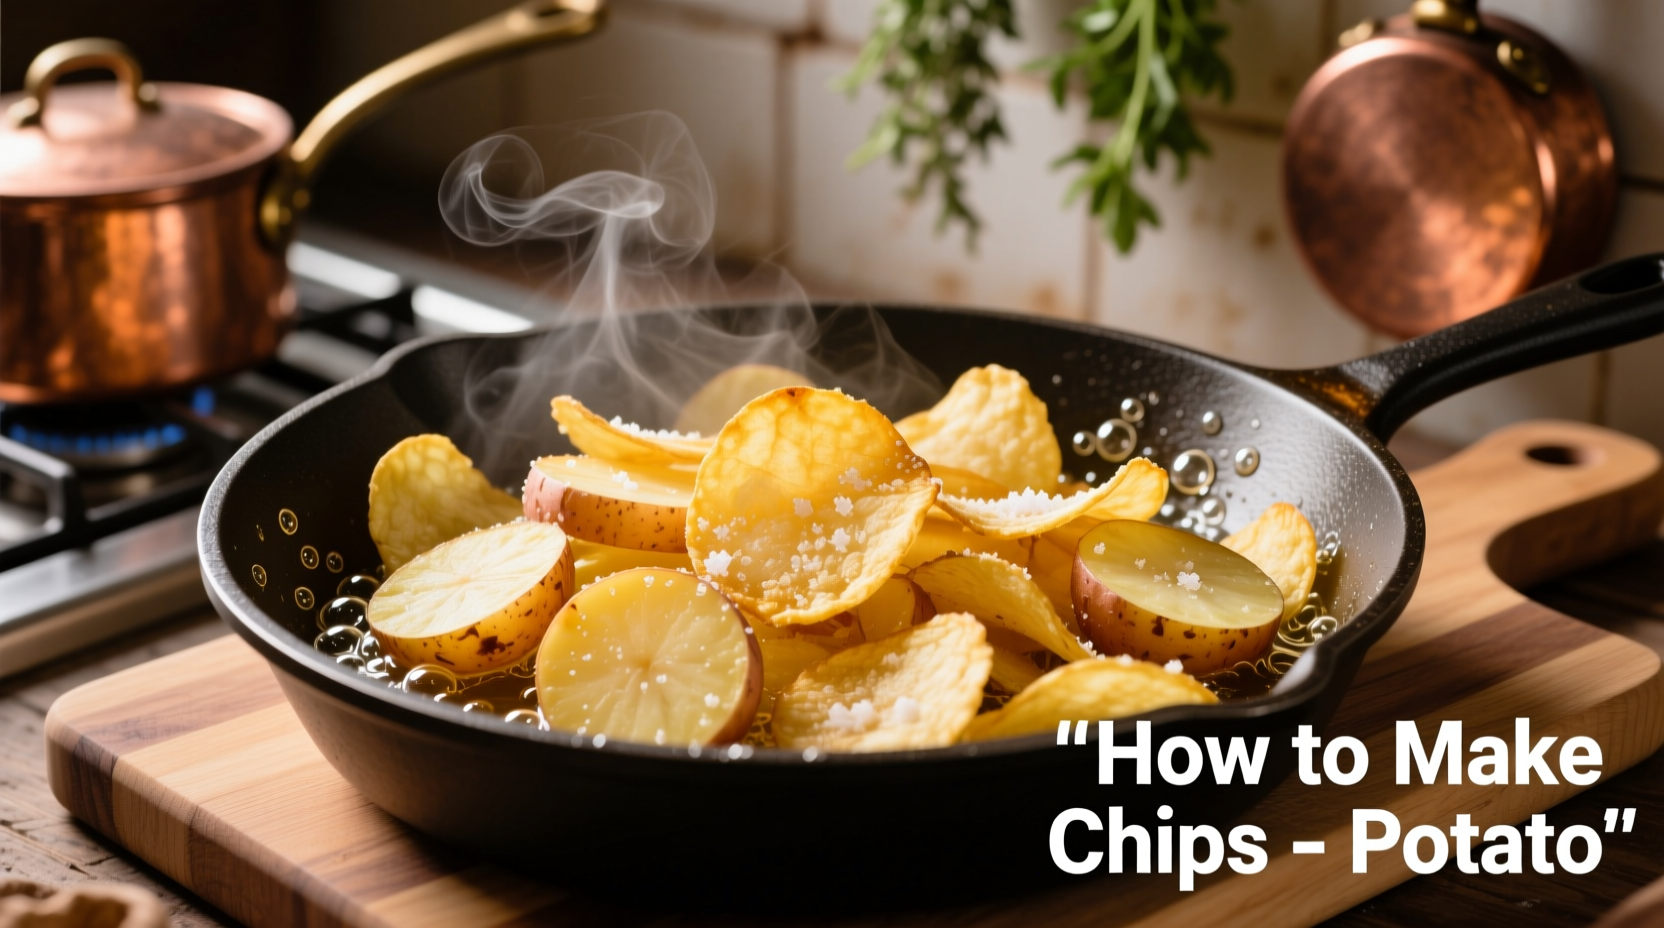
Nothing beats the satisfying crunch of perfectly made homemade potato chips. Forget store-bought versions with questionable ingredients—with this guide, you'll master the art of creating restaurant-quality chips in your own kitchen. Whether you're preparing a snack for game day or elevating a weeknight dinner, these golden, crispy delights will become your new go-to recipe.
Why Your Potato Chips Haven't Been Crispy (And How to Fix It)
Most home cooks struggle with soggy or burnt potato chips because they skip critical steps in the preparation process. The secret isn't just in the frying—it's in understanding potato chemistry. Potatoes contain starch that, when properly managed, creates that perfect crisp texture. When you skip the soaking step or use the wrong oil temperature, that starch turns your chips from crispy to chewy.
Essential Equipment Checklist
Before you begin, gather these kitchen essentials:
- Sharp chef's knife or mandoline slicer (for consistent thickness)
- Large bowl for soaking potatoes
- Candy or deep-fry thermometer (critical for temperature control)
- Splatter screen (safety first!)
- Paper towel-lined baking sheet for draining
- Metal spider or slotted spoon
Potato Selection: The Foundation of Perfect Chips
Not all potatoes are created equal when it comes to making chips. The starch content determines your final texture:
| Potato Variety | Starch Content | Best For | Storage Recommendation |
|---|---|---|---|
| Russet (Idaho) | High (20-22%) | Ideal for crispy chips | Cool, dark place (45-50°F) |
| Yukon Gold | Medium (16-18%) | Softer texture chips | Use within 1-2 weeks |
| Red Potatoes | Low (14-16%) | Not recommended | Refrigerate for longer storage |
According to the USDA Agricultural Research Service, Russet potatoes contain the ideal 20-22% starch content needed for maximum crispness. Their low moisture content prevents sogginess during frying.
Step-by-Step Preparation Process
1. Washing and Peeling (Optional)
While traditional chips are peeled, leaving the skin on creates a rustic, nutrient-rich alternative. If peeling, use a vegetable peeler rather than a knife for safety and consistency.
2. Cutting Technique Matters Most
Consistent thickness is non-negotiable for even cooking:
- Ideal thickness: 1/8 to 1/4 inch
- Use a mandoline for perfect uniformity (set to 3mm)
- Hand-cutting tip: Stack 2-3 potato slices and cut together
3. The Critical Soaking Process
This step removes excess surface starch that causes uneven browning:
- Place cut potatoes in large bowl of cold water
- Add 1 tablespoon vinegar per quart of water (helps maintain structure)
- Soak for minimum 30 minutes (up to 2 hours for extra crispness)
- Change water 2-3 times until it runs clear
- Thoroughly dry with clean kitchen towels before frying

The Double-Fry Method: Science Behind the Crisp
Professional kitchens use the double-fry technique for a reason—it's scientifically superior. Here's the temperature timeline that creates perfect texture:
| Fry Stage | Temperature | Duration | What's Happening Chemically |
|---|---|---|---|
| First Fry | 300-325°F | 4-6 minutes | Moisture evaporates, exterior seals |
| Cooling | Room temp | 10-15 minutes | Starch retrogradation occurs |
| Second Fry | 375-400°F | 1-2 minutes | Maillard reaction creates golden color |
The National Center for Home Food Preservation confirms that proper oil temperature control prevents oil absorption, keeping your chips light rather than greasy. The first fry at lower temperature cooks the interior while the second high-heat fry creates the signature crisp exterior.
Frying Process: Step-by-Step
Oil Selection Guide
Choose oils with high smoke points:
- Peanut oil: 450°F smoke point (best flavor)
- Canola oil: 400°F smoke point (neutral taste)
- Sunflower oil: 440°F smoke point (healthier option)
Avoid olive oil for deep frying—its low smoke point creates bitter flavors.
Frying Instructions
- Fill heavy-bottomed pot with 2-3 inches of oil
- Heat to 325°F (use thermometer—don't guess!)
- Fry in small batches (overcrowding drops temperature)
- First fry: 4-6 minutes until cooked but not browned
- Drain completely on paper towels
- Rest for 10-15 minutes (critical step!)
- Second fry: 375°F for 60-90 seconds until golden
- Immediately transfer to paper towel-lined tray
Seasoning Secrets for Flavorful Chips
Timing is everything when seasoning:
- Season immediately after second fry while chips are still oily
- Use fine-grain salt that adheres better than coarse
- For flavored chips: Toss with 1/2 teaspoon seasoning per serving
Classic & Creative Flavor Combinations
- Traditional: Sea salt + freshly cracked pepper
- Truffle: Truffle salt + grated parmesan
- Spicy: Cayenne + smoked paprika + garlic powder
- Herb Garden: Rosemary + thyme + sea salt
- Sweet & Savory: Cinnamon + brown sugar + pinch of salt
Troubleshooting Common Chip Problems
Why Your Chips Turn Out Soggy
- Problem: Incomplete drying after soaking Solution: Pat thoroughly with clean kitchen towels
- Problem: Oil temperature too low Solution: Use thermometer and maintain 325°F first fry
- Problem: Overcrowded fryer Solution: Fry in small batches
Why Your Chips Burn Easily
- Problem: Oil temperature too high Solution: Monitor with thermometer, adjust heat as needed
- Problem: Sugar content in potatoes varies by season Solution: Reduce second fry time for summer potatoes
- Problem: Starch not properly removed Solution: Extend soaking time to 2 hours
Healthier Alternatives: Air Fryer Method
For those seeking lower-fat options, air frying produces surprisingly good results:
- Toss dried potato slices with 1 teaspoon oil per serving
- Arrange in single layer (no overlapping)
- Air fry at 380°F for 15-20 minutes, flipping halfway
- Finish at 400°F for 2 minutes for extra crispness
Note: Air-fried chips won't achieve the same crispness as deep-fried, but they're a reasonable alternative. The texture difference comes from the Maillard reaction requiring higher heat transfer than air frying provides.
Storage and Serving Tips
For best results, serve immediately. If you must store:
- Keep in paper bag (not airtight container) at room temperature
- Maximum freshness: 24 hours
- To revive: 3 minutes at 350°F in oven or air fryer
- Never refrigerate—moisture ruins crispness
Perfect Pairings for Your Homemade Chips
Elevate your chips with these serving suggestions:
- Classic: With burgers or sandwiches
- Gourmet: Alongside steak frites with aioli
- Breakfast: With eggs and bacon
- Snack: With homemade dip (try garlic-herb yogurt)


 浙公网安备
33010002000092号
 浙B2-20120091-4