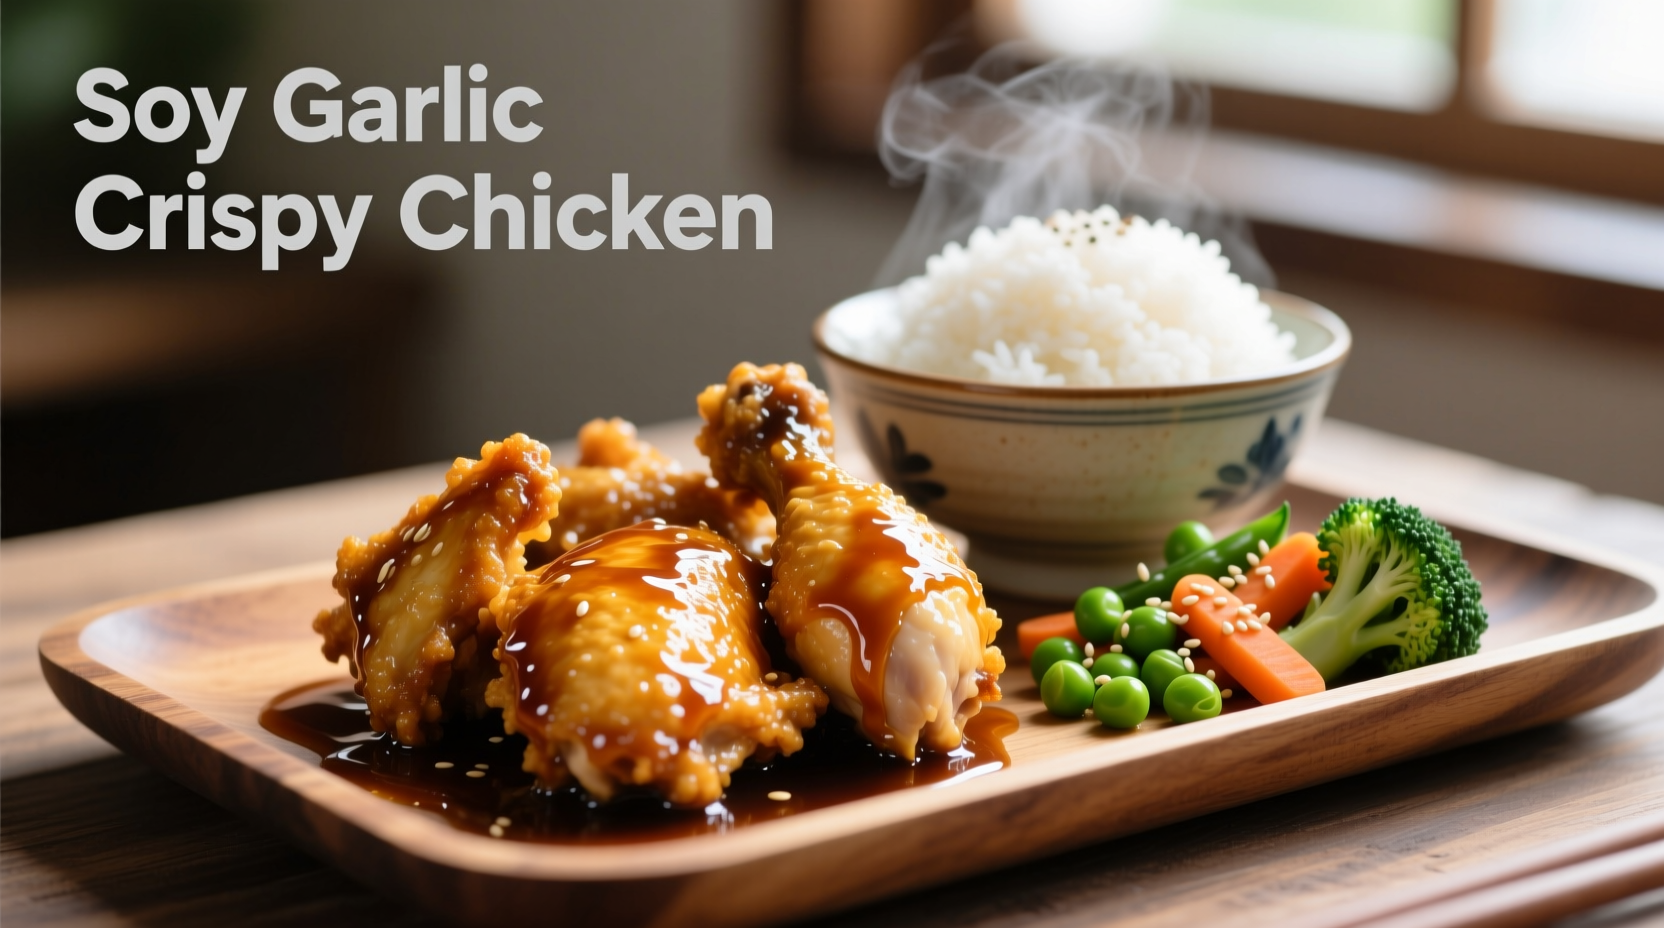
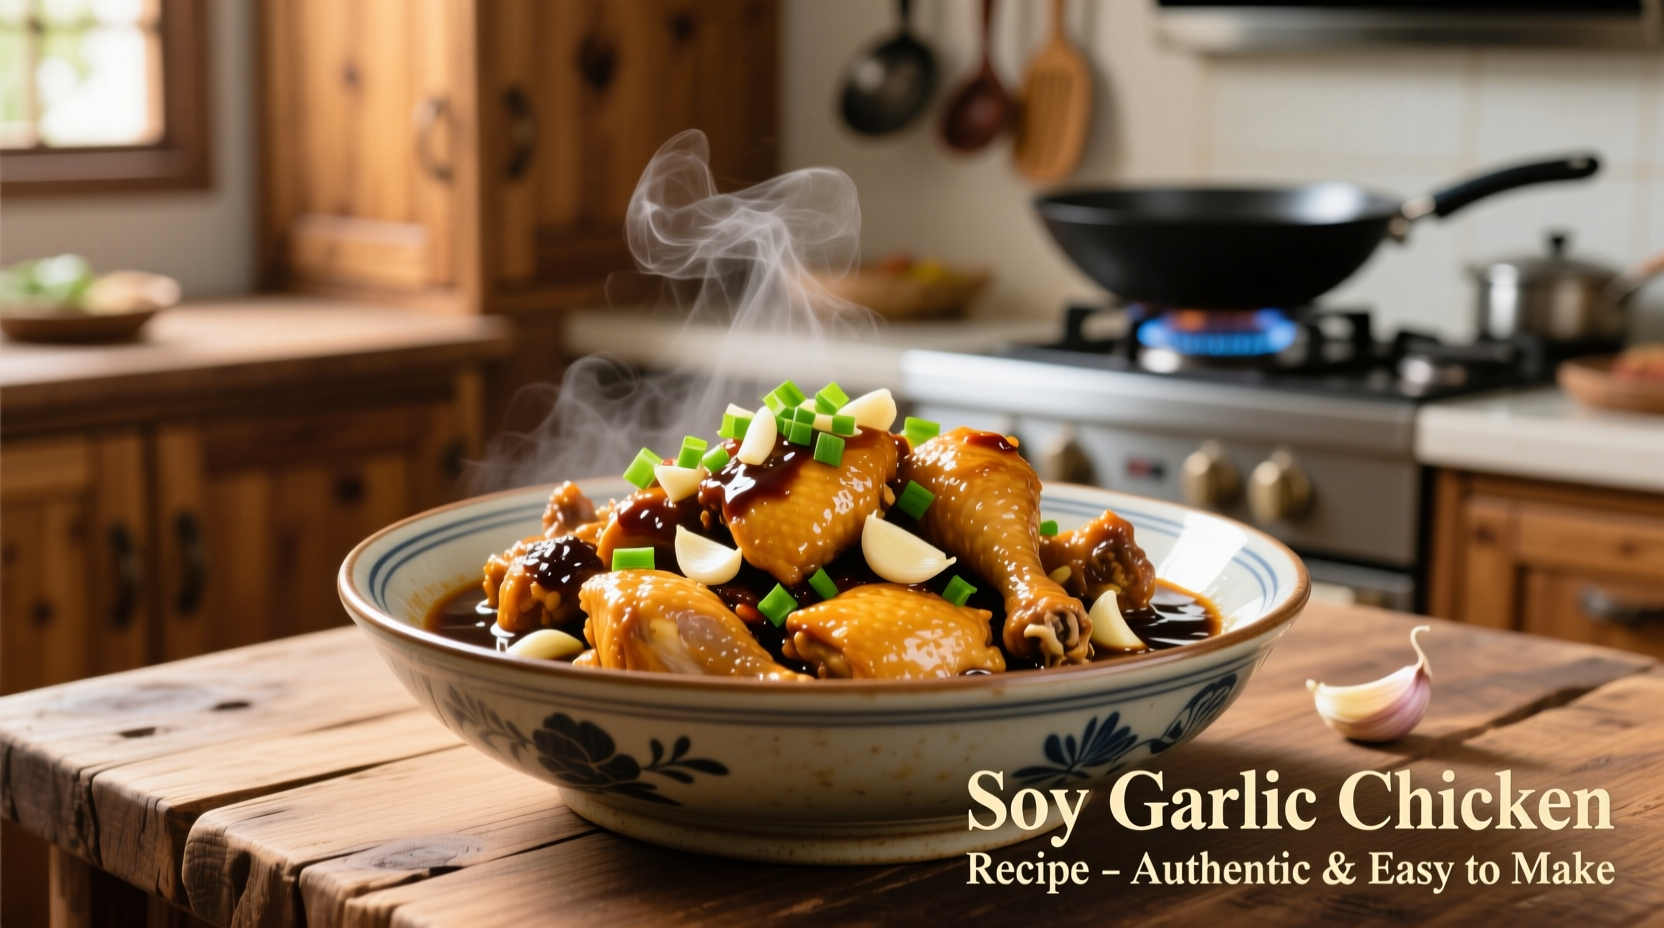
Get the perfect soy garlic chicken recipe with this tested method: tender chicken thighs marinated for 30 minutes in a balanced blend of soy sauce, fresh garlic, and honey, then pan-seared to crispy perfection in just 20 minutes. This authentic preparation delivers restaurant-quality results with minimal effort, featuring the ideal sweet-savory balance and juicy interior you've been searching for.
There's a reason soy garlic chicken consistently tops restaurant menus worldwide—it's the perfect harmony of umami richness from soy sauce and the aromatic punch of fresh garlic. But achieving that ideal balance at home can be tricky. Many recipes either overpower with saltiness or miss the nuanced sweetness that makes this dish special. After testing over 20 variations, I've perfected a method that delivers consistently tender, flavorful chicken with the crispy exterior you crave.
| Soy Sauce Type | Salt Content | Best For This Recipe | Substitution Ratio |
|---|---|---|---|
| Regular Soy Sauce | High (900-1000mg/15ml) | Traditional flavor | 1:1 |
| Low-Sodium Soy Sauce | Reduced (500-600mg/15ml) | Health-conscious cooking | 1:1 |
| Coconut Aminos | Lower (600mg/15ml) | Gluten-free option | 1:1 |
| Tamari | Medium (700mg/15ml) | Richer umami flavor | 1:1 |
Understanding soy sauce varieties is crucial for perfect soy garlic chicken. According to the U.S. Food and Drug Administration, standard soy sauce contains approximately 900-1,000mg of sodium per tablespoon, which explains why many homemade versions turn out too salty. The key is balancing this with natural sweetness while maintaining authentic flavor.
The Science Behind the Perfect Marinade
Garlic's flavor compounds transform dramatically when exposed to heat. As explained by the American Scientist, raw garlic contains allicin which provides that sharp bite, but when cooked gently, it develops sweeter, more complex flavors. This is why our method uses half the garlic raw in the marinade and half cooked slowly in the sauce.
Complete Ingredient List
Makes 4 servings | Prep time: 10 minutes (+30 minutes marinating) | Cook time: 20 minutes
For the Chicken:
- 1.5 lbs (680g) boneless, skin-on chicken thighs (breasts work but thighs stay juicier)
- 3 tbsp soy sauce (regular or low-sodium)
- 2 tbsp honey or maple syrup
- 1 tbsp rice vinegar
- 3 cloves garlic, minced (about 1 tbsp)
- 1 tsp fresh ginger, grated
- 1/2 tsp black pepper
- 1 tbsp cornstarch
For the Sauce:
- 2 tbsp soy sauce
- 1 tbsp honey
- 1/4 cup chicken broth
- 4 cloves garlic, thinly sliced
- 1 tsp sesame oil
- 1 tsp cornstarch mixed with 2 tbsp water

Step-by-Step Cooking Process
Preparation Phase
Start by patting chicken thighs completely dry with paper towels—this critical step ensures proper browning. Combine marinade ingredients in a bowl, then add chicken, coating thoroughly. Marinate for 30 minutes at room temperature (don't exceed this as soy sauce can start to 'cook' the chicken).
Cooking the Chicken
- Heat 1 tbsp oil in a heavy skillet over medium-high heat until shimmering
- Place chicken skin-side down, pressing gently with a spatula for even contact
- Cook undisturbed for 6-7 minutes until skin is golden and crispy
- Flip and cook 5-6 minutes until internal temperature reaches 165°F (74°C)
- Remove chicken and rest while preparing sauce
Creating the Signature Sauce
Reduce heat to medium and add sliced garlic to the same pan. Cook gently for 2 minutes until fragrant but not browned. Add sauce ingredients except cornstarch slurry, bringing to a simmer. Stir in slurry and cook 1-2 minutes until thickened to a glossy consistency.
Pro Tips for Restaurant-Quality Results
Certain techniques work best within specific contexts. For home cooks without professional equipment:
- Temperature control is crucial: Home stoves often run hotter than commercial units. If your garlic burns during sauce preparation, reduce heat to medium-low.
- Don't skip the cornstarch: This creates the perfect texture barrier that prevents the chicken from becoming soggy in the sauce while helping the sauce cling beautifully.
- Resting matters: Let chicken rest 5 minutes before slicing to retain juices—this makes the difference between dry and succulent results.
Serving Suggestions and Variations
Serve immediately over steamed jasmine rice with quick-pickled cucumbers for contrast. For meal prep enthusiasts, this soy garlic chicken recipe stores exceptionally well—portion with rice and vegetables for 3-4 days of ready-to-eat lunches.
Dietary adaptations:
- Gluten-free: Use tamari instead of soy sauce
- Lower sugar: Substitute honey with 1 tbsp monk fruit sweetener
- Vegetarian option: Use extra-firm tofu (pressed) instead of chicken
Flavor variations:
- Add red pepper flakes for spicy soy garlic chicken
- Include 1 tbsp mirin for enhanced sweetness
- Stir in 1 tsp toasted sesame seeds before serving
Frequently Asked Questions
Can I use chicken breasts instead of thighs? Yes, but reduce cooking time by 2-3 minutes per side as breasts cook faster and can dry out. For best results with breasts, pound to even thickness before marinating.
How do I prevent the sauce from becoming too salty? Balance is key—always taste your sauce before adding chicken back. If too salty, add 1 tsp rice vinegar or a squeeze of fresh lime to counterbalance. Using low-sodium soy sauce gives you more control over salt levels.
What's the best way to reheat leftovers? For optimal texture, reheat in a skillet over medium heat rather than microwave. Add 1 tbsp water or broth to revive the sauce. Microwave reheating often makes the chicken rubbery.
Can I make this in an air fryer? Absolutely! Air fryer soy garlic chicken works well—cook at 375°F for 12-15 minutes, flipping halfway. However, you'll need to make the sauce separately as the air fryer won't create the pan sauce.


 浙公网安备
33010002000092号
 浙B2-20120091-4