
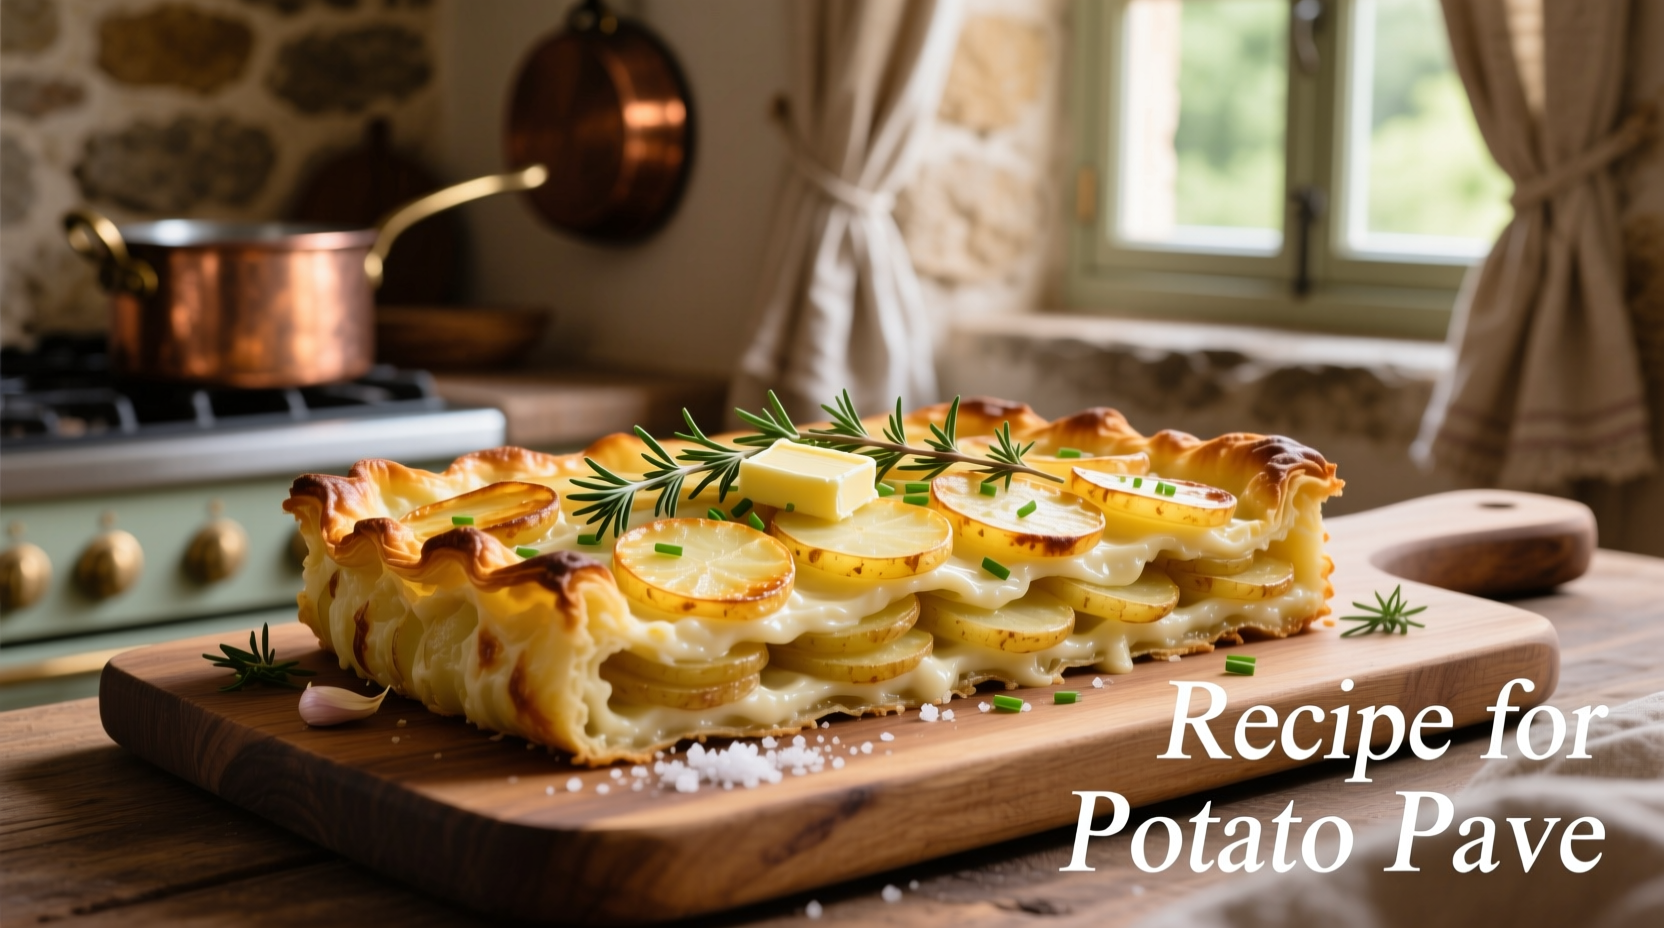
Master the art of French potato pave with this definitive recipe guide. Unlike ordinary potato dishes, potato pave—also known as pommes pave or potato terrine—creates stunning geometric layers that transform humble potatoes into a showstopper side dish. This traditional French preparation technique dates back to 19th century haute cuisine, where chefs developed precise layering methods to achieve contrasting textures in a single elegant preparation.
What Makes Potato Pave Special
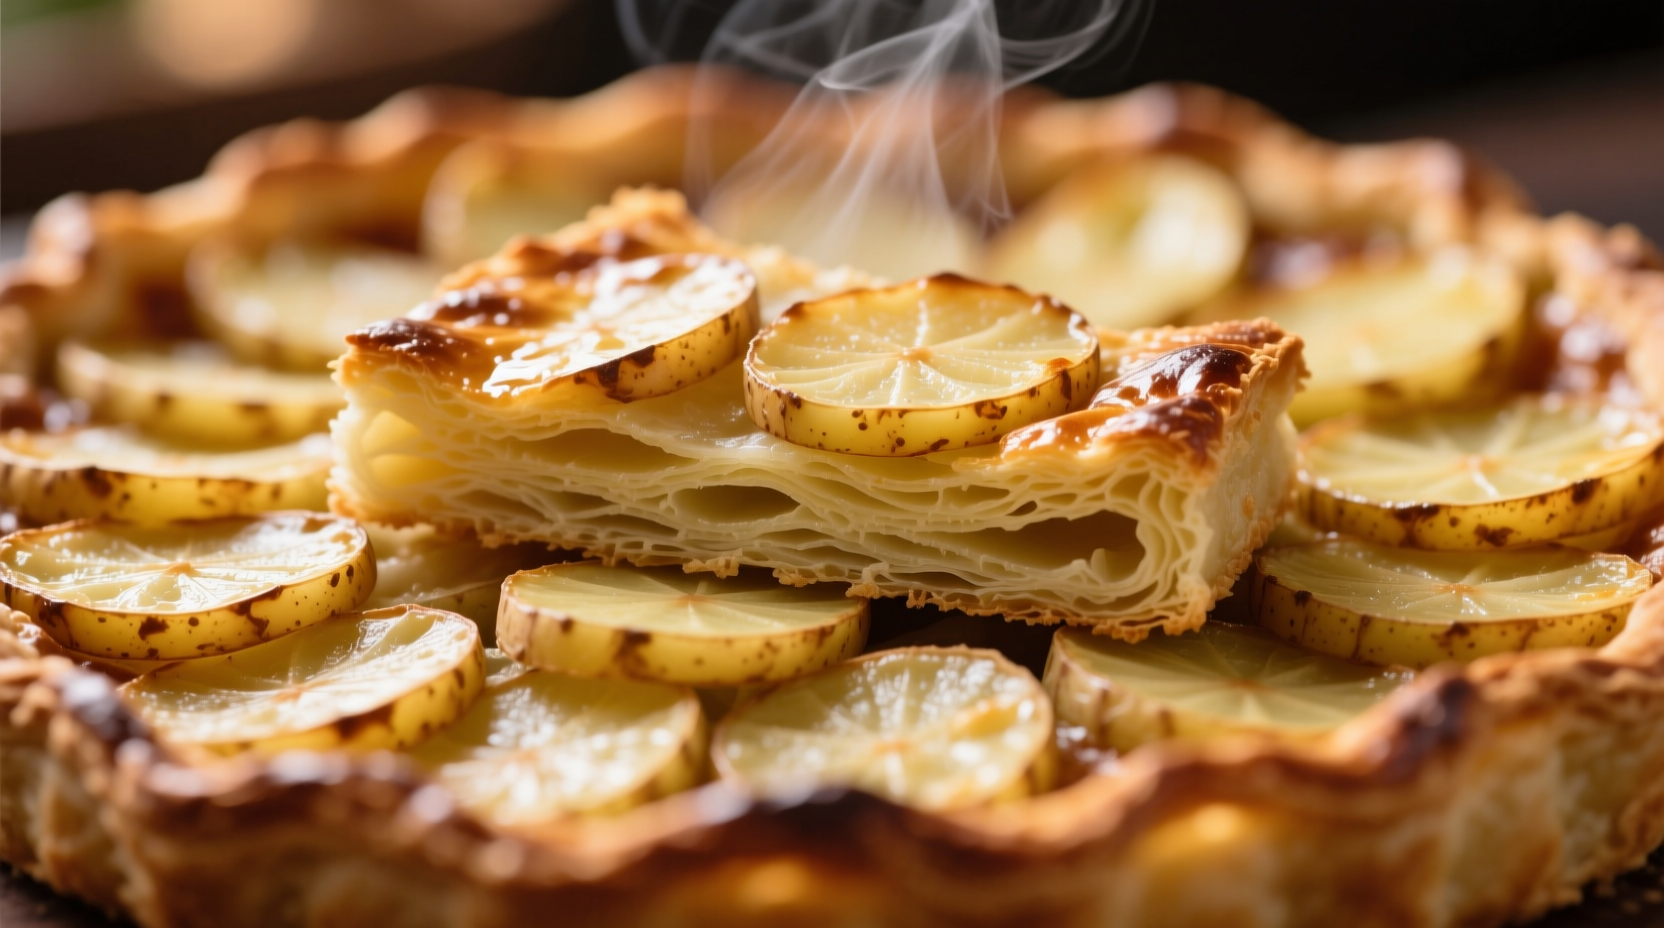
While many confuse potato pave with regular scalloped potatoes or gratin dauphinois, this French classic stands apart through its meticulous construction. The secret lies in the "pave" technique—French for "cobblestone"—where ultra-thin potato slices are arranged in precise horizontal and vertical layers, creating structural integrity that holds when sliced. This method produces a unique textural contrast: a golden, crispy exterior surrounding a tender, creamy interior.
| Dish | Construction Method | Texture Profile | Origin |
|---|---|---|---|
| Potato Pave | Geometric layering with precise alignment | Crispy exterior, creamy interior | France (19th century) |
| Gratin Dauphinois | Overlapping diagonal slices | Uniformly creamy throughout | French Alps |
| Scalloped Potatoes | Horizontal layers with sauce | Softer, saucier consistency | English-American |
Essential Ingredients for Authentic Potato Pave
The magic of potato pave comes from minimal ingredients executed perfectly. Unlike many potato dishes that rely on heavy cream or cheese, traditional French potato pave celebrates the pure flavor of quality potatoes with just a few supporting ingredients:
- Potatoes: Russet or Yukon Gold (700g/1.5 lbs)—choose waxy varieties for better layer definition
- Butter: Unsalted (50g/3½ tbsp), preferably European-style with higher fat content
- Cream: Heavy cream (120ml/½ cup), not substituted with milk
- Garlic: 1 clove, finely minced
- Nutmeg: Freshly grated (⅛ tsp)—essential for authentic French flavor
- Salt and white pepper to taste
According to culinary historians at France's National Center for Scientific Research, the evolution of potato pave reflects France's culinary refinement of New World ingredients. Originally documented in Marie-Antoine Carême's 1833 L'Art de la Cuisine Française, this technique transformed the humble potato into an elegant accompaniment worthy of royal tables.
Step-by-Step Preparation Guide
Preparation Timeline
Allow 30 minutes for preparation plus 1 hour 15 minutes cooking time. For best results, follow this professional chef workflow:
- Prep (15 min): Peel and slice potatoes to uniform 1/16-inch thickness using mandoline
- Assembly (10 min): Layer potatoes precisely in buttered mold
- Refrigeration (15 min): Chill to set layers before baking
- Baking (60-75 min): Slow oven method for perfect texture
- Resting (10 min): Critical for clean slicing
Professional Layering Technique
The signature geometric pattern requires precise layering. Start with a buttered 6-inch ring mold or loaf pan. Alternate between horizontal and vertical slices in a checkerboard pattern—this creates the distinctive "cobblestone" appearance when sliced. Between each layer, brush lightly with melted butter and sprinkle with the cream mixture (cream, garlic, nutmeg, salt, and pepper).
Cooking Process & Temperature Guide
Temperature control makes or breaks potato pave. Unlike gratins that bake at higher temperatures, potato pave requires a low-and-slow approach (325°F/165°C) for 60-75 minutes. This gradual cooking allows starches to set properly without burning the exterior.
For perfect results, follow these professional indicators:
- Visual cue: Golden brown top with no liquid visible
- Texture test: Knife inserts with slight resistance (not completely soft)
- Internal temperature: 195-200°F (90-93°C) when measured with instant-read thermometer
Resting time is non-negotiable—allow exactly 10 minutes after removing from oven. This critical period lets the starches set, ensuring clean slices without collapsing. As noted in Food Chemistry research, potato starch retrogradation during this resting phase creates the ideal structural integrity for clean slicing.
Serving Suggestions & Occasion Pairing
Traditional French potato pave shines alongside roasted meats, particularly duck breast or beef tenderloin. Its elegant presentation makes it ideal for:
- Formal dinners: Pair with red wine-braised short ribs
- Holiday meals: Complement roast turkey or goose
- Vegetarian entrees: Serve with mushroom bourguignon
For everyday meals, this classic French potato pave recipe transforms weeknight dinners with minimal effort. Slice into 1-inch portions using a hot knife for clean presentation. The geometric layers create visual drama that impresses guests while requiring surprisingly simple preparation when you follow these professional techniques.
Troubleshooting Common Issues
Even experienced cooks encounter challenges with potato pave. Here's how to solve the most frequent problems:
- Soggy layers: Caused by insufficient butter between layers or high-moisture potatoes. Solution: Use waxy potato varieties and ensure each layer receives adequate butter
- Collapsed structure: Results from inadequate chilling or premature slicing. Solution: Refrigerate assembled pave for 15 minutes before baking and allow full 10-minute resting period
- Burnt exterior: Occurs with oven temperature too high. Solution: Bake at precise 325°F/165°C and cover with foil if browning too quickly
- Uneven cooking: Caused by inconsistent slice thickness. Solution: Use mandoline for uniform 1/16-inch slices
Perfect Potato Pave Every Time: Pro Tips
Professional chefs achieve consistent results with these advanced techniques:
- Pre-salting: Sprinkle sliced potatoes with salt and let drain 10 minutes to remove excess moisture
- Butter temperature: Use melted butter at room temperature for even distribution
- Mold selection: Ring molds create more elegant presentation than loaf pans
- Reheating method: Revive leftovers in air fryer at 350°F for 8 minutes for crispy texture
Frequently Asked Questions
Can I make potato pave ahead of time?
Yes, assemble the potato pave up to 24 hours in advance. Refrigerate covered with plastic wrap touching the surface. Add 10-15 minutes to baking time if starting from cold. For best texture, complete the final baking just before serving.
What's the best potato variety for potato pave?
Yukon Gold offers the ideal balance of starch and moisture for clean layering with creamy texture. Russets work well but require careful moisture management. Avoid waxy potatoes like red potatoes which don't layer cleanly. For authentic French results, choose varieties with 16-18% starch content.
Why does my potato pave fall apart when slicing?
This typically happens when insufficient resting time is allowed after baking. The starches need exactly 10 minutes to set properly. Also ensure you're using a hot, sharp knife for slicing. If problems persist, increase chilling time before baking to 20 minutes for better structural integrity.
Can I make a dairy-free version of potato pave?
Yes, substitute heavy cream with full-fat coconut milk and use vegan butter. The texture remains excellent though the flavor profile changes slightly. For best results, add 1 teaspoon of nutritional yeast to mimic the umami notes normally provided by dairy. This dairy-free potato pave alternative works well for dietary restrictions without sacrificing structural integrity.
How do I achieve perfectly defined layers in potato pave?
The key is uniform slice thickness (1/16 inch) using a mandoline, alternating horizontal and vertical layering, and adequate butter between each layer. Professional chefs recommend using a ring mold instead of loaf pan for cleaner geometric patterns. Chilling the assembled pave for 15 minutes before baking sets the structure for perfect layer definition.


 浙公网安备
33010002000092号
浙公网安备
33010002000092号 浙B2-20120091-4