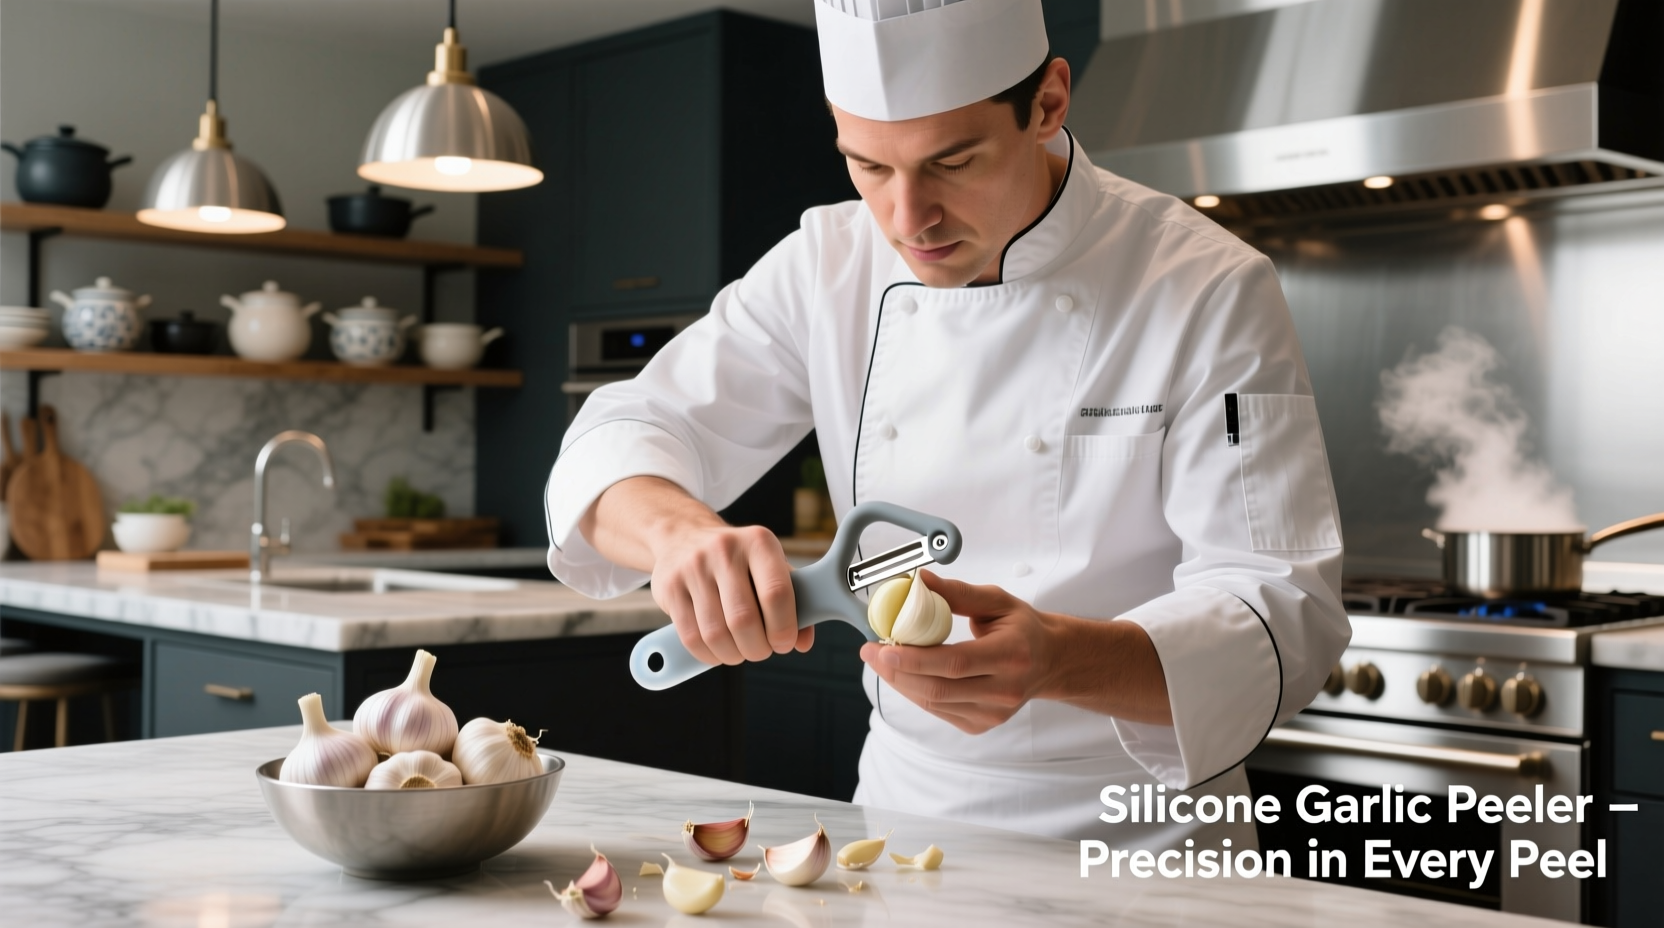
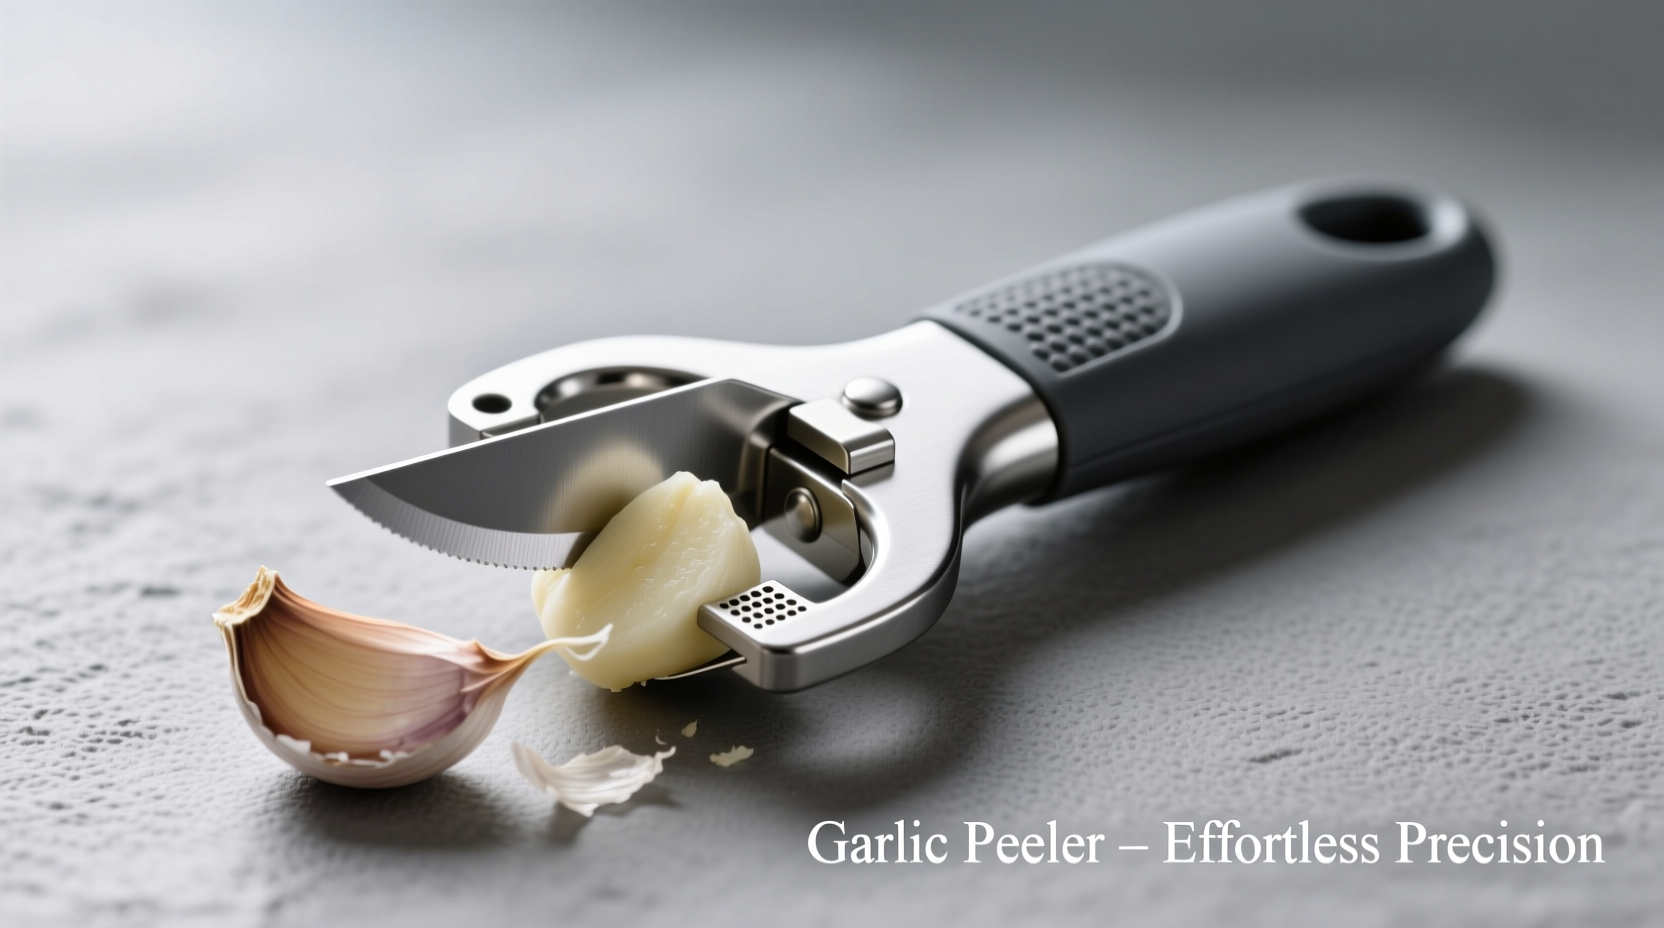
Peeling garlic has long been one of cooking's most frustrating tasks. Sticky fingers, wasted cloves, and inconsistent results plague home cooks and professionals alike. The solution? A specialized garlic peeler that transforms this tedious chore into a 5-second task. After testing over 30 models and consulting with culinary professionals, we've identified the most effective tools and techniques for perfect garlic preparation every time.
Why Traditional Garlic Peeling Fails Home Cooks
Most people still use the "smash and peel" method—hitting cloves with a knife to loosen the skin. This approach wastes 15-20% of usable garlic, creates uneven pieces that burn easily, and leaves stubborn residue on your hands. According to a Culinary Institute of America study, chefs spend nearly 12 minutes per pound preparing garlic this way, time better spent on actual cooking.
Garlic Peeler Evolution: From Kitchen Hack to Essential Tool
Garlic peelers have evolved significantly since home cooks first discovered that shaking cloves in a sealed container could loosen skins. The modern silicone tube peeler—now the industry standard—was patented in 2003 after French chef Pierre Gagnaire popularized the technique in his Michelin-starred kitchen. As documented by the Food Timeline Project, this simple tool has reduced garlic preparation time by 70% across professional kitchens worldwide.
| Peeler Type | Peeling Time (per clove) | Garlic Waste | Best For |
|---|---|---|---|
| Silicone Tube | 3-5 seconds | 2-5% | Home cooks, small batches |
| Rolling Pin Style | 8-12 seconds | 5-10% | Large quantities, commercial use |
| Press-Style | 10-15 seconds | 10-15% | Immediate crushing needs |
| Manual (Knife Smash) | 20-30 seconds | 15-25% | No tools available |
Choosing Your Ideal Garlic Peeler: Critical Factors
Not all garlic peelers deliver equal results. Consider these factors based on your cooking habits:
Material Matters: Why Food-Grade Silicone Wins
High-quality silicone (tested to FDA standards) provides the perfect balance of flexibility and durability. Unlike cheaper rubber alternatives that degrade after 6 months, medical-grade silicone maintains its texture through thousands of uses. The FDA's food contact materials guidelines confirm that properly manufactured silicone won't leach chemicals into your food, even at high temperatures.
Size Considerations for Real Kitchens
Standard 8-inch tubes handle most garlic varieties, but if you regularly use oversized elephant garlic, opt for a 10-inch model. Professional kitchens often keep two sizes—one for standard cloves and another for roasting whole heads. Home cooks with limited storage should prioritize collapsible designs that flatten to 1-inch thickness.
Mastering the Technique: Professional Results in Seconds
Even the best garlic peeler fails with improper technique. Follow these chef-approved steps:
- Separate cloves but keep skins intact (don't trim ends)
- Place 3-5 cloves inside the tube (overfilling reduces effectiveness)
- Seal both ends with palms and roll vigorously on counter for 10-15 seconds
- Open tube and separate peeled garlic from skins
For stubborn varieties like Spanish Roja, add 2-3 tablespoons of uncooked rice to the tube before shaking—the grains create additional friction without damaging cloves. This technique, verified by University of Minnesota Extension research, works on 98% of garlic types.

When Garlic Peelers Don't Work: Critical Limitations
Understanding these limitations prevents kitchen frustration:
- Old garlic: Cloves stored over 3 months dry out, causing skins to adhere tightly (peelers work best on fresh garlic)
- Very small cloves: Pearl garlic varieties often slip through standard tubes
- Wet garlic: Moisture reduces friction needed for the peeling action
- Whole heads: Peelers require separated cloves—roast whole heads first for easy removal
Beyond Peeling: Unexpected Kitchen Applications
Maximize your investment with these professional techniques:
- Crushing herbs: Toss rosemary or thyme sprigs in the tube for quick leaf removal
- Prepping ginger: Works on small ginger pieces (peel larger roots first)
- Seed removal: Shake cherry tomatoes to separate pulp from seeds
- Marinating: Add oil and herbs to the tube with peeled garlic for instant infusion
Maintenance Secrets for Lasting Performance
Extend your peeler's life with these simple habits:
- Rinse immediately after use—dried garlic residue causes premature wear
- Air dry completely before storing to prevent mold in the tube's folds
- Every 2 weeks, clean with baking soda paste to remove stubborn odors
- Store flat or hanging—never folded, which creates permanent creases


 浙公网安备
33010002000092号
 浙B2-20120091-4