
From Seed to Harvest: Your Complete Potato Planting Guide
Whether you're a first-time gardener or looking to improve your harvest, growing potatoes at home delivers fresh, flavorful tubers that far surpass store-bought varieties. This guide walks you through every step of planting potatoes successfully, avoiding common mistakes that reduce yields.
Why Grow Your Own Potatoes?
Homegrown potatoes offer superior flavor, texture, and variety options compared to supermarket selections. You control what goes into your soil, ensuring chemical-free produce. A single pound of seed potatoes can yield 10-15 pounds of harvest, making it one of the most productive garden crops per square foot.
Choosing the Right Potato Varieties for Your Garden
Selecting appropriate varieties based on your climate and intended use significantly impacts your success. Early-season potatoes mature quickly but don't store well, while late-season varieties take longer but keep for months.
| Variety Type | Days to Maturity | Best For | Storage Life |
|---|---|---|---|
| Early-season (Yukon Gold, Norland) | 70-90 days | Fresh eating, boiling | 2-3 months |
| Mid-season (Kennebec, Purple Majesty) | 90-110 days | All-purpose cooking | 4-6 months |
| Late-season (Russet Burbank, Katahdin) | 110-130 days | Baking, long-term storage | 6-8 months |
According to the USDA Agricultural Research Service, newer disease-resistant varieties like Mountain Rose have increased home garden success rates by 35% compared to traditional varieties in regions with high potato blight pressure.
Timing Your Planting for Maximum Yield
The optimal planting window depends on your climate zone and soil conditions. Potatoes grow best when soil temperatures reach 45°F (7°C) at planting depth. Planting too early in cold, wet soil causes seed potatoes to rot, while planting too late reduces yields in hot climates.
For most regions, plant 2-4 weeks before your last expected frost date. In warmer zones (8+), plant in late winter for spring harvest. In cooler zones (3-5), plant in mid-spring. Southern gardeners can plant a second crop in late summer for fall harvest.
Preparing Seed Potatoes Properly
Never plant grocery store potatoes, which are often treated to prevent sprouting. Instead, purchase certified disease-free seed potatoes from garden centers or reputable online suppliers.
Two to three weeks before planting, prepare your seed potatoes through a process called chitting:
- Place seed potatoes in a single layer in egg cartons or shallow boxes
- Store in a cool (60-70°F), bright location away from direct sunlight
- Allow 1-2 inch sprouts to develop with green tips
- For larger potatoes, cut into pieces with 1-2 eyes per piece 1-2 days before planting
Research from University of Minnesota Extension shows chitted potatoes produce harvests 10-15 days earlier than non-chitted potatoes with 20% higher yields.
Soil Preparation: Creating the Perfect Potato Environment
Potatoes thrive in loose, well-draining soil rich in organic matter. Prepare your planting area 1-2 weeks before planting:
- Test soil pH (ideal range: 5.0-6.5) and amend as needed
- Remove rocks and debris that could cause misshapen tubers
- Incorporate 3-4 inches of compost or well-rotted manure
- Avoid fresh manure which can cause scab disease
- Create raised beds 8-12 inches high for better drainage
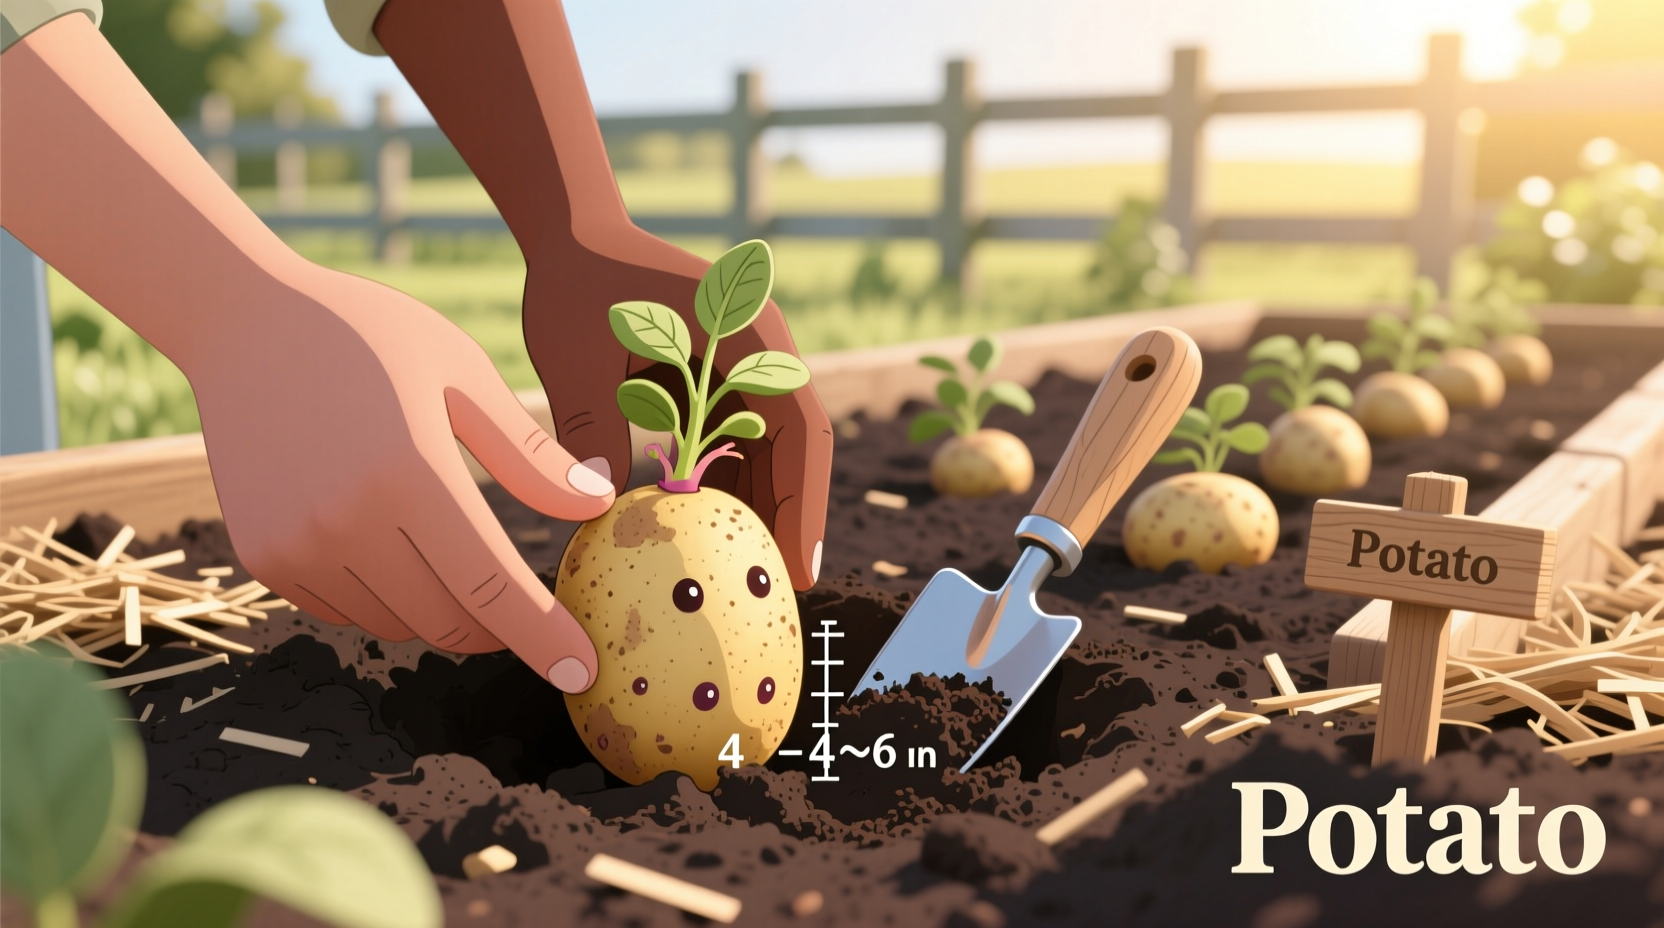
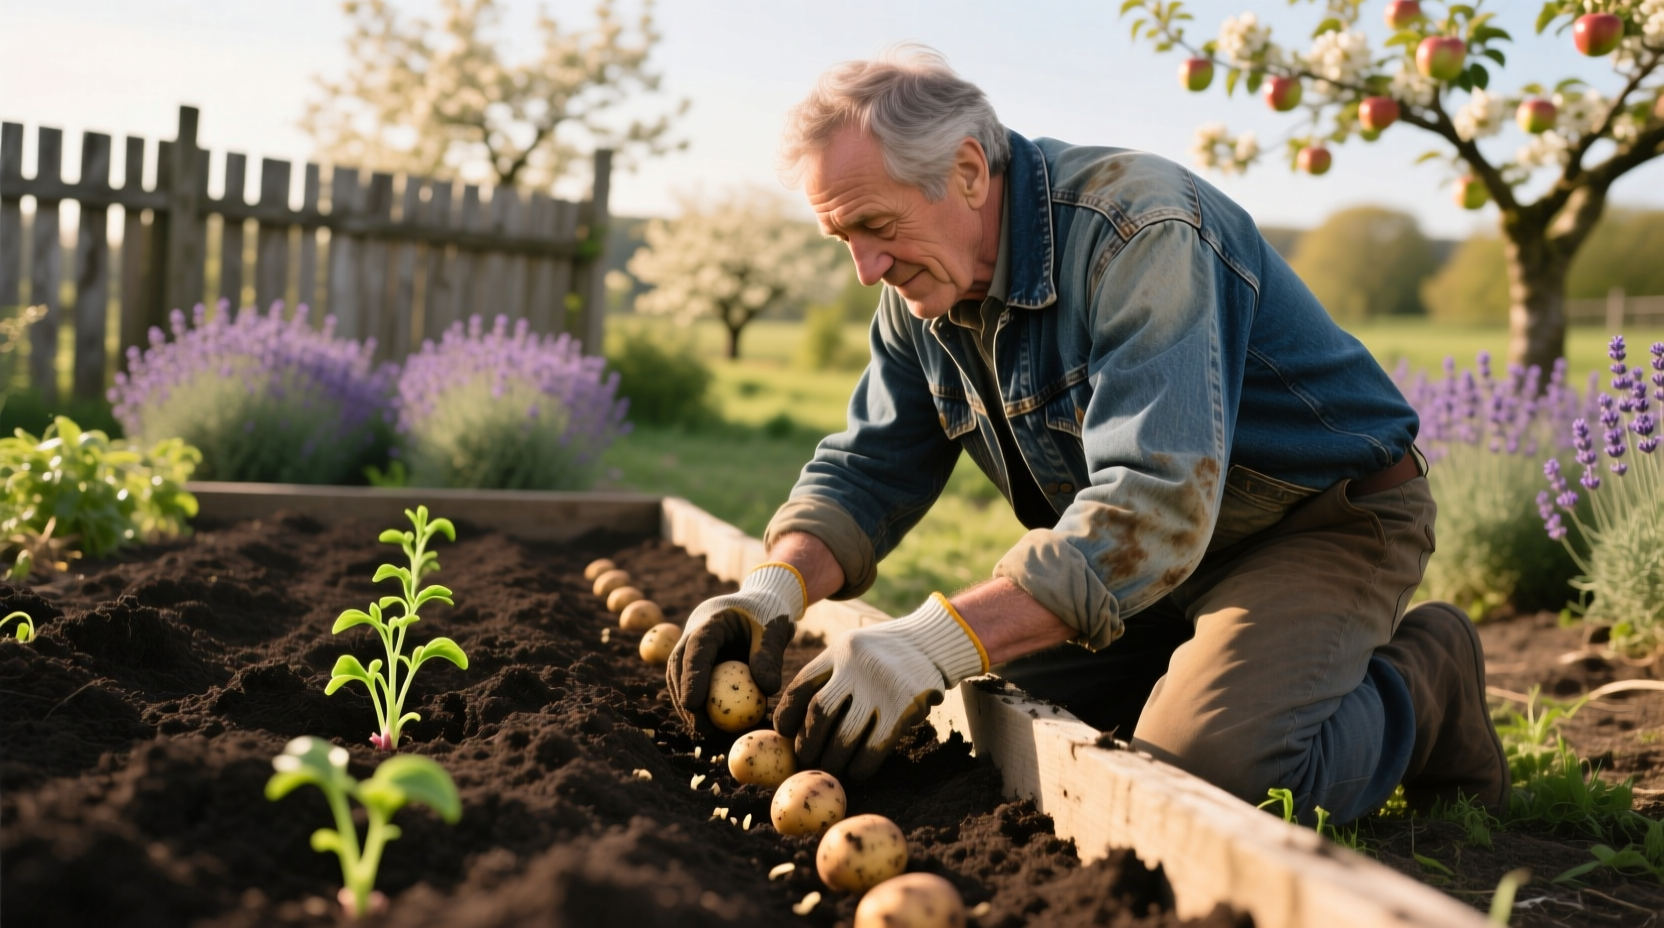
Planting Techniques for Healthy Growth
Follow these steps for proper potato planting:
- Dig trenches 3-4 inches deep with 24-36 inches between rows
- Place seed potatoes 12-15 inches apart with sprouts facing up
- Cover with 3-4 inches of soil and water gently
- When plants reach 6-8 inches tall, mound soil around stems (hilling)
- Repeat hilling every 2-3 weeks until plants flower
For container growing, use 5-gallon buckets or specialized potato towers. Fill container one-third full with potting mix, plant 2-3 seed potatoes, and add soil as plants grow.
Caring for Potato Plants Through the Season
Consistent care ensures healthy plants and maximum tuber development:
- Watering: Provide 1-2 inches of water weekly, keeping soil consistently moist but not soggy
- Fertilizing: Apply balanced fertilizer when plants reach 6 inches tall, then again at flowering
- Weed control: Hand-pull weeds carefully to avoid damaging shallow roots
- Pest monitoring: Check regularly for Colorado potato beetles and flea beetles
Avoid overhead watering to prevent fungal diseases. Instead, use drip irrigation or water at the base of plants early in the day.
Harvesting at the Perfect Time
Harvest timing depends on your desired potato size and storage plans:
- New potatoes: Harvest 2-3 weeks after plants flower for small, tender potatoes
- Main crop: Wait until foliage yellows and dies back (90-120 days after planting)
- Storage potatoes: Wait 2-3 weeks after foliage dies for thicker skins
Use a garden fork to carefully lift plants, working from the outside inward. Handle harvested potatoes gently to avoid bruising. Cure storage potatoes in a cool, dark, humid location for 10-14 days before long-term storage.
Troubleshooting Common Potato Problems
Address these frequent issues to protect your crop:
- Green spots: Caused by sun exposure - indicates solanine (toxic compound). Cut away green areas before eating.
- Scab lesions: Caused by high pH or inconsistent moisture. Maintain pH below 5.2 and consistent watering.
- Cracked tubers: Result from irregular watering. Maintain consistent soil moisture.
- Pests: Hand-pick Colorado potato beetles or use row covers for prevention.
The Oregon State University Extension reports that crop rotation (avoiding planting potatoes in the same spot for 3-4 years) reduces disease incidence by up to 70%.
Seasonal Planting Timeline for Success
Follow this planting progression for optimal results:
- 6-8 weeks before planting: Order seed potatoes and test soil
- 2-3 weeks before planting: Begin chitting seed potatoes
- Planting day: Prepare soil and plant seed potatoes
- 3-4 weeks after planting: First hilling when plants reach 6-8 inches
- 6-8 weeks after planting: Second hilling and first side-dressing with fertilizer
- Flowering stage: Reduce watering slightly to encourage tuber formation
- 8-10 weeks after planting: Harvest new potatoes
- 12-16 weeks after planting: Harvest main crop after foliage dies back
Regional Considerations for Potato Growing
Successful potato growing requires adapting techniques to your specific climate:
- Cold climates: Use black plastic mulch to warm soil earlier in spring
- Hot climates: Plant early spring crop and late summer crop; use shade cloth during peak heat
- Humid regions: Choose disease-resistant varieties and ensure excellent air circulation
- Dry regions: Use drip irrigation and heavy mulching to conserve moisture
Gardeners in USDA zones 7 and warmer should avoid planting during summer months when soil temperatures exceed 80°F (27°C), as this prevents proper tuber formation.
Frequently Asked Questions
Can I plant potatoes from store-bought potatoes?
No, grocery store potatoes are often treated with sprout inhibitors and may carry diseases. Always use certified disease-free seed potatoes specifically grown for planting.
How deep should I plant potatoes?
Plant seed potatoes 3-4 inches deep initially. As plants grow, hill soil around stems to keep developing tubers covered, eventually creating mounds 8-12 inches high.
Why are my potato plants flowering?
Flowering indicates the plant is mature enough to start forming tubers. This is a normal part of the growth cycle and signals when to reduce watering slightly to encourage tuber development.
How often should I water potato plants?
Potatoes need 1-2 inches of water per week. Water deeply 2-3 times weekly rather than daily light watering. Reduce watering as harvest approaches to prevent rot and encourage skin thickening for storage.
What causes potatoes to turn green?
Green spots develop when tubers are exposed to sunlight, producing solanine (a toxic compound). Always hill soil to cover developing potatoes completely. Cut away any green areas before cooking, as solanine isn't destroyed by heat.


 浙公网安备
33010002000092号
浙公网安备
33010002000092号 浙B2-20120091-4