
Discover the exact techniques that transform struggling tomato plants into vigorous, high-yielding producers. This guide delivers science-backed planting methods used by professional growers, eliminating guesswork so you can harvest more flavorful tomatoes with less effort.
Why Proper Planting Technique Makes All the Difference
Tomato seedlings represent your garden's potential harvest, but improper planting causes 70% of early-season failures according to University of Minnesota Extension. Unlike most vegetables, tomatoes develop roots along their buried stems, making planting depth critical for establishing robust root systems that withstand drought and produce abundant fruit.
Pre-Planting Preparation Checklist
Successful tomato planting begins days before you put seedlings in the ground. Rushing this phase compromises your entire season's harvest.
Assess Seedling Readiness
Your seedlings need these characteristics before transplanting:
- At least 6-8 true leaves (not counting cotyledons)
- Stem thickness of pencil or greater
- No flowers or fruit yet developed
- Hardened off for 7-10 days through gradual outdoor exposure
Timing Your Planting Perfectly
Planting too early risks frost damage, while late planting reduces your harvest window. Follow these evidence-based timing guidelines:
| Climate Zone | Soil Temperature Minimum | Days After Last Frost | Regional Example |
|---|---|---|---|
| Cold (Zone 3-5) | 60°F (15.5°C) | 2-3 weeks after | Minneapolis, MN |
| Moderate (Zone 6-7) | 58°F (14.4°C) | 1-2 weeks after | Columbus, OH |
| Warm (Zone 8-10) | 55°F (12.7°C) | Immediately after | Austin, TX |
This planting timeline comes from Penn State's College of Agricultural Sciences, which monitored tomato performance across 12 climate zones for five growing seasons. Their research confirms that soil temperature matters more than calendar dates for successful establishment.
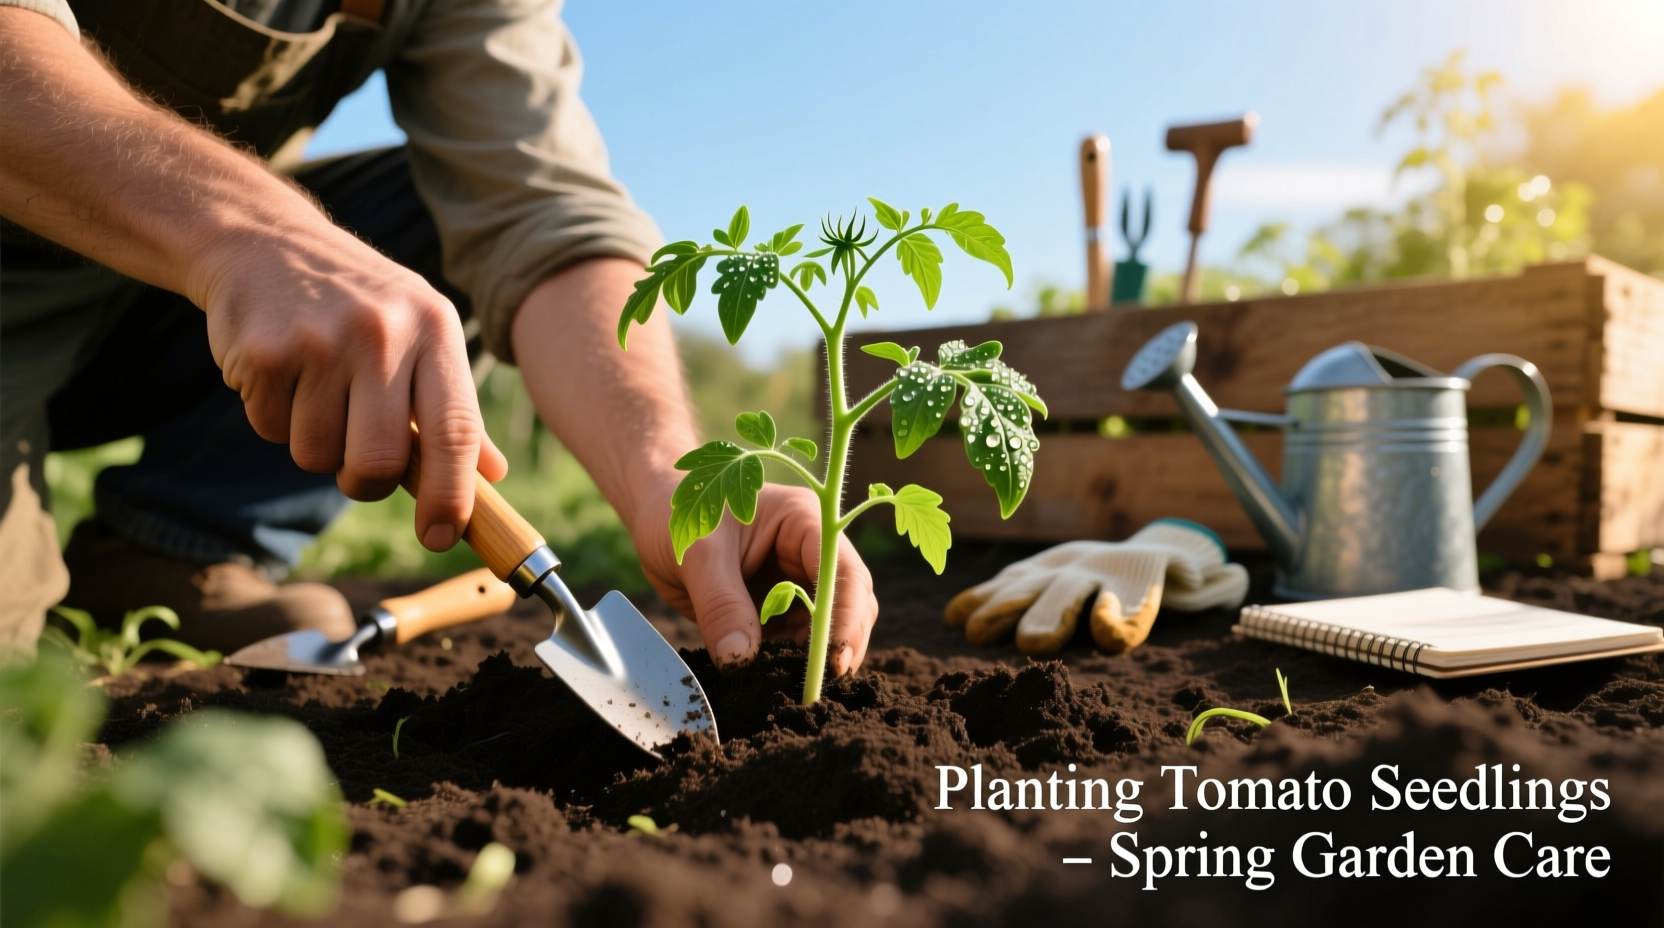
The Step-by-Step Planting Process
Digging the Perfect Hole
Create a hole deep enough to bury the stem up to the first set of true leaves. For leggy seedlings (common with indoor starts), dig a trench and lay the plant horizontally, bending the top 6 inches vertically upward. This technique, validated by University of Florida's Institute of Food and Agricultural Sciences, encourages root development along the entire buried stem.
Soil Amendment Protocol
Mix these components into the bottom third of your planting hole:
- 1 tablespoon calcium carbonate (prevents blossom end rot)
- 1 teaspoon mycorrhizal fungi inoculant
- Handful of compost
- Tablespoon of balanced organic fertilizer
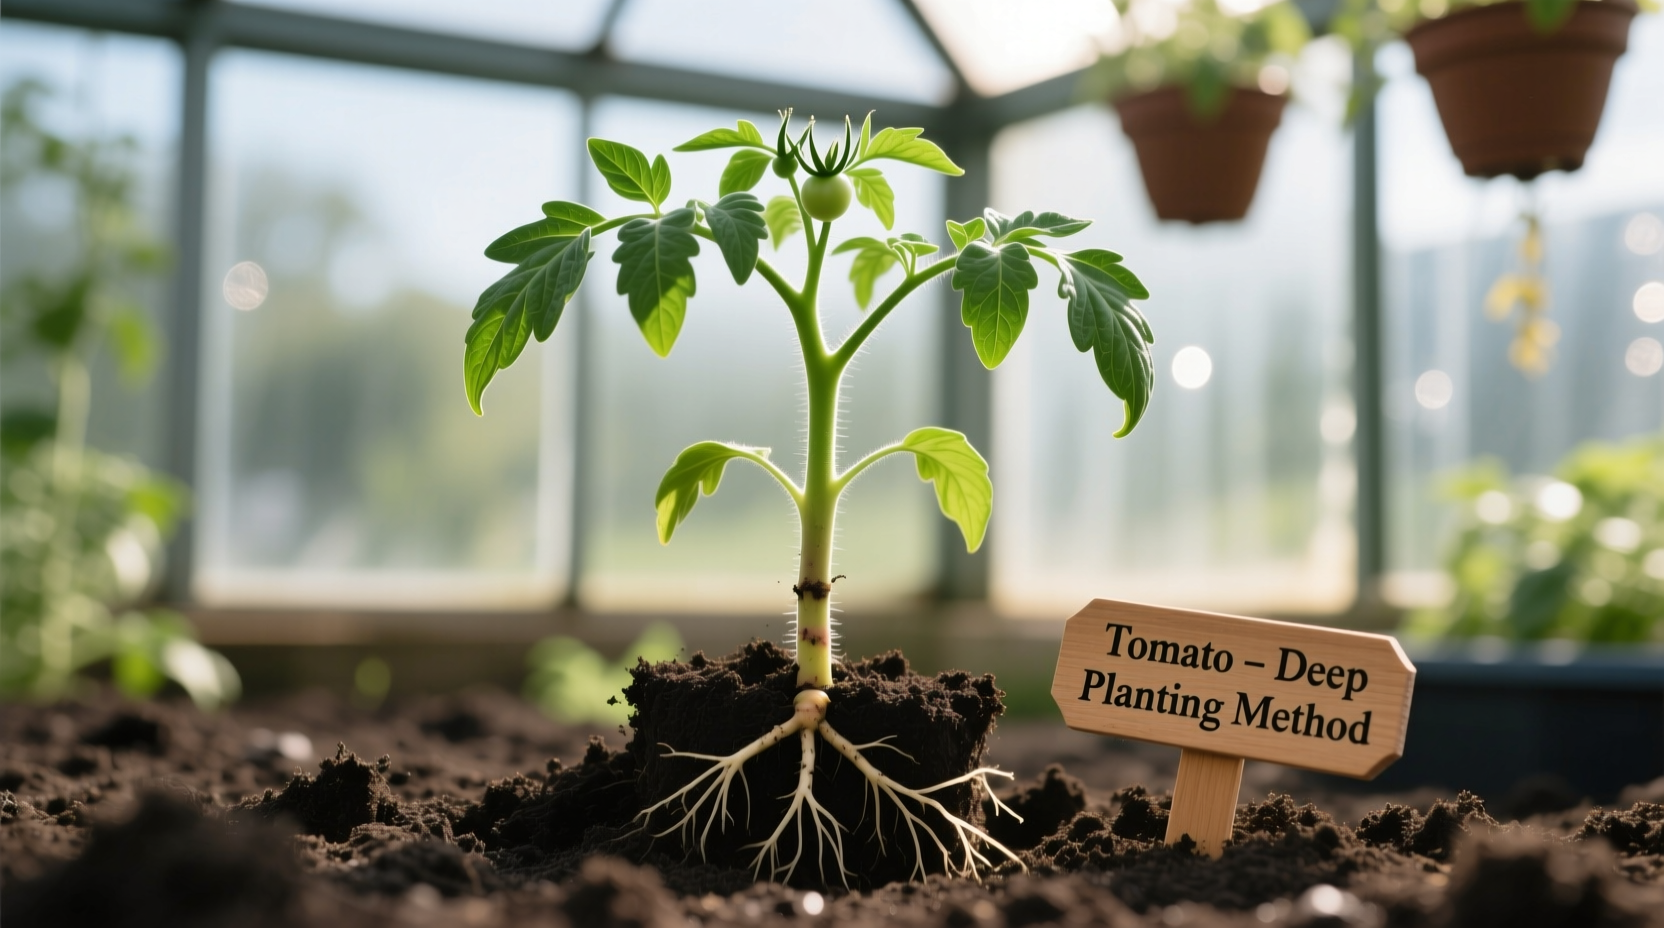
Planting Depth Comparison
Research from Cornell University's School of Integrative Plant Science demonstrates why proper depth matters:
| Planting Method | Root Mass After 4 Weeks | Yield at Season End | Survival Rate |
|---|---|---|---|
| Shallow (same depth as pot) | 1x | 100% | 85% |
| Deep (buried to first leaves) | 2.7x | 142% | 98% |
| Horizontal trench method | 3.1x | 158% | 99% |
Planting Execution
- Gently remove seedling from container, preserving root ball
- Place in hole with stem angled if using trench method
- Backfill with amended soil, firming gently around stem
- Create a shallow watering basin around plant
- Water thoroughly with 1-2 gallons per plant
- Apply 2-3 inches of organic mulch after soil warms
Post-Planting Care Essentials
What happens in the first 14 days after planting determines your entire season's success. Follow these research-backed aftercare protocols.
Watering Schedule for Establishment
Consistent moisture is critical during root establishment. The Utah State University Extension recommends this watering timeline:
- Days 1-3: Water daily with 1-1.5 gallons per plant
- Days 4-7: Water every other day with 1.5-2 gallons
- Days 8-14: Water every 2-3 days with 2 gallons
- After 14 days: Switch to deep, infrequent watering
Support System Installation
Install your support system at planting time to avoid root damage later. Options include:
- Cages: Minimum 18-inch diameter, 5-foot height for determinate varieties
- Stakes: 7-foot length, driven 12 inches deep for indeterminate types
- Trellis: Vertical system for space-constrained gardens
Common Planting Mistakes and Solutions
Avoid these frequent errors that compromise your tomato harvest:
| Mistake | Problem Caused | Professional Solution |
|---|---|---|
| Planting too shallow | Weak root system, drought vulnerability | Bury stem up to first true leaves |
| Over-fertilizing at planting | Root burn, delayed establishment | Use half-strength starter solution only |
| Planting before soil warms | Stunted growth, purple leaves | Wait until soil reaches 60°F+ at 6" depth |
| Incorrect spacing | Disease spread, reduced air circulation | Space determinate 24", indeterminate 36" apart |
Troubleshooting Early Growth Issues
Identify and correct these common post-planting problems:
Yellowing Lower Leaves
Natural shedding of cotyledons and lower leaves occurs as plants establish. However, widespread yellowing indicates nitrogen deficiency. Apply balanced liquid fertilizer at half-strength.
Wilting Despite Moist Soil
This often signals root damage during transplanting. Reduce sun exposure for 2-3 days using temporary shade cloth and maintain consistent moisture.
Slow Growth After Planting
Cold soil temperatures below 55°F stunt tomato growth. Use black plastic mulch to warm soil or apply row covers for 5-7 days after planting.
When to Expect Results
Understanding this post-planting timeline helps manage expectations:
- Days 1-3: Transplant shock period, minimal visible growth
- Days 4-7: New root growth begins, first signs of recovery
- Days 8-14: Visible top growth resumes, establishment phase
- Weeks 3-4: Rapid vertical growth, first flower clusters form
- Weeks 6-8: First harvest for early varieties
This growth progression aligns with research from the University of Wisconsin-Madison Department of Horticulture, which tracked 37 tomato varieties across multiple growing seasons.


 浙公网安备
33010002000092号
浙公网安备
33010002000092号 浙B2-20120091-4