
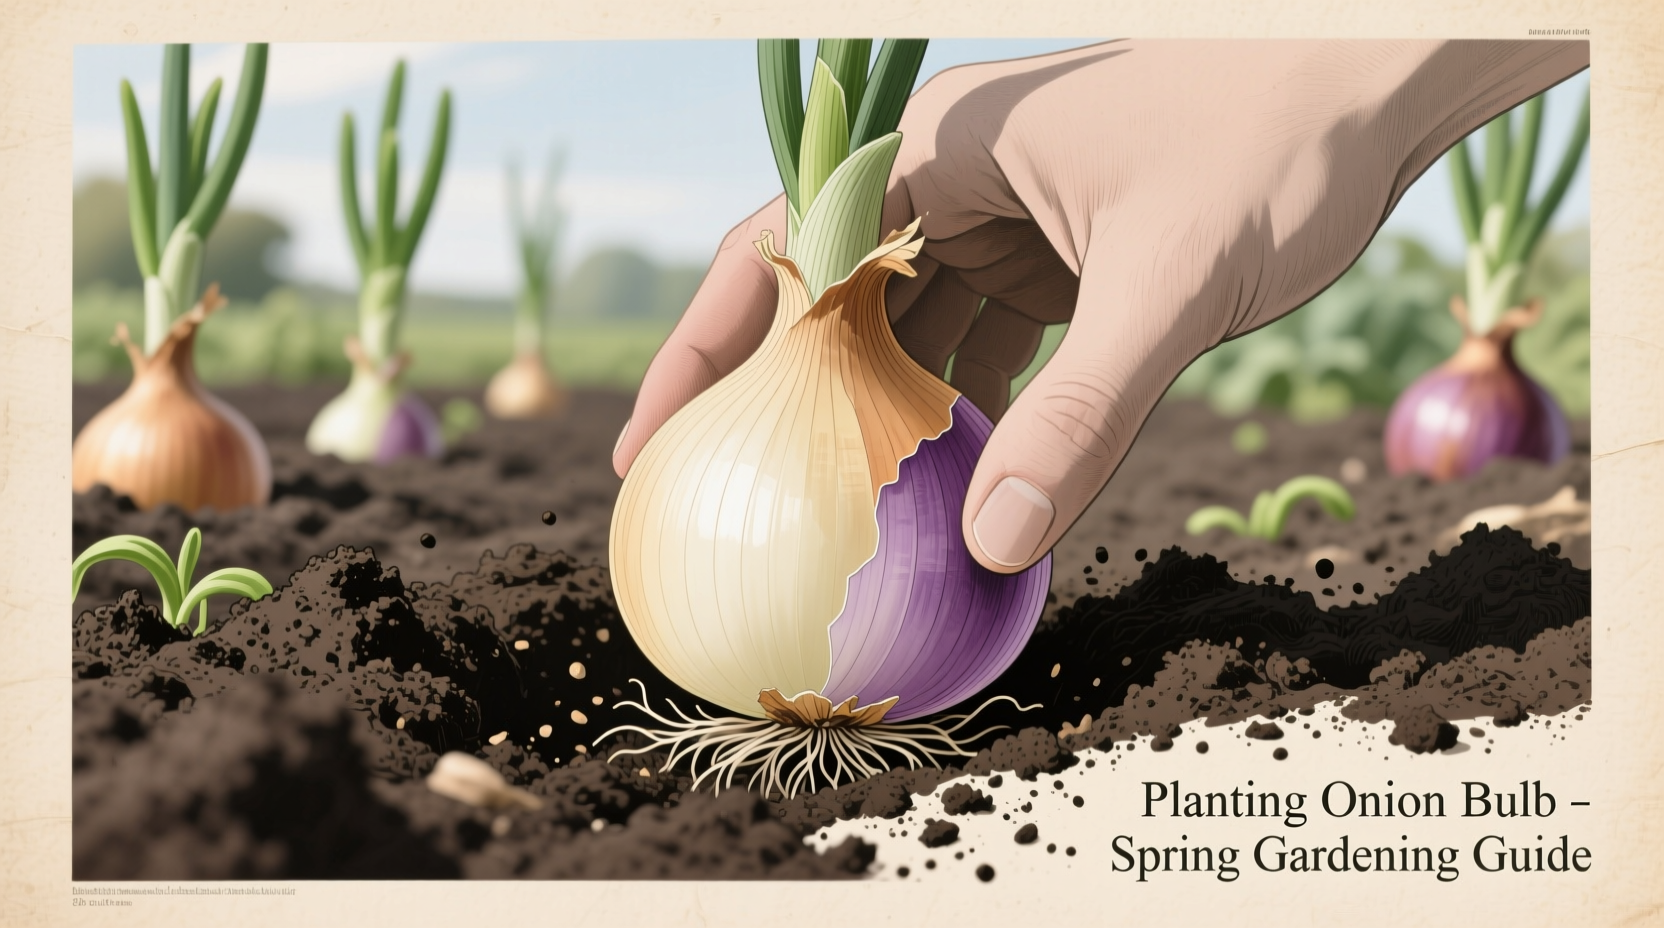
Plant onion bulbs 1-2 inches deep and 4-6 inches apart in well-draining soil with pH 6.0-7.5, ideally 4-6 weeks before your last spring frost date. Choose firm, disease-free bulbs without sprouts, plant with pointed end up, and water thoroughly after planting for best results.
Ready to grow your own flavorful onions? Whether you're a beginner gardener or looking to perfect your technique, this guide delivers exactly what you need to know about planting onion bulbs successfully. Forget confusing advice—here's a clear, step-by-step approach that works for home gardeners everywhere.
Why Onion Bulbs Outperform Seeds for Home Gardeners
While you can grow onions from seeds, planting onion bulbs (also called sets) offers significant advantages for most home gardeners. Bulbs establish faster, mature earlier, and generally produce larger onions than seed-grown plants. According to the University of Minnesota Extension, onion bulbs typically reach harvest 50-70 days after planting, compared to 100-120 days for seed-started plants.
| Planting Method | Time to Harvest | Success Rate | Best For |
|---|---|---|---|
| Onion Bulbs (Sets) | 50-70 days | 85-90% | Beginners, short-season climates |
| Transplants | 75-95 days | 75-80% | Experienced gardeners |
| Seeds | 100-120 days | 60-70% | Cooler climates, specialty varieties |
Perfect Timing: When to Plant Onion Bulbs in Your Region
The optimal planting window depends on your climate zone. In most regions, plant onion bulbs as soon as the soil can be worked in spring—typically when soil temperatures reach 50°F (10°C). The USDA Plant Hardiness Zone Map provides critical guidance:
- Zones 3-5: Plant in late March to early April (4-6 weeks before last frost)
- Zones 6-7: Plant in mid-March
- Zones 8-10: Plant in late fall or winter for spring harvest
Avoid planting too early when soil is still waterlogged, as this causes bulbs to rot. Wait until the ground is workable but still cool—onion bulbs establish best in cool conditions before summer heat arrives.
Soil Preparation: Creating the Ideal Environment
Onions thrive in well-draining soil rich in organic matter. Follow these preparation steps 2-3 weeks before planting:
- Test your soil pH (ideal range: 6.0-7.5). Amend acidic soil with garden lime.
- Remove rocks and debris that could deform bulb growth.
- Work in 2-3 inches of compost or well-rotted manure.
- Create raised beds 4-6 inches high for better drainage in heavy soils.
The Penn State Extension emphasizes that proper soil preparation prevents common issues like double bulbs and misshapen onions. Avoid fresh manure, which can cause excessive top growth at the expense of bulb development.
Step-by-Step Planting Process
Follow these precise steps for successful onion bulb planting:
1. Select Quality Bulbs
Choose firm bulbs without sprouts, mold, or soft spots. Smaller bulbs (about 1 inch diameter) typically produce larger mature onions than larger sets. Avoid bulbs that have begun to split, as they're more prone to bolting.
2. Proper Planting Depth and Spacing
Plant bulbs 1-2 inches deep with the pointed end up. Space bulbs 4-6 inches apart in rows 12-18 inches apart. Deeper planting (2 inches) works better in sandy soils, while shallower planting (1 inch) suits clay soils.
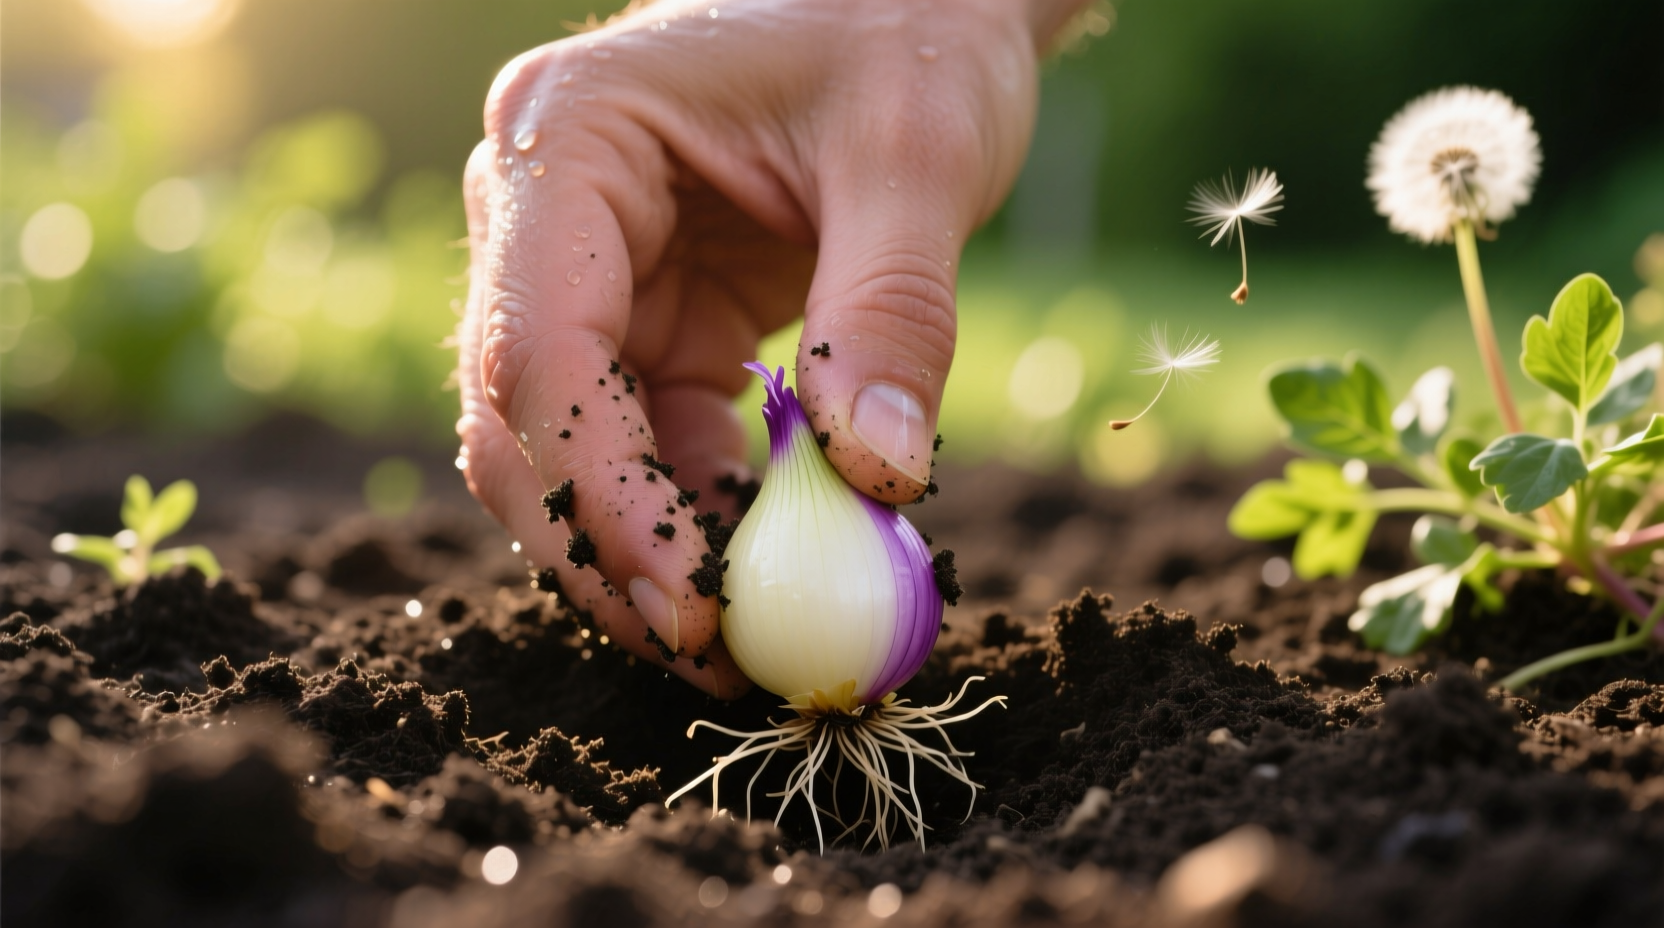
3. Watering Immediately After Planting
Water thoroughly after planting to settle the soil around bulbs. Provide 1 inch of water weekly during active growth, increasing to 2 inches as bulbs begin to swell.
Growth Timeline: What to Expect After Planting
Understanding the onion growth cycle helps you provide appropriate care:
| Weeks After Planting | What's Happening | Care Required |
|---|---|---|
| 0-2 | Root development | Maintain consistent moisture |
| 3-6 | Top growth accelerates | Weed carefully, apply nitrogen fertilizer |
| 7-10 | Bulb formation begins | Increase watering, stop nitrogen |
| 11-14 | Bulb swelling phase | Provide 2 inches water weekly |
| 15-18 | Natural top fall-over | Reduce watering, prepare for harvest |
Avoiding Common Onion Planting Mistakes
Even experienced gardeners make these preventable errors:
- Planting too deep: Bulbs planted deeper than 2 inches produce smaller onions
- Overcrowding: Spacing bulbs closer than 4 inches reduces bulb size
- Using nitrogen-heavy fertilizer during bulb formation: Promotes leaf growth at expense of bulbs
- Ignoring day-length requirements: Short-day varieties won't bulb properly in northern zones
The Oregon State University Extension notes that day-length sensitivity is critical—short-day onions (for southern states) form bulbs with 10-12 hours of daylight, while long-day varieties (for northern states) require 14-16 hours.
Harvesting and Curing Your Homegrown Onions
Harvest when about half the tops have naturally fallen over and turned brown. Carefully dig bulbs without bruising them. Cure onions in a warm, dry, well-ventilated area for 2-3 weeks until necks are completely dry and papery. Properly cured onions store for 4-6 months in mesh bags at 32-40°F with 65-70% humidity.
For immediate use, you can harvest "green onions" just 3-4 weeks after planting, when tops reach 6-8 inches tall. These immature onions provide delicious mild flavor for salads and garnishes.


 浙公网安备
33010002000092号
浙公网安备
33010002000092号 浙B2-20120091-4