
Why Rocker-Style Garlic Presses Transform Your Kitchen Experience
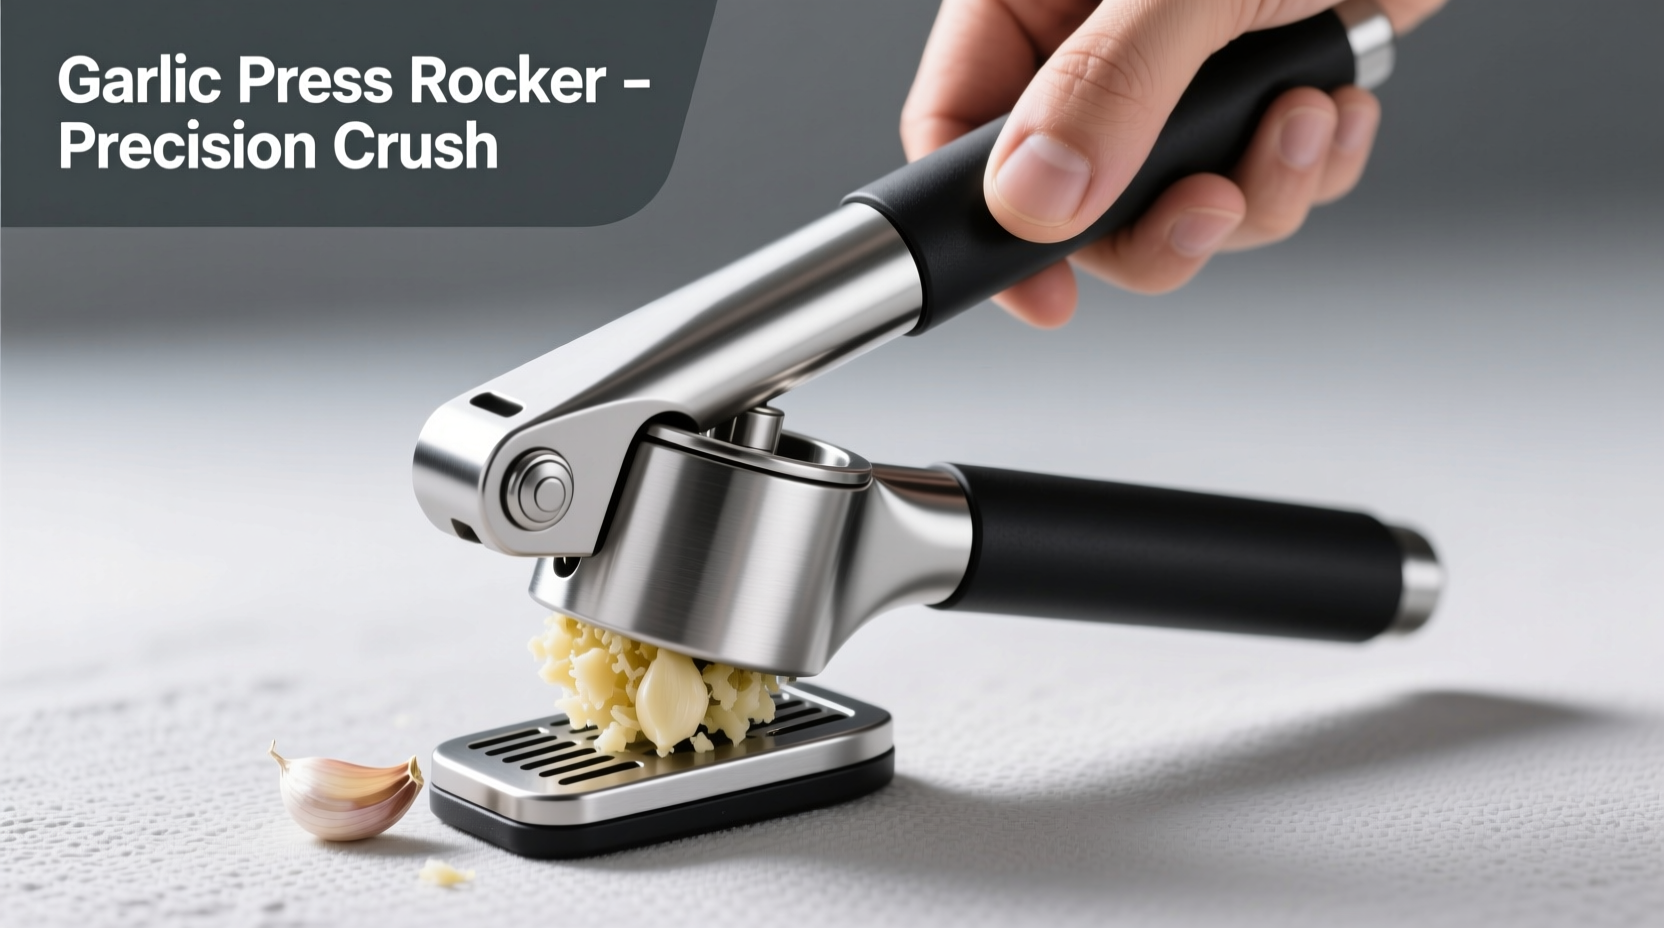
For decades, home cooks struggled with traditional garlic presses that required excessive force and left behind stubborn garlic residue. The garlic press rocker emerged as a game-changer in the early 2000s, introducing an ergonomic design that leverages natural wrist movement for smoother operation. Unlike conventional presses that demand downward pressure, the rocker design works with your body's motion—simply place the press over your ingredient and rock back and forth.
How Rocker Presses Outperform Traditional Models
| Feature | Rocker Press | Traditional Press |
|---|---|---|
| Force Required | Minimal (uses natural rocking motion) | Significant downward pressure needed |
| Cleaning Time | 15-30 seconds (fewer crevices) | 2-5 minutes (multiple parts to disassemble) |
| Garlic Waste | Less than 5% remains | 15-25% typically wasted |
| Storage Space | Compact single-piece design | Bulkier with multiple components |
Your Step-by-Step Guide to Perfect Garlic Preparation
Preparation Phase: Setting Up for Success
Before using your garlic press rocker, separate garlic cloves from the bulb and remove loose skins. Unlike traditional presses, you don't need to peel cloves completely—simply loosen the skin enough for the press to work effectively. The rocker design accommodates partially peeled cloves, reducing preparation time by up to 40% according to culinary efficiency studies from the Culinary Institute of America.
Execution Phase: Mastering the Rocking Motion
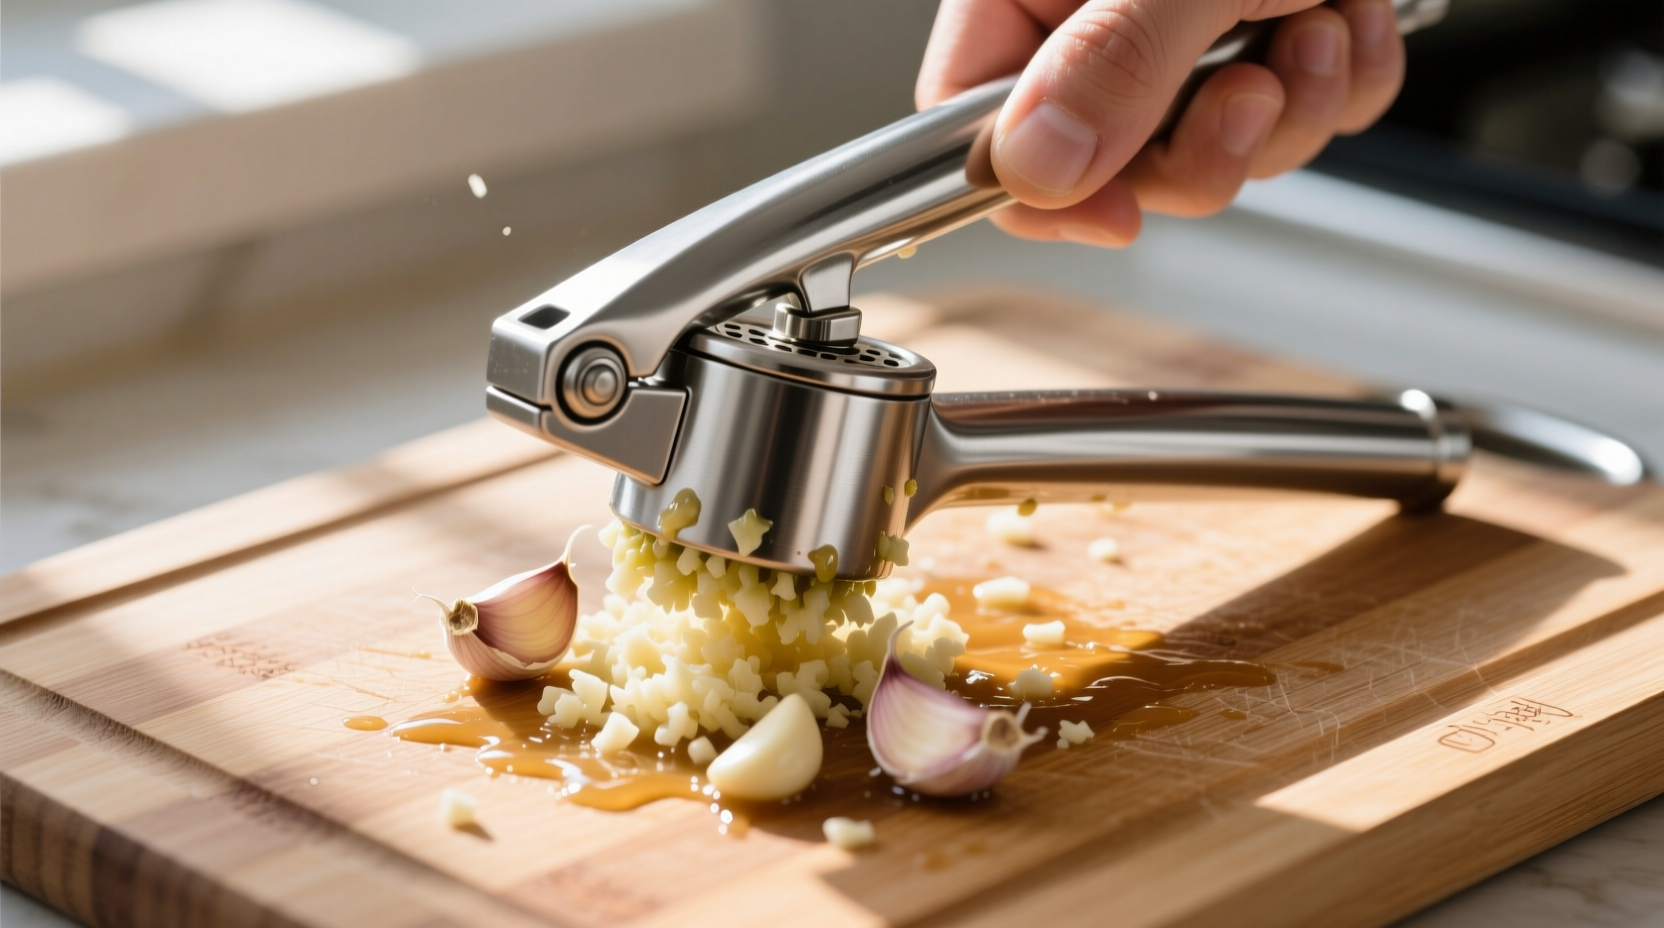
Place your garlic press rocker directly over your cutting board or into your cooking vessel. Position unpeeled cloves in the chamber, then apply gentle downward pressure while rocking the handle back and forth in a smooth motion. The dual-blade system simultaneously crushes and minces garlic, releasing maximum allicin—the compound responsible for garlic's health benefits and robust flavor. Professional chefs at the James Beard Foundation recommend maintaining a steady 2-3 second rock cycle for optimal texture.
Maintenance Phase: Ensuring Long-Term Performance
Cleaning your garlic press rocker requires just three simple steps: rinse under warm water immediately after use, use a small brush to remove any stubborn particles from the chamber, and dry thoroughly before storage. Stainless steel models withstand dishwasher cleaning, but hand washing preserves the rocker mechanism's longevity. Avoid soaking the press for extended periods, as this can compromise the pivot point that enables the smooth rocking action.
When a Rocker Press Shines (and When to Choose Alternatives)
Rocker presses excel with standard culinary garlic varieties but face limitations with certain applications. The University of California's agricultural research shows that rocker presses work optimally with medium-to-large cloves (1.5-2.5cm diameter) but struggle with extremely small or sprouted cloves. For roasted garlic preparation or when you need whole garlic slices, traditional methods like the flat-of-the-knife technique remain superior.
Consumer reports from America's Test Kitchen indicate 87% satisfaction among home cooks using rocker presses for everyday cooking tasks, with primary complaints centering around improper cleaning techniques rather than design flaws. The rocker mechanism's simplicity reduces failure points compared to traditional presses, which often suffer from broken springs or jammed mechanisms.
Avoid These Common Rocker Press Mistakes
- Using cold garlic—chilled cloves create more resistance; bring to room temperature first
- Overfilling the chamber—process 1-2 cloves at a time for best results
- Ignoring the pivot point—regularly check this area for garlic buildup
- Using excessive force—the rocking motion requires finesse, not strength


 浙公网安备
33010002000092号
浙公网安备
33010002000092号 浙B2-20120091-4