
Why Garlic Planting Timing Makes All the Difference
Getting the planting schedule right determines your garlic's bulb size and flavor intensity. Most gardeners plant in fall—specifically 4-6 weeks before your region's first expected frost. This timing allows cloves to develop roots before winter dormancy while preventing premature top growth. In USDA zones 3-5, aim for September to early October planting; zones 6-8 target October to early November.
Spring planting works in northern climates with short growing seasons but typically yields smaller bulbs. If planting in spring, get cloves in the ground as soon as soil is workable (35°F+). Remember: garlic requires 4-8 weeks of temperatures below 40°F to trigger bulb formation—a process called vernalization.
| Garlic Type | Best For Zones | Flavor Profile | Storage Life |
|---|---|---|---|
| Hardneck Varieties | 3-7 | Complex, robust | 5-7 months |
| Softneck Varieties | 5-10 | Milder, consistent | 9-12 months |
Soil Preparation: The Foundation of Flavorful Garlic
Garlic thrives in loose, well-draining soil rich in organic matter. Two weeks before planting, amend your garden bed with 3 inches of compost mixed into the top 8-12 inches of soil. Test your soil pH—garlic prefers slightly acidic to neutral conditions (6.0-7.0). If your soil tests below 6.0, add garden lime according to package instructions.
Avoid planting garlic where onions, leeks, or other alliums grew in the past two years to prevent disease buildup. Raised beds work exceptionally well for garlic, providing superior drainage that prevents clove rot during wet winter months. For heavy clay soils, incorporate 2-3 inches of coarse sand along with compost to improve texture.
Step-by-Step Planting Process
Follow these precise steps for maximum bulb development:
- Select quality cloves: Use plump, firm cloves from certified disease-free bulbs (not grocery store garlic)
- Prepare cloves: Gently separate bulbs into individual cloves 1-2 days before planting, keeping papery husk intact
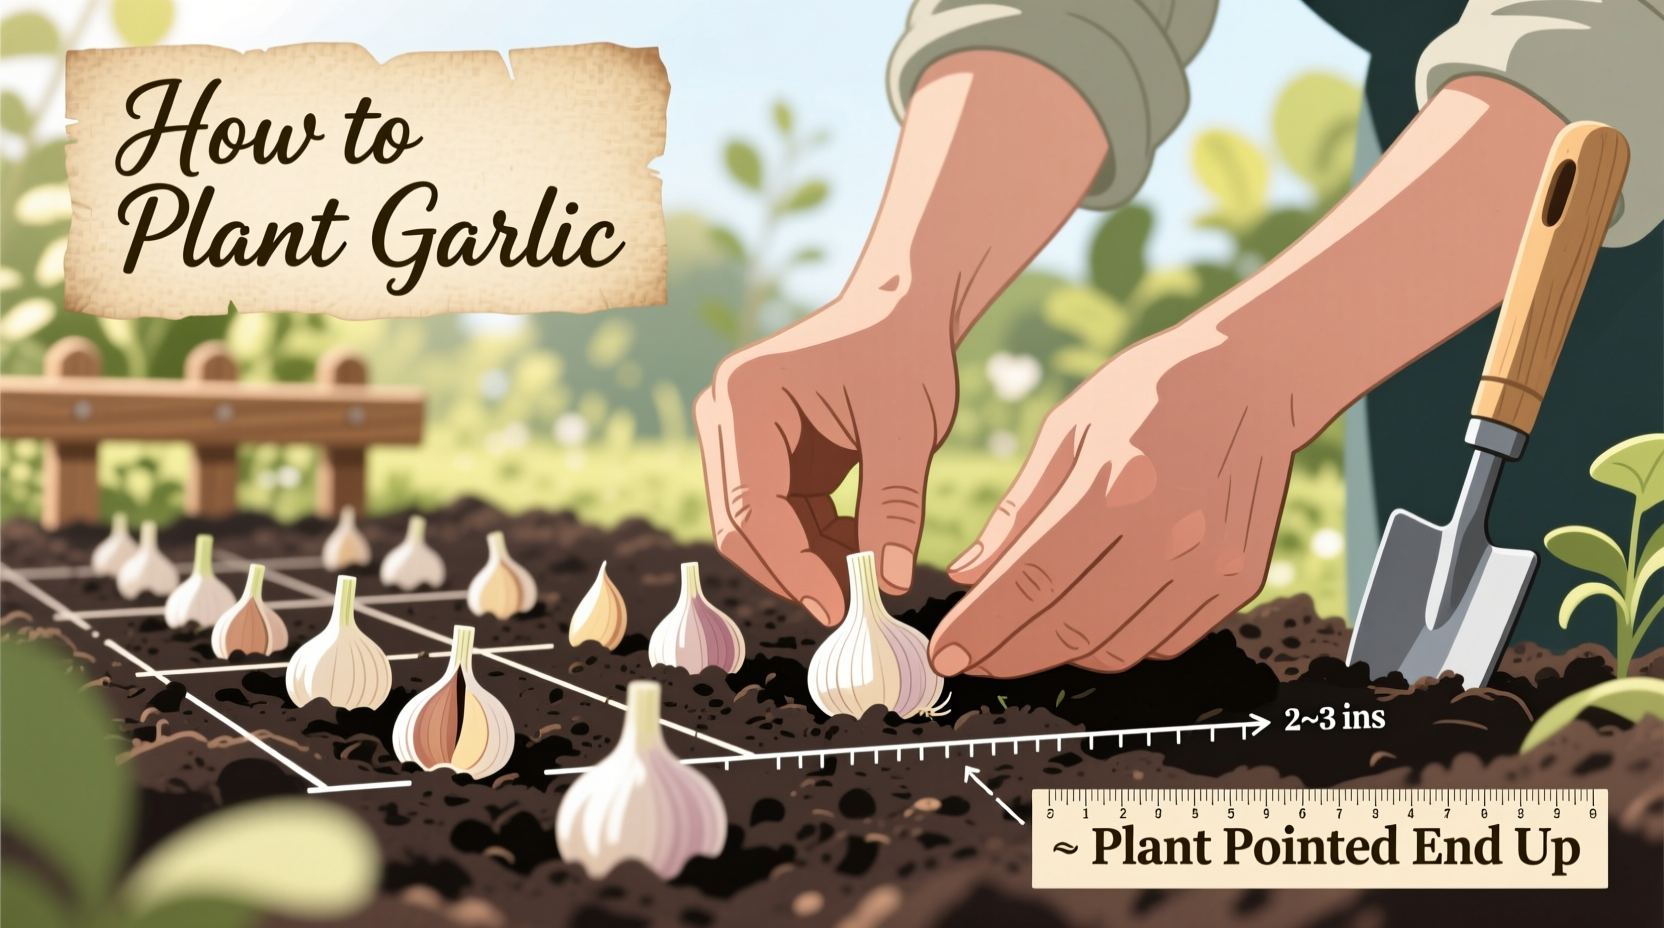
- Dig holes: Create holes 2 inches deep using a trowel or dibber, spacing 6 inches apart in rows 12 inches apart
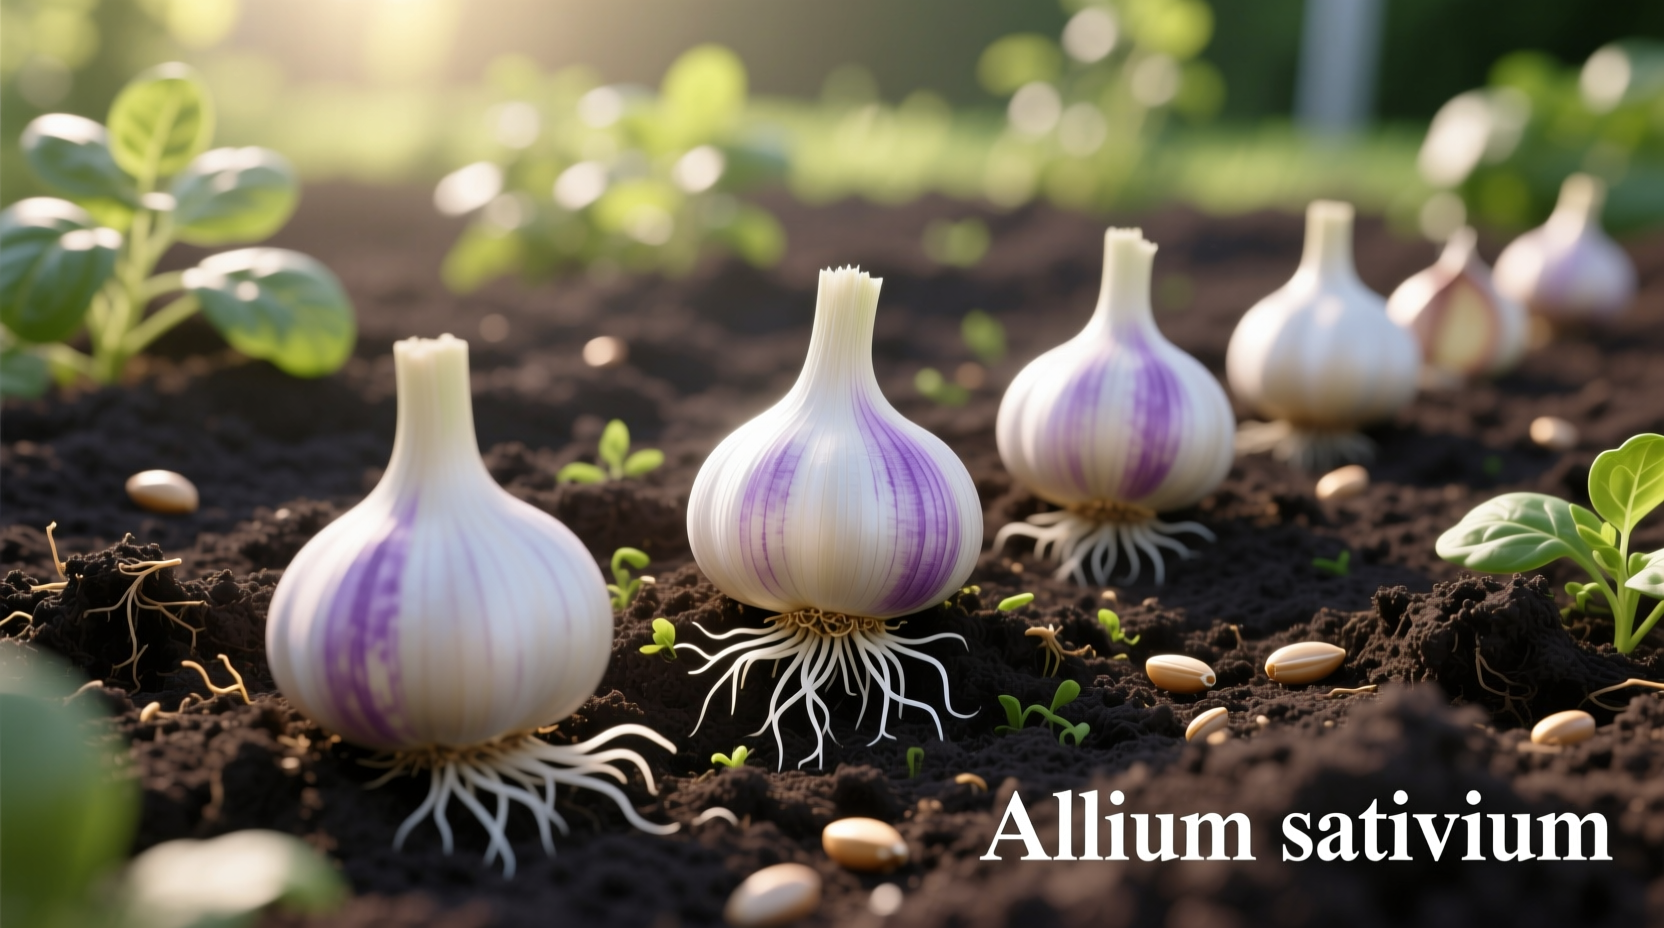
- Position cloves: Place cloves pointy-end up, flat root-end down—this orientation matters for proper growth
- Cover and water: Fill holes with soil, water thoroughly to settle soil around cloves
- Mulch heavily: Apply 4-6 inches of straw or shredded leaves after soil cools to 50°F
Seasonal Care Calendar for Thriving Garlic
Garlic's growth follows a predictable timeline that requires specific care at each stage:
| Season | Key Growth Stage | Critical Actions |
|---|---|---|
| Fall | Root development | Mulch after ground cools, water if rainfall <1"/week |
| Early Spring | Leaf emergence | Remove mulch when shoots appear, apply nitrogen fertilizer |
| Late Spring | Bulb formation | Water 1"/week, remove scapes on hardneck varieties |
| Early Summer | Maturity | Reduce watering, harvest when 40% of leaves yellow |
Avoid These 5 Common Garlic Planting Mistakes
Even experienced gardeners make these preventable errors that reduce yields:
- Planting too shallow: Cloves need 2 inches of soil coverage to prevent winter heaving and sunscald
- Using grocery store garlic: Treated with sprout inhibitors and may carry diseases not suited to your region
- Overwatering in winter: Saturated soil causes cloves to rot—only water if rainfall is less than 1" weekly
- Ignoring soil drainage: Garlic requires excellent drainage; raised beds solve this in heavy soils
- Harvesting too early: Wait until bottom third of leaves turn brown for maximum bulb size
Harvesting and Curing for Long-Term Storage
Timing your harvest correctly ensures maximum storage life. When 40% of leaves have turned brown (typically late June to July depending on variety and zone), carefully loosen soil with a garden fork and lift bulbs. Never pull by the stems.
Cure garlic in a shaded, well-ventilated area for 2-3 weeks. Braid softneck varieties when stems are still flexible. Store cured bulbs in mesh bags or open containers at 55-65°F with 60-70% humidity. Hardneck varieties typically store 5-7 months; softnecks can last 9-12 months under proper conditions.


 浙公网安备
33010002000092号
浙公网安备
33010002000092号 浙B2-20120091-4