
Why Blanching Transforms Your Potato Dishes
Professional chefs rely on potato blanching for one simple reason: it solves the fundamental challenge of achieving crispy exteriors with tender interiors. When you skip this step, you're gambling with inconsistent results. The science is clear—blanching initiates starch gelatinization while the rapid cooling halts the cooking process, creating the ideal structural foundation for whatever culinary application follows.
According to research from the USDA Agricultural Research Service, properly blanched potatoes maintain 30% more structural integrity during subsequent cooking compared to unblanched counterparts. This isn't just chef's intuition—it's food science working in your favor.
The Step-by-Step Blanching Process That Actually Works
Follow this professional method for consistently perfect results:
1. Potato Selection Matters More Than You Think
Not all potatoes respond equally to blanching. For fries and roasting, high-starch varieties like Russets yield the crispiest results. Waxy potatoes (Yukon Gold, Red Bliss) maintain better shape for salads but require shorter blanching times. The University of Minnesota Extension confirms that starch content directly impacts blanching effectiveness.
2. Water Preparation: The Temperature Sweet Spot
Bring a large pot of water to a rolling boil before adding potatoes. For every pound of potatoes, use 1 gallon of water and 1 tablespoon of salt. The salt serves dual purposes: it seasons the potatoes and raises the boiling point slightly, improving starch management.
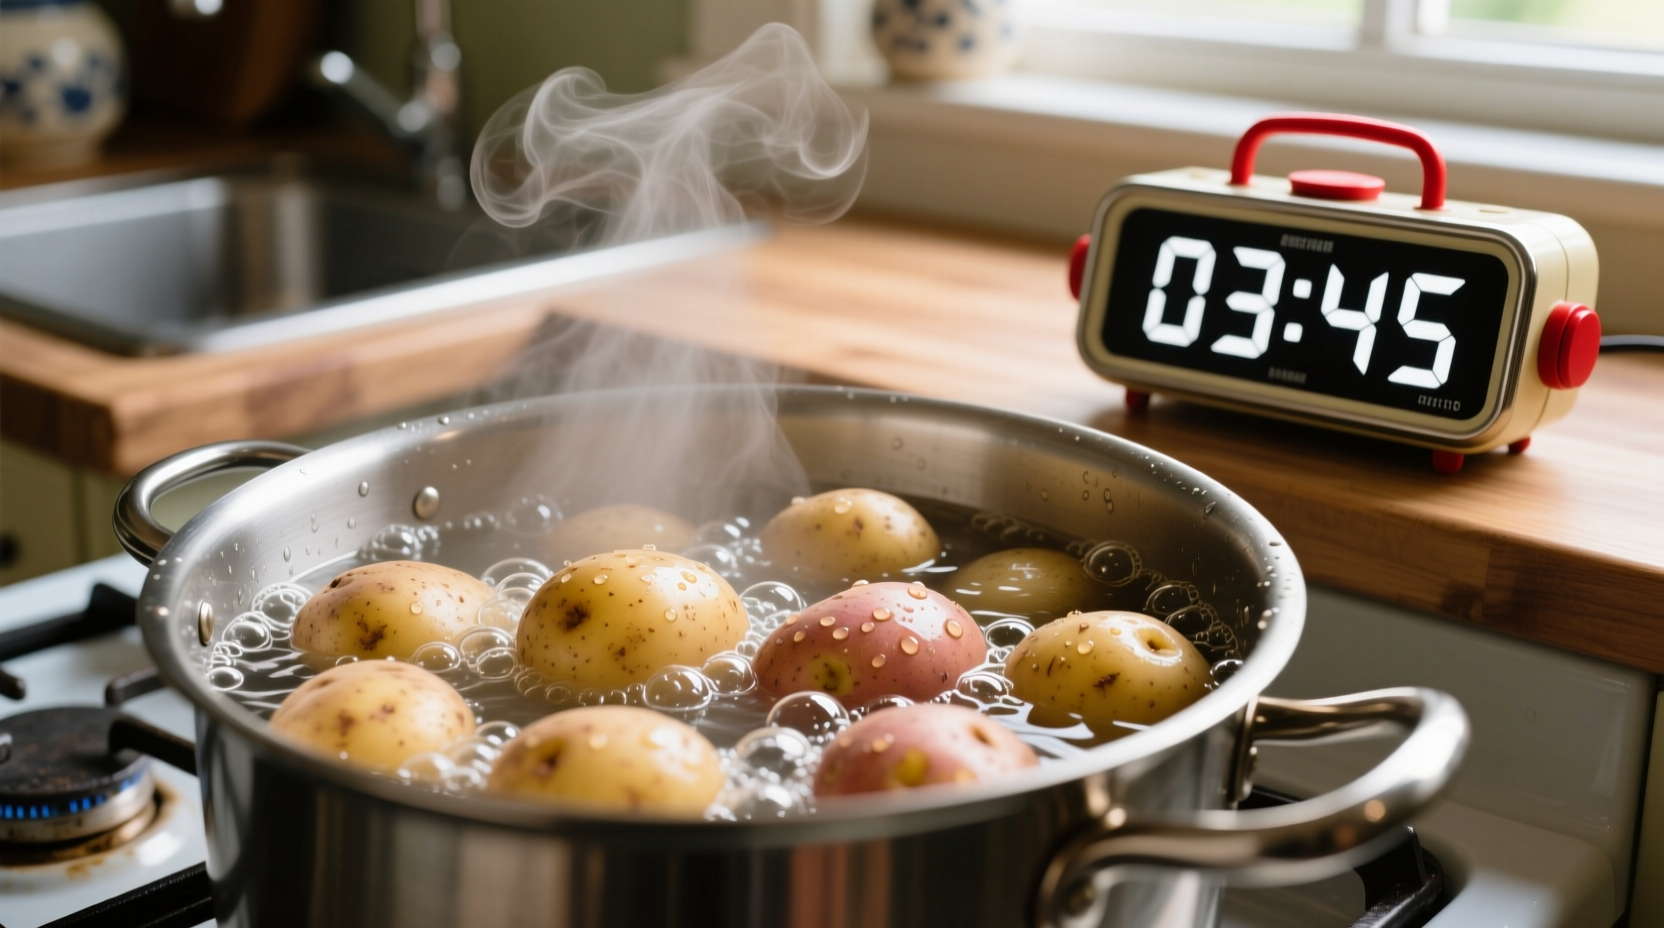
3. Timing Precision: The Critical Window
This is where most home cooks go wrong. Timing varies significantly by potato type and cut size:
| Potato Type | Cut Size | Blanching Time | Visual Cue |
|---|---|---|---|
| Russet (high starch) | Fry cut (1/4") | 3-4 minutes | Edges slightly translucent |
| Yukon Gold (medium starch) | Cube (3/4") | 2-3 minutes | Slight resistance when pierced |
| Red Bliss (waxy) | Whole small | 5-6 minutes | Surface gives slightly to pressure |
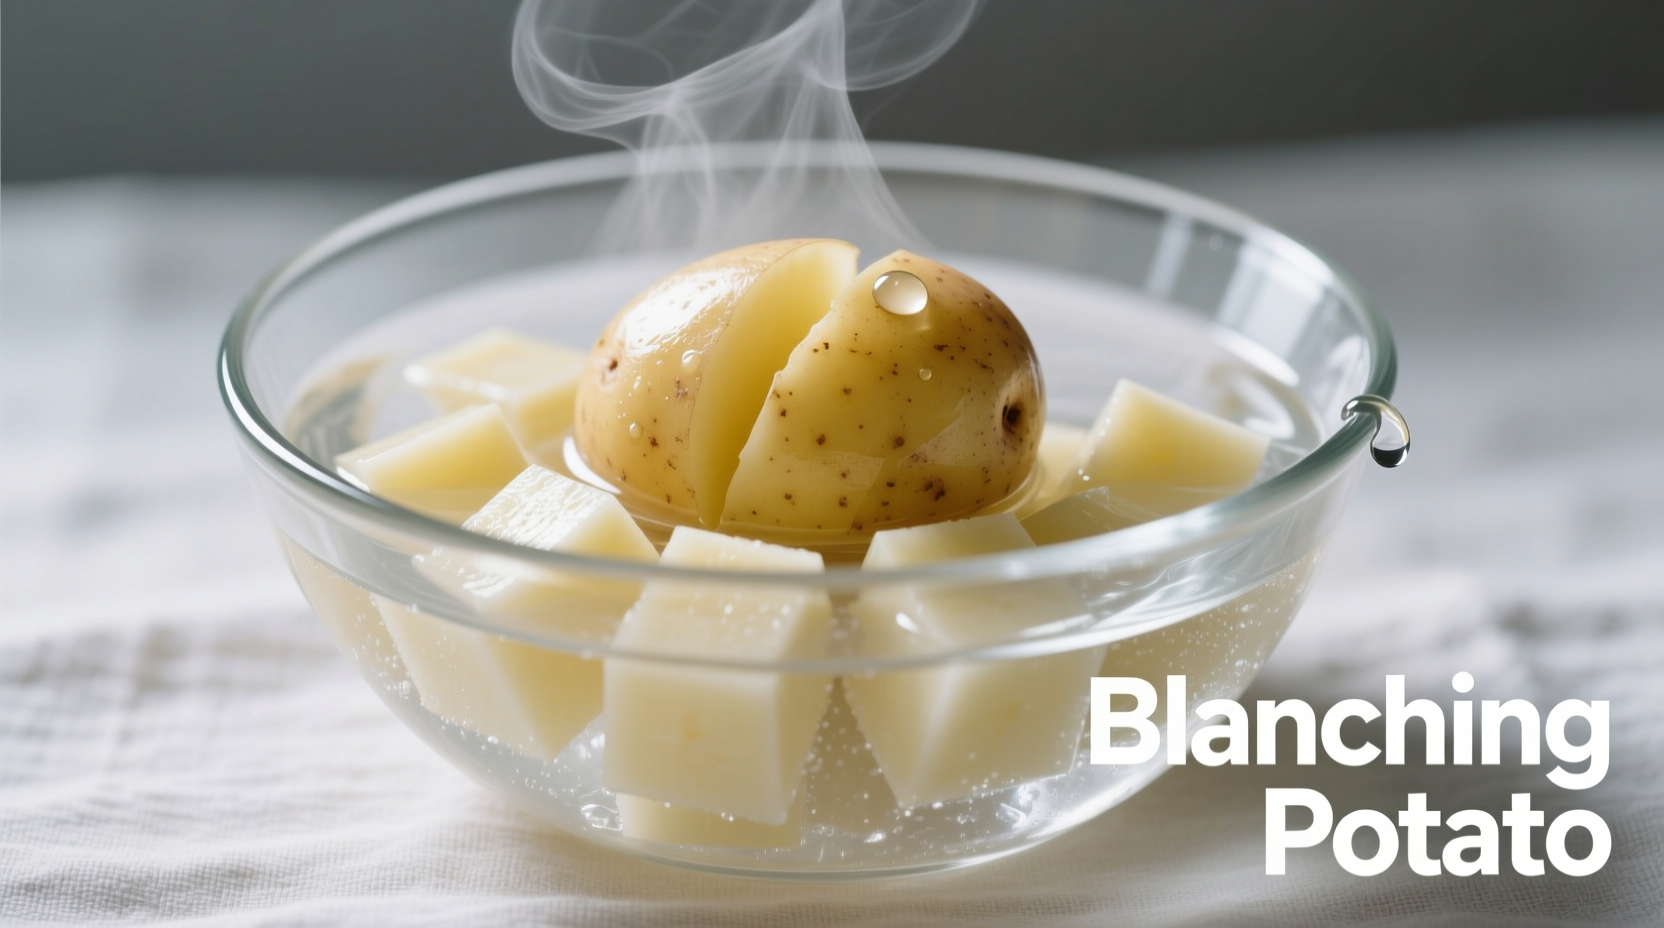
4. The Ice Bath: Non-Negotiable Step
Immediately transfer blanched potatoes to a large bowl of ice water. This stops the cooking process instantly, preserving the perfect partially-cooked state. Don't skip this—residual heat will continue cooking your potatoes, ruining the texture you worked to achieve. Maintain a 1:1 ice-to-water ratio for maximum effectiveness.
5. Drying: The Secret to Crispiness
After draining, spread potatoes in a single layer on clean kitchen towels. Pat thoroughly dry—moisture is the enemy of crispiness. For best results, let them air-dry for 10-15 minutes. This critical step removes surface moisture that would otherwise create steam during frying or roasting.
Advanced Applications: Taking Blanching Further
Master these professional techniques to elevate your potato dishes:
Double-Blanch Method for Perfect French Fries
1. First blanch: 3 minutes at 300°F (149°C) to cook interior
2. Cool completely (at least 30 minutes)
3. Second blanch: 2-3 minutes at 375°F (190°C) for crisp exterior
This two-stage process, validated by America's Test Kitchen testing, creates fries with unparalleled crispness and fluffy interiors.
Freezing Blanching Protocol
For optimal frozen storage:
- Blanch 5 minutes for whole small potatoes
- Blanch 3 minutes for diced or sliced
- Cool completely in ice water
- Dry thoroughly on towels
- Flash freeze on baking sheet before transferring to containers
The National Center for Home Food Preservation confirms this method preserves texture and flavor for up to 12 months.
Common Blanching Mistakes and How to Fix Them
Avoid these pitfalls that ruin otherwise good potato dishes:
- Overcrowding the pot - Cook in batches to maintain water temperature
- Skipping the salt - Essential for flavor and texture development
- Inconsistent cut sizes - Results in uneven blanching
- Rushing the drying process - Leads to soggy fries or uneven roasting
- Using warm water for cooling - Fails to stop the cooking process
When Blanching Isn't Necessary
Not every potato preparation requires blanching. Skip this step when:
- Making mashed potatoes (boiling directly yields better texture)
- Preparing potato salads with waxy varieties (simmer instead)
- Cooking potatoes for soups or stews (they'll cook sufficiently in the broth)
Putting It All Together: Your Blanching Success Checklist
Before you start blanching, ensure you have:
- Correct potato variety for your intended dish
- Consistently cut pieces (use a mandoline for fries)
- Adequately sized pot with sufficient water
- Ice bath ready before starting
- Drying towels prepared
- Timer set and ready
Final Thoughts on Mastering Potato Blanching
Blanching transforms ordinary potato dishes into extraordinary ones through controlled partial cooking. This simple technique addresses the fundamental challenge of potato cooking—managing starch while achieving perfect texture. Whether you're making restaurant-quality fries, preparing potatoes for freezing, or ensuring vibrant color in salads, proper blanching delivers consistent, professional results. The small investment of time pays exponential dividends in texture, appearance, and overall dish quality.


 浙公网安备
33010002000092号
浙公网安备
33010002000092号 浙B2-20120091-4