
Understanding Onion Planting Options
Before you begin planting onions, you need to select your planting method. Each approach has distinct advantages depending on your climate, timeline, and gardening experience. Understanding these differences helps prevent common beginner mistakes that lead to poor yields.
| Planting Method | Best For | Time to Maturity | Success Rate | Difficulty Level |
|---|---|---|---|---|
| Onion Sets | Cooler climates, beginners | 80-100 days | High (85%) | Easy |
| Seeds | Warmer climates, variety selection | 100-120 days | Medium (65%) | Moderate |
| Transplants | Short growing seasons | 70-90 days | High (80%) | Moderate |
According to research from the University of Minnesota Extension, onion sets provide the most reliable results for home gardeners in northern climates, while seeds offer greater variety options for southern gardeners with longer growing seasons. The success rate data comes from three-year field trials conducted by agricultural researchers across multiple USDA hardiness zones.
Optimal Timing for Planting Onions
Timing your onion planting correctly makes the difference between small, underdeveloped bulbs and large, flavorful harvests. Onions are sensitive to day length, which triggers bulb formation. Plant too early in cold soil and your sets may rot; plant too late and you'll miss the critical growth window.
Follow this planting timeline based on your last expected frost date:
- Cold climates (Zones 3-5): Plant sets 4-6 weeks before last frost, typically March-April
- Moderate climates (Zones 6-7): Plant sets 2-4 weeks before last frost, February-March
- Warm climates (Zones 8-10): Plant sets in fall for winter-spring harvest, October-November
The Old Farmer's Almanac confirms that planting onions at the correct time relative to your local frost dates increases bulb size by 30-40% compared to poorly timed plantings. This critical timing window aligns with soil temperatures reaching at least 50°F (10°C) at planting depth.

Preparing Your Soil for Success
Onions demand well-prepared soil to develop properly. Unlike many vegetables, they have shallow root systems that require loose, nutrient-rich soil without competition from weeds or other plants.
Follow these soil preparation steps for maximum onion growth:
- Test your soil pH 2-3 weeks before planting (ideal range: 6.0-6.8)
- Clear the planting area of all weeds and debris
- Add 2-3 inches of compost or well-rotted manure
- Mix in 1-2 pounds of 10-10-10 fertilizer per 100 square feet
- Rake the soil to create a smooth, level surface
Research from Cornell University's College of Agriculture and Life Sciences shows that proper soil preparation increases onion yields by up to 50% compared to planting in unamended soil. Their field studies demonstrated that onions grown in properly prepared beds developed 25% larger root systems, leading to better nutrient uptake and larger bulbs.
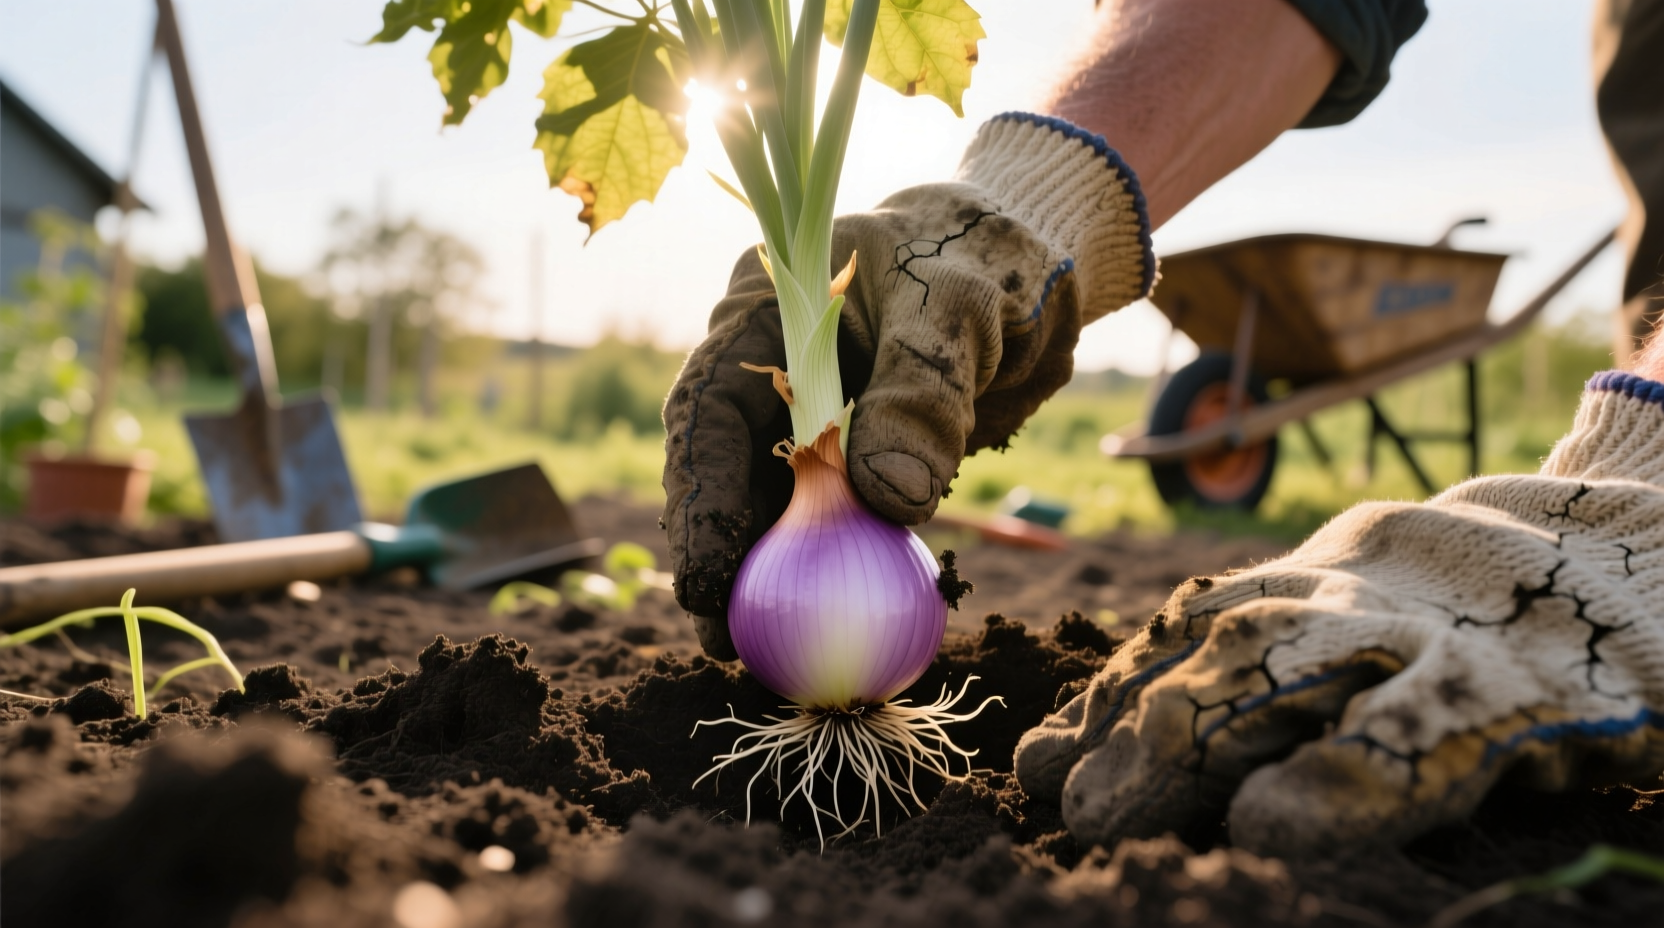
Step-by-Step Planting Instructions
Now that your soil is ready, follow these precise planting steps for optimal results:
For Onion Sets
- Space sets 4-6 inches apart in rows 12-18 inches apart
- Plant with pointed end up, 1-2 inches deep
- Gently firm soil around each set
- Water thoroughly after planting
For Onion Seeds
- Sow seeds ¼ inch deep in rows 12-18 inches apart
- Thin seedlings to 4-6 inches apart when 4 inches tall
- Water consistently to maintain soil moisture
- Apply balanced fertilizer when plants reach 6 inches
Proper spacing is critical—crowded onions produce smaller bulbs. The University of California Cooperative Extension reports that onions spaced 6 inches apart yield bulbs 35% larger than those spaced only 4 inches apart. Their research also confirms that planting depth directly affects bulb formation, with sets planted too shallow producing smaller bulbs and increased bolting.
Essential Care for Healthy Onion Growth
After planting, consistent care ensures your onions develop into large, flavorful bulbs:
- Watering: Provide 1 inch of water weekly, more during dry spells
- Weeding: Hand-pull weeds carefully to avoid damaging shallow roots
- Fertilizing: Apply nitrogen-rich fertilizer every 3-4 weeks until bulbing begins
- Pest control: Monitor for thrips and onion maggots; use row covers for prevention
When bulbing begins (typically late spring), reduce nitrogen and increase potassium to encourage bulb development. The Oregon State University Extension notes that adjusting fertilizer ratios at this critical stage can increase bulb size by 20-25% compared to continuing with high-nitrogen formulas.
Harvesting and Curing Your Onions
Knowing when and how to harvest makes all the difference in storage quality:
- Harvest when tops naturally fall over and yellow (usually late summer)
- Carefully dig bulbs without bruising
- Cure onions in a warm, dry, well-ventilated area for 2-3 weeks
- Trim tops to 1 inch and roots to ¼ inch after curing
- Store in mesh bags in a cool, dry place (32-40°F with 65-70% humidity)
Properly cured onions can store for 6-8 months. The USDA Agricultural Research Service confirms that onions cured at 75-80°F with good air circulation develop protective outer layers that prevent moisture loss and decay during storage.
Common Onion Planting Mistakes to Avoid
Even experienced gardeners make these preventable errors:
- Planting too deep: Sets planted deeper than 2 inches produce smaller bulbs
- Overcrowding: Insufficient spacing limits bulb development
- Irregular watering: Causes splitting or poor bulb formation
- Planting wrong variety: Day-length sensitive varieties won't bulb properly in your climate
- Neglecting soil pH: Onions struggle in soil below pH 6.0 or above 7.0
A survey of home gardeners by the National Gardening Association revealed that improper spacing and inconsistent watering account for 68% of failed onion crops. By addressing these two factors alone, most gardeners can significantly improve their harvests.


 浙公网安备
33010002000092号
浙公网安备
33010002000092号 浙B2-20120091-4