
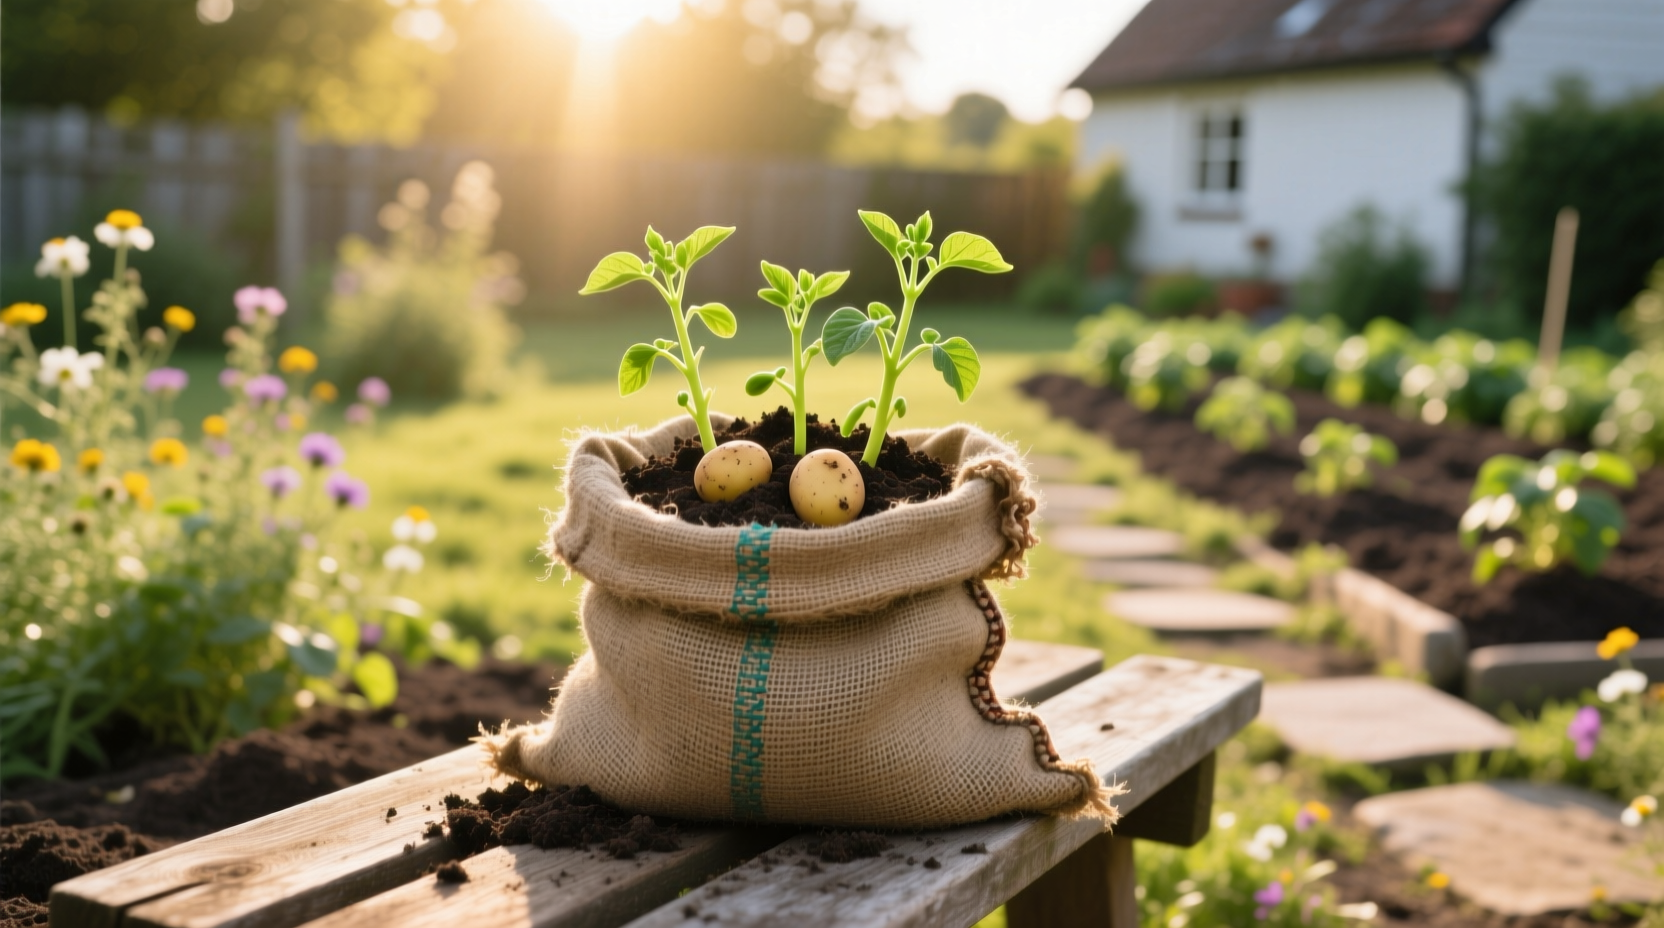
Discover how urban gardeners and small-space growers are harvesting fresh potatoes without traditional garden beds. Potato bag gardening solves common cultivation challenges while delivering impressive yields. This comprehensive guide reveals professional techniques backed by agricultural research to maximize your harvest.
Why Potato Bag Gardening Works
Container potato growing has gained popularity among urban homesteaders and novice gardeners for compelling reasons. Unlike traditional row planting, bags eliminate extensive soil preparation and reduce weeding by 90%. The Cornell University Cooperative Extension confirms container methods produce comparable yields in one-third the space.
Bag gardening particularly benefits those with:
- Limited outdoor space (balconies, patios, small yards)
- Poor native soil conditions
- Mobility challenges (reduced bending)
- Short growing seasons (portable containers)
Essential Supplies Checklist
Before starting your potato bag planting project, gather these materials:
| Item | Recommended Options | Why It Matters |
|---|---|---|
| Planting Bags | 15-20 gallon fabric grow bags, recycled burlap sacks | Proper drainage prevents tuber rot while maintaining ideal soil temperature |
| Potato Varieties | Yukon Gold, Red Norland, Fingerling types | Early and mid-season varieties adapt best to container constraints |
| Soil Mix | 50% potting mix, 30% compost, 20% perlite | Prevents compaction while providing consistent moisture retention |
Step-by-Step Planting Process
Follow this proven sequence for successful growing potatoes in small spaces:
Preparation Phase (2 Weeks Before Planting)
Begin by chitting (sprouting) your seed potatoes. Place them in an egg carton in indirect sunlight for 10-14 days until 1" sprouts develop. This critical step, verified by University of Minnesota Extension, increases yield by up to 25% compared to planting dormant tubers.
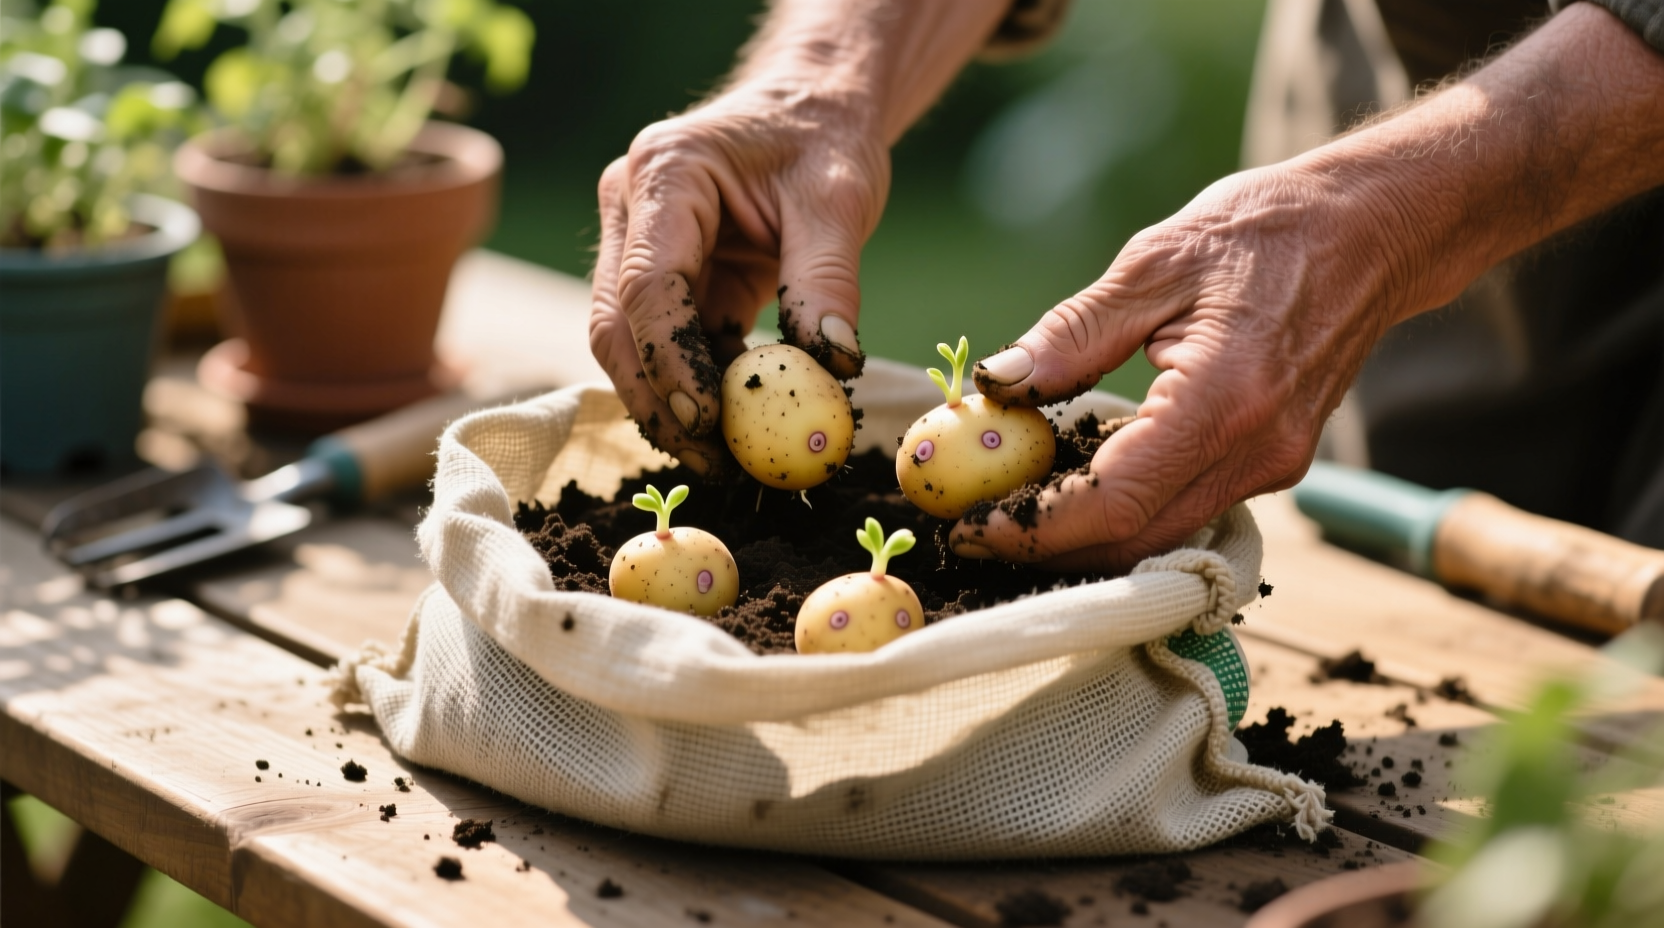
Planting Day Procedure
- Fill your bag with 4" of prepared soil mix
- Place 3-4 chitted seed potatoes eyes-up on the soil surface
- Cover with 3" of additional soil mix
- Water thoroughly until moist but not soggy
- Position in full sun (6-8 hours daily)
Growing Season Maintenance
As plants reach 8" tall, add 3-4" of soil mix to cover lower stems ("hilling"). Repeat every 2 weeks until the bag is nearly full. This critical technique encourages additional tuber formation along buried stems. Maintain consistent moisture—potatoes need 1-2 inches of water weekly. During hot periods, check moisture twice daily as bags dry faster than garden beds.
| Growth Stage | Timeline | Care Requirements |
|---|---|---|
| Sprouting | 2-3 weeks after planting | Maintain 60-70°F soil temperature |
| Vegetative Growth | Weeks 4-8 | Weekly balanced fertilizer, regular hilling |
| Tuber Formation | Weeks 8-12 | Increase potassium, monitor for pests |
| Maturity | Weeks 12-16 | Reduce watering, wait for foliage yellowing |
Contextual Considerations for Success
While container potato growing tips work well in most situations, understand these important limitations:
- Climate constraints: In hot climates (above 85°F), bags require afternoon shade to prevent soil overheating
- Space requirements: Each bag needs 18" clearance for proper air circulation
- Variety limitations: Late-season varieties often underperform in containers due to shorter growing period
- Water sensitivity: Bags dry out faster than garden beds, requiring more frequent watering during hot spells
Harvesting and Storage Techniques
When foliage naturally yellows and dies back (typically 70-120 days after planting), stop watering for 2 weeks. This curing process thickens skins for better storage. To harvest, simply tip the bag and collect potatoes by hand—no digging required. After harvesting, cure potatoes in a dark, humid location (50-60°F) for 10-14 days before long-term storage.
Troubleshooting Common Issues
Address these frequent potato bag gardening for beginners challenges:
- Yellowing leaves: Usually indicates overwatering—allow top 2" of soil to dry between waterings
- Small tubers: Caused by insufficient hilling or nutrient deficiency—add balanced fertilizer every 3 weeks
- Pale foliage: Sign of nitrogen deficiency—apply fish emulsion or compost tea
- Leaf spots: Treat with copper fungicide at first sign of disease
Maximizing Your Harvest Yield
Professional growers achieve 8-12 pound yields per standard bag through these advanced techniques:
- Use drip irrigation systems for consistent moisture
- Apply straw mulch on top soil to regulate temperature
- Rotate bags daily for even sun exposure
- Plant early varieties in spring and late varieties in mid-summer for two harvests
When Traditional Planting Might Be Better
While step by step potato bag planting works well for most home growers, consider traditional methods if:
- You have more than 50 square feet of garden space available
- Your climate features consistently cool temperatures
- You're growing late-season varieties for long-term storage
- You have access to quality garden soil with proper drainage


 浙公网安备
33010002000092号
浙公网安备
33010002000092号 浙B2-20120091-4