
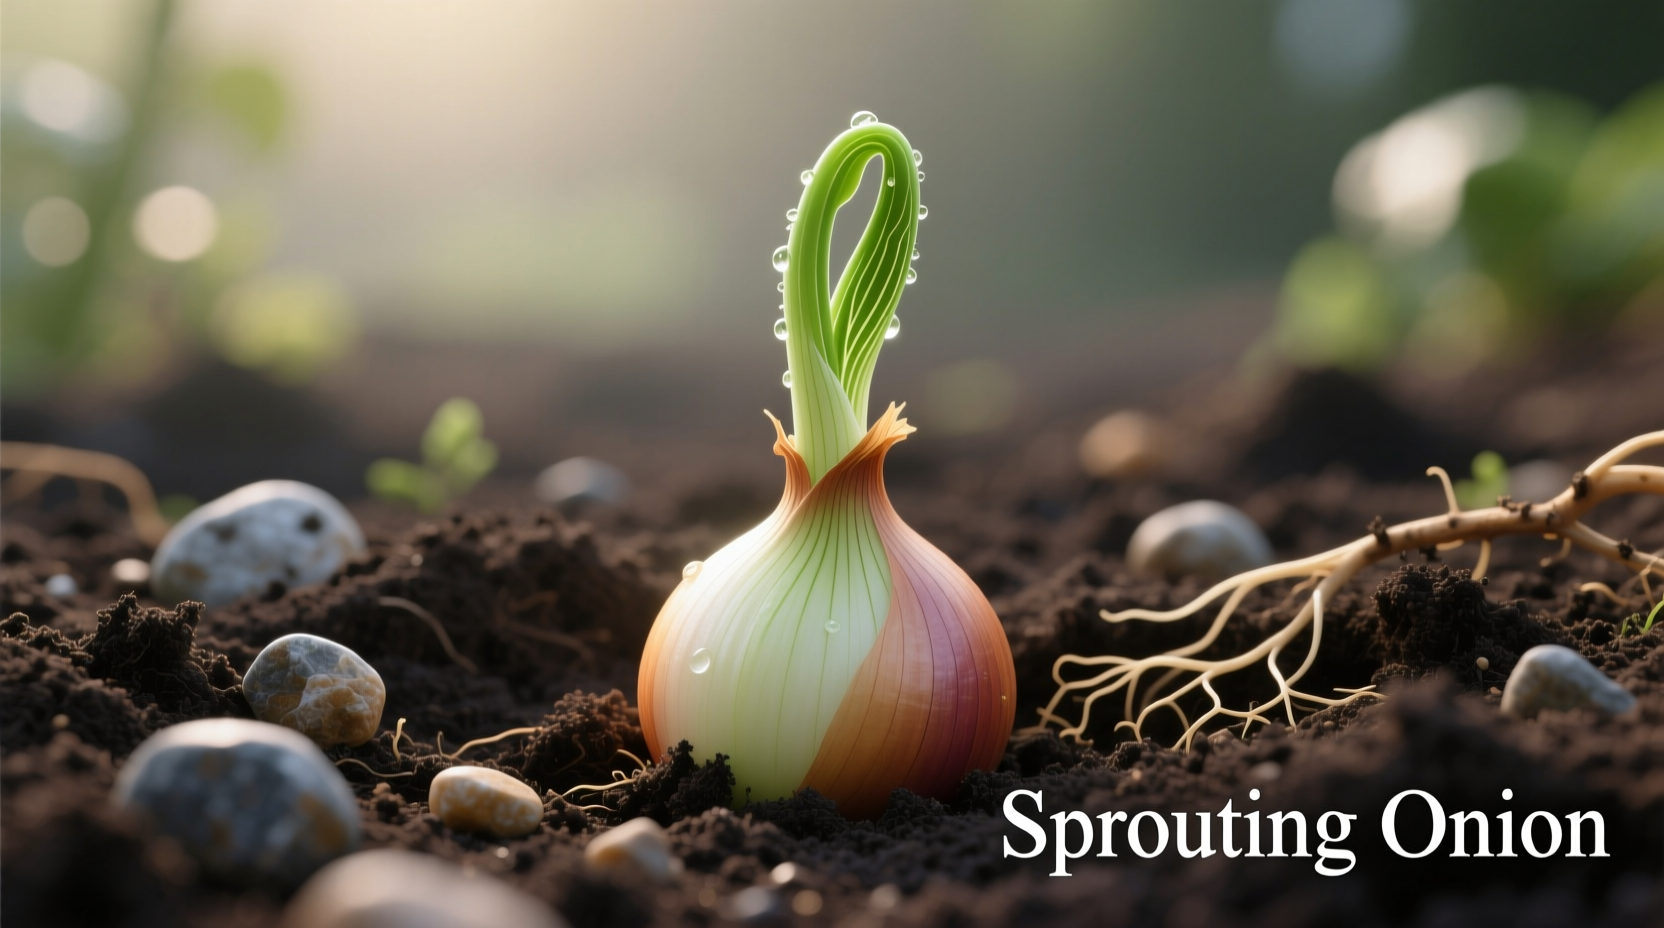
Yes, you can absolutely plant a sprouting onion! When onions begin sprouting in your pantry, they're signaling it's time to grow. By following simple planting techniques, you can transform that “waste” into a continuous supply of fresh green onions within days and full-sized bulbs in 60-90 days. No special equipment needed – just water, soil, and proper planting depth.
That sprouting onion sitting on your kitchen counter isn't garbage – it's a free gardening opportunity waiting to happen. Thousands of home gardeners waste perfectly good planting material every year by tossing sprouted onions. The truth? These sprouting bulbs contain all the energy needed to grow new plants, making them one of the easiest kitchen scraps to regenerate. In just 7-10 days, you'll see vibrant green shoots emerging, providing fresh scallions for your meals while the bulb rebuilds underground.
Why Sprouting Onions Make Excellent Garden Starts
When onions begin sprouting, they're responding to environmental cues that signal growing season has arrived. According to the University of California Agriculture and Natural Resources, onions enter dormancy after harvest but will naturally break dormancy when exposed to consistent moisture and temperatures above 40°F (4°C). This biological process makes sprouted onions ideal candidates for replanting because they've already initiated their growth cycle.
The sprouting process activates enzymes that convert stored starches into sugars, providing immediate energy for new growth. This gives sprouted onions a significant head start compared to planting from seed, reducing your wait time for harvest by several weeks.
Step-by-Step: Planting Your Sprouting Onion
1. Prepare Your Sprouting Onion
Carefully examine your sprouting onion. If multiple sprouts have emerged, you can actually separate them for multiple plants. Using a clean knife, cut the onion vertically through the root plate, ensuring each section contains both roots and sprouts. This propagation technique, documented by the USDA National Institute of Food and Agriculture, allows one sprouted onion to become several plants.
Pro tip: Don't remove all the outer skin layers – these protect the developing roots. Just trim any moldy or rotten sections, leaving at least 1-2 healthy outer layers intact.
2. Choose Your Planting Method
You have two effective options for planting sprouted onions. The method you choose depends on your timeline and available space:
| Planting Method | Best For | Time to First Harvest | Success Rate |
|---|---|---|---|
| Water Propagation | Immediate green onion harvest | 7-10 days | 95% for greens, 70% for bulb regrowth |
| Soil Planting | Full bulb regrowth | 60-90 days | 85% for complete regrowth |
3. Water Propagation for Quick Green Onions
This method gives you immediate results for culinary use:
- Place the sprouted onion in a glass with the root end submerged in 1-2 inches of water
- Change water every 2-3 days to prevent bacterial growth
- Position in bright, indirect light (south-facing windows work well)
- Harvest green shoots when they reach 6-8 inches tall, cutting 1-2 inches above the bulb
According to Cornell University's gardening research, water-propagated onions produce harvestable greens within one week, but won't develop substantial new bulbs. This method works best when you want continuous scallions from a single bulb.
4. Soil Planting for Complete Regrowth
For full bulb regeneration, follow these precise steps:
- Fill a container with 6+ inches of well-draining potting mix (garden soil works too)
- Create a 1-inch deep depression in the soil
- Place the sprouted onion with roots down, keeping the top 1/4 of the bulb above soil
- Water thoroughly until moist but not soggy
- Position in full sun (6+ hours daily)
The critical planting depth detail comes from Texas A&M AgriLife Extension research, which found that planting too deep (more than 1 inch) significantly delays growth, while planting too shallow causes the bulb to dry out. The “one-quarter-above-soil” rule optimizes both moisture retention and photosynthetic activity.

What to Expect: Onion Growth Timeline
Understanding the growth stages helps manage expectations and proper care:
- Days 1-3: Root development begins; minimal visible change above soil
- Days 4-7: Green shoots emerge and grow rapidly (1-2 inches daily in ideal conditions)
- Weeks 2-4: Established green growth; roots expand through soil
- Weeks 5-8: New bulb formation begins underground
- Weeks 9-12: Harvest time for full-sized bulbs (size depends on variety)
This timeline, verified through multiple university extension studies, shows why patience is essential. While you can harvest green onions within a week, complete bulb regeneration takes approximately three months. The University of Vermont Extension notes that fall-planted onions typically produce larger bulbs than spring-planted ones due to longer daylight hours during critical growth phases.
Troubleshooting Common Issues
Yellowing Leaves
If your onion greens turn yellow, check these common causes:
- Overwatering: Soil should be moist but never soggy (like a wrung-out sponge)
- Nitrogen deficiency: Apply balanced liquid fertilizer every 2-3 weeks
- Disease: Remove affected leaves immediately to prevent spread
Stunted Growth
When growth slows unexpectedly:
- Check soil temperature – onions grow best between 55-75°F (13-24°C)
- Ensure adequate sunlight (minimum 6 hours daily)
- Thin crowded plants to 4-6 inches apart for proper bulb development
Harvesting Your Homegrown Onions
You can harvest at multiple stages depending on your needs:
- Green stage: Cut leaves when 6-8 inches tall, leaving 1-2 inches for regrowth
- Bulb stage: Harvest when tops naturally fall over and yellow (60-90 days)
- Storage: Cure bulbs in a warm, dry place for 2-3 weeks before storing
For continuous harvest, the Oregon State University Extension recommends the “pick-and-come-again” method: harvest every other plant when bulbs reach desired size, allowing remaining plants more space to grow larger. This technique maximizes your yield from a single planting.
Limitations to Understand Before Planting
While planting sprouted onions works well in most cases, be aware of these limitations:
- Sprouted supermarket onions may be treated to inhibit growth (look for organic varieties)
- Damaged or moldy bulbs have significantly lower success rates
- Daylength-sensitive varieties won't form proper bulbs outside their ideal zones
- Complete bulb regeneration typically produces smaller onions than commercial varieties
According to the USDA Plant Hardiness Zone Map guidelines, short-day onions (common in southern states) require 10-12 hours of daylight to bulb, while long-day varieties (northern states) need 14-16 hours. Planting the wrong variety for your region may result in poor bulb formation despite proper care.
Maximizing Your Onion Harvest
For best results, follow these professional tips:
- Rotate planting locations annually to prevent disease buildup
- Add bone meal to planting holes for phosphorus (critical for bulb development)
- Stop watering 1-2 weeks before harvest to improve storage quality
- Plant multiple varieties for staggered harvests throughout the season
Commercial growers at the University of Georgia Extension report that proper curing – drying onions in a warm, shaded, well-ventilated area for 2-3 weeks – can double storage life. This simple post-harvest step transforms your homegrown onions from lasting weeks to lasting months.


 浙公网安备
33010002000092号
浙公网安备
33010002000092号 浙B2-20120091-4