
Perfectly cooked pine nuts can transform ordinary dishes into culinary masterpieces. These delicate nuts burn easily, but with the right technique, you'll unlock their rich, buttery flavor every time. Whether you're making classic pesto, adding crunch to salads, or creating elegant appetizers, properly prepared pine nuts elevate your cooking instantly.
Selecting Quality Pine Nuts for Cooking
Before you start cooking, choosing the right pine nuts matters. Look for plump, uniform kernels with a light ivory color. Avoid any with dark spots or musty odors, which indicate staleness. High-quality pine nuts should feel heavy for their size and have a fresh, slightly sweet aroma.
There are several varieties available, each with distinct characteristics:
| Variety | Origin | Flavor Profile | Best Cooking Applications |
|---|---|---|---|
| European Pine Nuts | Italy, Spain | Rich, buttery, complex | Pesto, gourmet dishes |
| Chinese Pine Nuts | China | Milder, slightly resinous | Baking, general cooking |
| Mexican Pine Nuts | Mexico | Bold, distinctive | Mexican cuisine, roasted applications |
Professional chefs often prefer European varieties for their superior flavor, but Chinese pine nuts offer better value for everyday cooking. Always purchase from reputable sources to avoid the rare but unpleasant "pine mouth" phenomenon associated with certain Chinese varieties.
Essential Storage Techniques Before Cooking
Pine nuts contain high oil content, making them prone to rancidity. Proper storage preserves their delicate flavor:
- Store unopened packages in a cool, dark pantry for up to 3 months
- Transfer opened packages to airtight containers
- Refrigerate for 6 months or freeze for up to 1 year
- Always bring to room temperature before cooking
Never store pine nuts near strong-smelling foods, as they readily absorb odors. For best results, buy smaller quantities more frequently rather than stocking up.
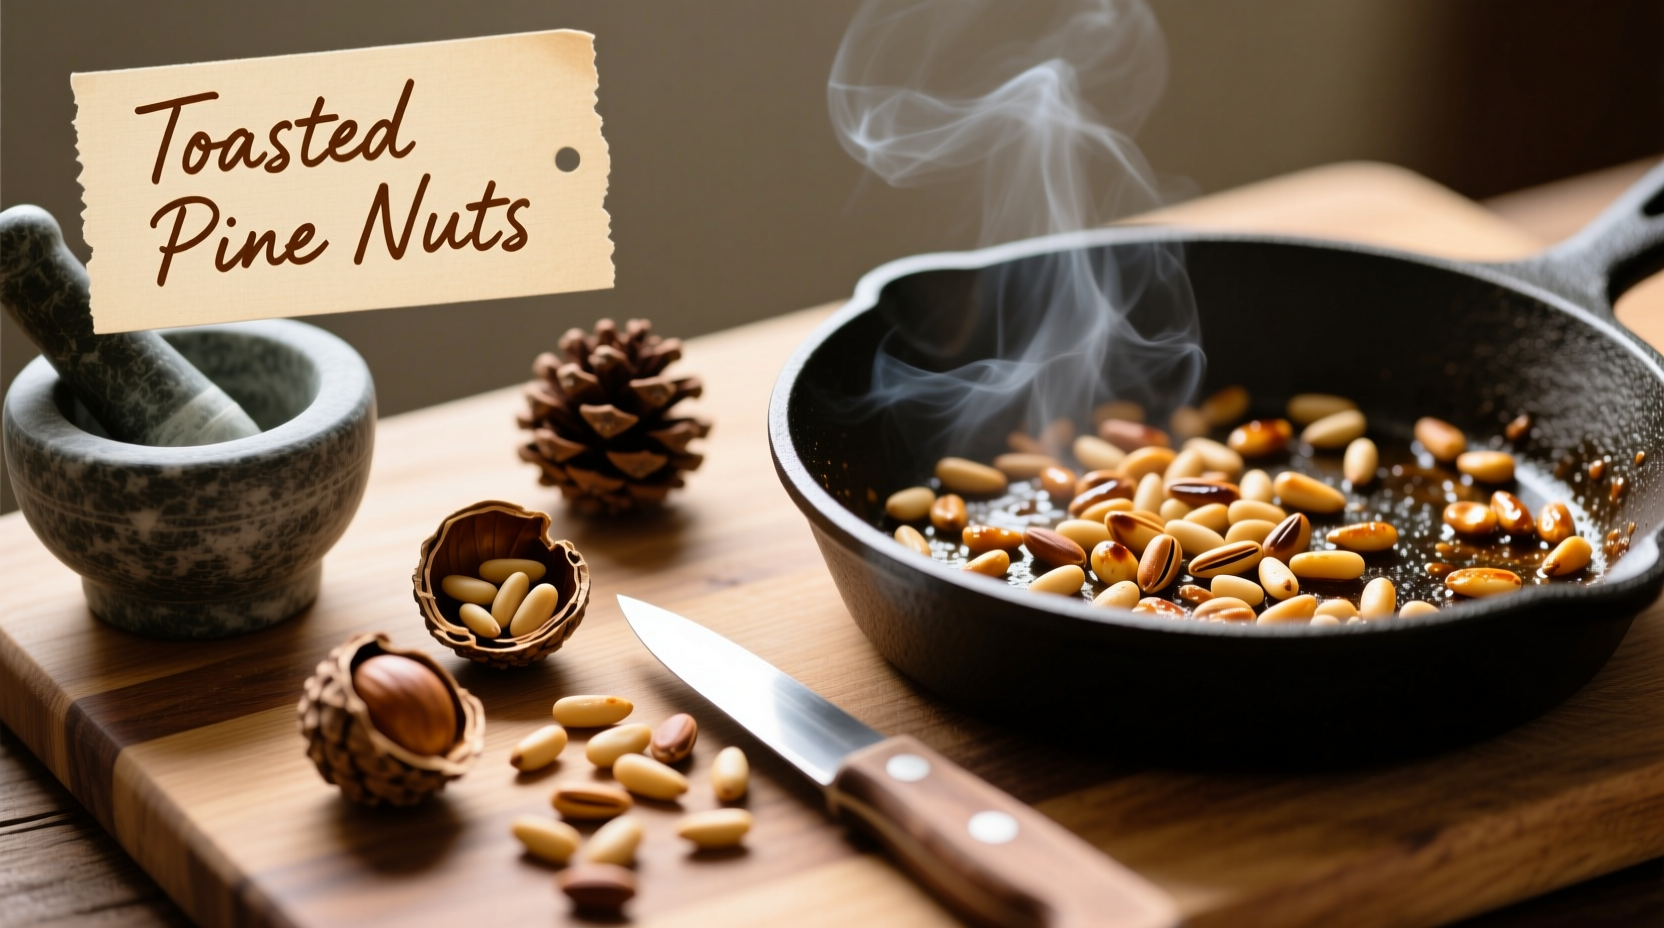
Mastering the Art of Toasting Pine Nuts
Toasting unlocks pine nuts' full flavor potential, but requires careful attention. The ideal cooking process follows this sequence:
- Measure your pine nuts (typically 1/4 to 1/2 cup per batch)
- Use a dry, heavy-bottomed skillet (no oil needed)
- Heat over medium-low temperature
- Spread in single layer
- Stir constantly with wooden spoon
- Cook 3-5 minutes until golden brown
- Immediately transfer to cool surface
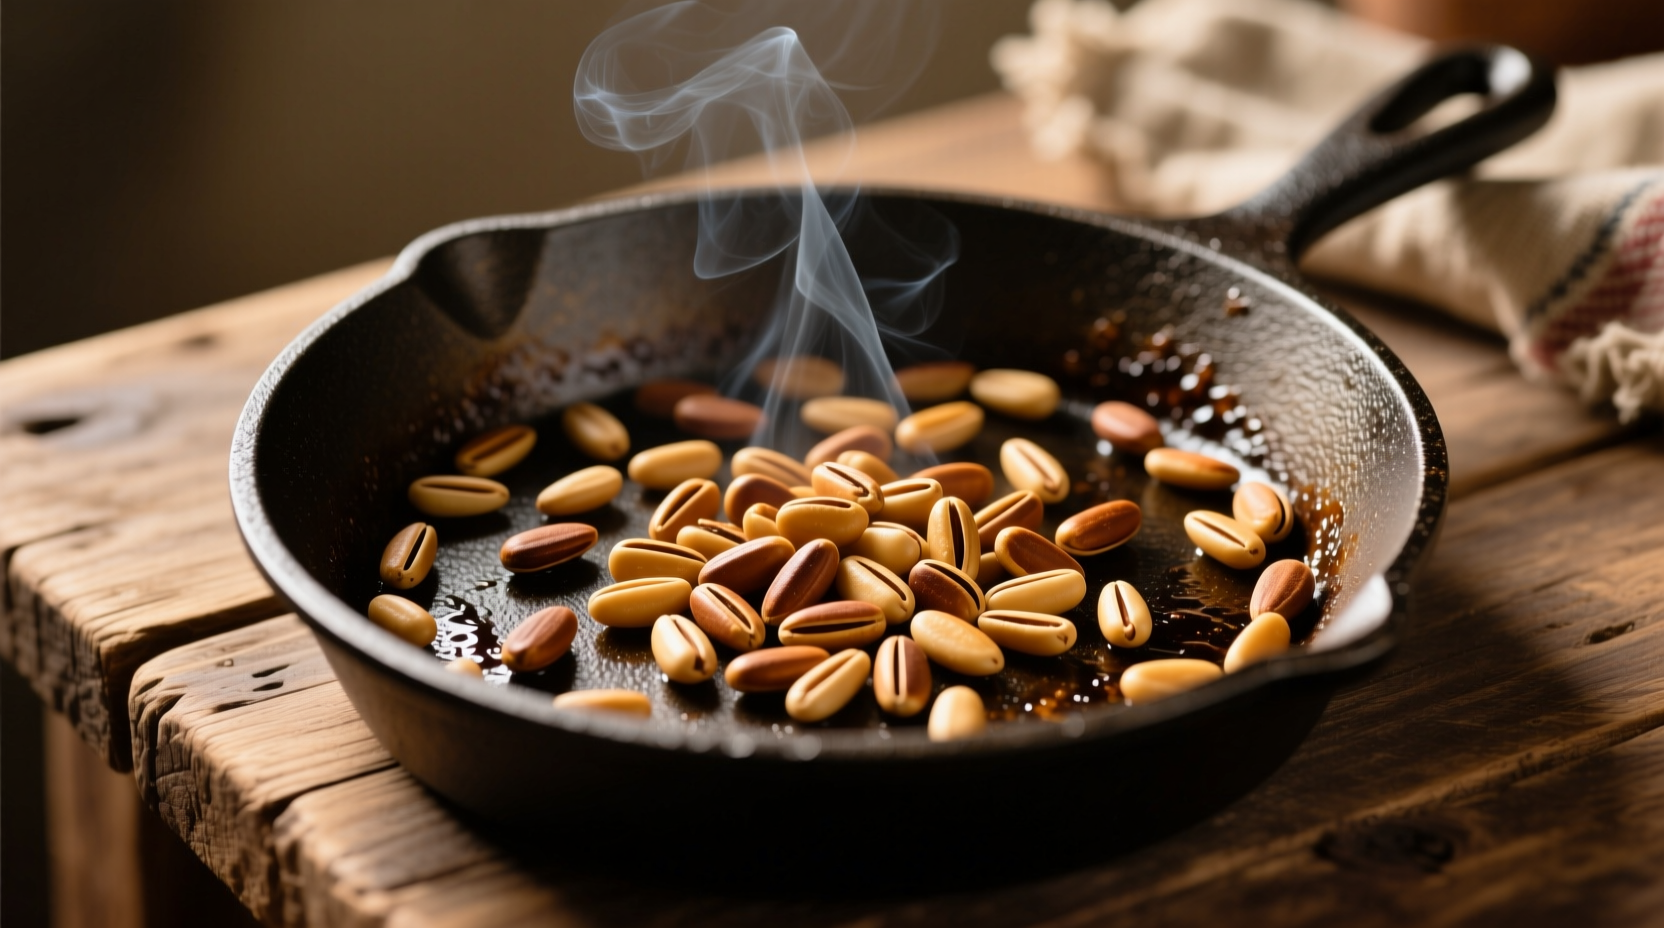
Watch closely during the final minute—pine nuts go from perfect to burnt in seconds. Listen for a subtle popping sound and smell the nutty aroma intensifying. The color change from pale ivory to light golden brown indicates proper doneness.
Alternative Cooking Methods Compared
While stovetop toasting delivers the best control, other methods work well in specific situations:
- Oven method: Spread on baking sheet at 350°F (175°C) for 8-10 minutes, stirring twice. Best for larger quantities but less precise control.
- Air fryer: 300°F (150°C) for 5-7 minutes with occasional shaking. Excellent for consistent results with minimal attention.
- Raw application: Some recipes like certain pestos benefit from raw pine nuts for a brighter flavor profile.
Each method affects the final flavor differently. Stovetop toasting creates the most complex flavor development through direct, controlled heat exposure.
Common Cooking Mistakes to Avoid
Even experienced cooks make these critical errors when preparing pine nuts:
- Using high heat: Causes uneven cooking and burning. Medium-low is essential.
- Leaving unattended: Pine nuts burn in seconds—never walk away from the skillet.
- Overcrowding the pan: Leads to steaming instead of toasting. Cook in small batches.
- Not transferring immediately: Residual heat continues cooking—move to cool surface right away.
- Using old nuts: Stale pine nuts won't toast properly and develop unpleasant bitterness.
Professional chefs recommend keeping a small bowl nearby specifically for transferring toasted nuts—this simple habit prevents countless burnt batches.
Perfect Pairings: Using Cooked Pine Nuts in Recipes
Now that you've mastered cooking pine nuts, incorporate them into these classic applications:
- Pesto preparation: Use toasted pine nuts for traditional Genovese pesto. The heat intensifies their flavor, creating a richer sauce that holds up better when tossed with pasta.
- Salad enhancement: Sprinkle over roasted vegetable salads or grain bowls for texture contrast. The nuttiness complements bitter greens like arugula.
- Baking applications: Press into cookie dough or sprinkle on top of focaccia before baking for elegant presentation.
- Appetizer creation: Combine with goat cheese and honey for sophisticated crostini toppings.
For Mediterranean dishes, timing matters—add toasted pine nuts just before serving to maintain their crisp texture. In sauces and dressings, incorporate them after removing from heat to preserve their delicate flavor.
Historical Context of Pine Nut Cooking
Pine nuts have been culinary treasures for millennia. Archaeological evidence shows Native American tribes harvesting them as far back as 6,000 BCE. Mediterranean cultures incorporated them into cooking as early as 2000 BCE, with ancient Romans using them extensively in both sweet and savory dishes.
The traditional Spanish technique of toasting pine nuts in a dry skillet dates to Moorish influence during the 8th-15th centuries. This method spread through Europe and remains the gold standard today. Understanding this historical context helps appreciate why precise heat control is so crucial in pine nut preparation—it's a technique refined over centuries.
Practical Tips for Consistent Results
Implement these professional techniques for foolproof pine nut cooking:
- Toast slightly underdone—they continue cooking off-heat
- Use a light-colored skillet to better monitor color changes
- Keep a spray bottle of water nearby to stop cooking if needed
- Cool completely before storing or using in recipes
- For pesto, toast at lower temperature (300°F) for longer (10 minutes) for optimal flavor extraction
When cooking for special occasions, toast extra pine nuts and store them in the freezer. This ensures you always have perfectly prepared nuts ready for impromptu dishes without last-minute stress.
Troubleshooting Common Issues
Even with careful attention, problems can occur. Here's how to address them:
- Bitter taste: Usually indicates over-toasting. Next time reduce cooking time by 30 seconds and use lower heat.
- Uneven browning: Stir more frequently and ensure single-layer distribution in the pan.
- Soft texture: Nuts weren't toasted long enough or heat was too low. Increase time by 1 minute while maintaining medium-low heat.
- Burnt smell: Discard immediately—burnt pine nuts create unpleasant flavors that permeate entire dishes.
Remember that humidity affects cooking time—on humid days, add 30-60 seconds to your toasting process as moisture evaporates more slowly.
Conclusion: Elevating Your Culinary Creations
Mastering pine nut preparation transforms them from simple ingredients into culinary powerhouses. The perfect golden toast unlocks their complex flavor profile, adding depth to everything from simple pasta dishes to sophisticated appetizers. By following these professional techniques—careful selection, proper storage, precise toasting, and thoughtful application—you'll consistently achieve restaurant-quality results at home.
Whether you're making traditional pesto, enhancing a salad, or creating elegant canapés, properly cooked pine nuts deliver that professional touch that elevates everyday cooking. The small investment of attention during preparation yields extraordinary flavor rewards in your finished dishes.


 浙公网安备
33010002000092号
浙公网安备
33010002000092号 浙B2-20120091-4