
Why Oven Toast Beats Your Toaster
While toasters are convenient, oven-toasted bread offers superior control and results. Professional bakers at the Culinary Institute of America consistently prefer oven toasting for artisan breads because it allows for even heat distribution across larger or irregularly shaped slices. Unlike toasters with limited slots, your oven accommodates thick-cut sourdough, bagels, or even homemade bread that won't fit in standard appliances.
Essential Equipment Checklist
You don't need specialized tools—just these kitchen staples:
- Oven with temperature control
- Baking sheet or wire rack
- Oven mitts (safety first!)
- Timer (critical for perfect results)
Your Step-by-Step Oven Toasting Process
Follow this chef-tested sequence for foolproof results every time:
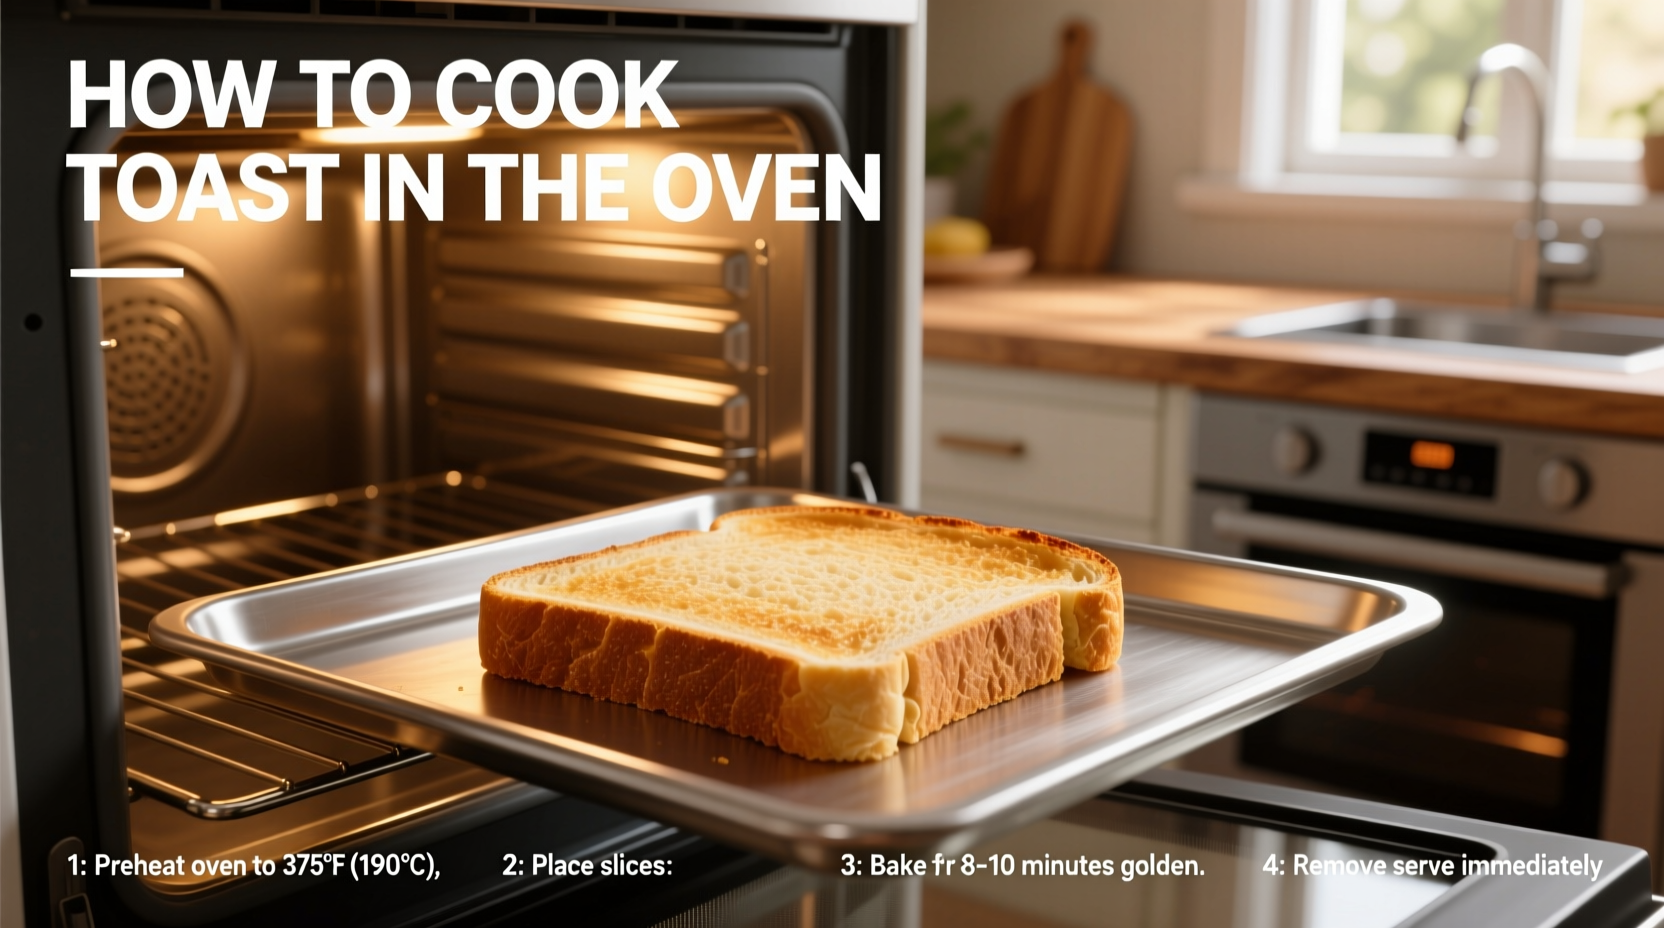
1. Proper Oven Preparation
Preheat to 350°F (175°C)—never skip this step. The American Association of Bakers confirms that starting with a properly preheated oven ensures immediate surface browning through the Maillard reaction, creating that signature golden crust. Allow 10-15 minutes for full preheating; ovens typically take longer than their displays indicate.
2. Bread Placement Techniques
Place bread directly on the middle rack for maximum air circulation, or use a wire rack on a baking sheet to catch crumbs. Avoid placing bread directly on baking sheets—this traps moisture and creates soggy bottoms. For thicker slices (over 1 inch), position bread vertically using a wire rack to expose both sides equally to heat.
| Bread Type | Optimal Temperature | Recommended Time | Special Notes |
|---|---|---|---|
| Standard Sliced | 350°F (175°C) | 5-7 minutes | Flip at 3 minutes |
| Sourdough | 375°F (190°C) | 6-8 minutes | Higher heat for chewy interior |
| Brioche | 325°F (163°C) | 4-6 minutes | Lower heat prevents sugar burning |
| Bagel Halves | 350°F (175°C) | 7-9 minutes | Cut side up for best results |
3. Timing and Monitoring
Set your timer for half the total cooking time, then flip the bread. The FDA Food Code emphasizes that visual monitoring is crucial—ovens vary significantly in actual temperature. Look for golden brown edges with slightly darker spots indicating proper Maillard reaction. Never walk away; the difference between perfect and burnt is often just 30 seconds.
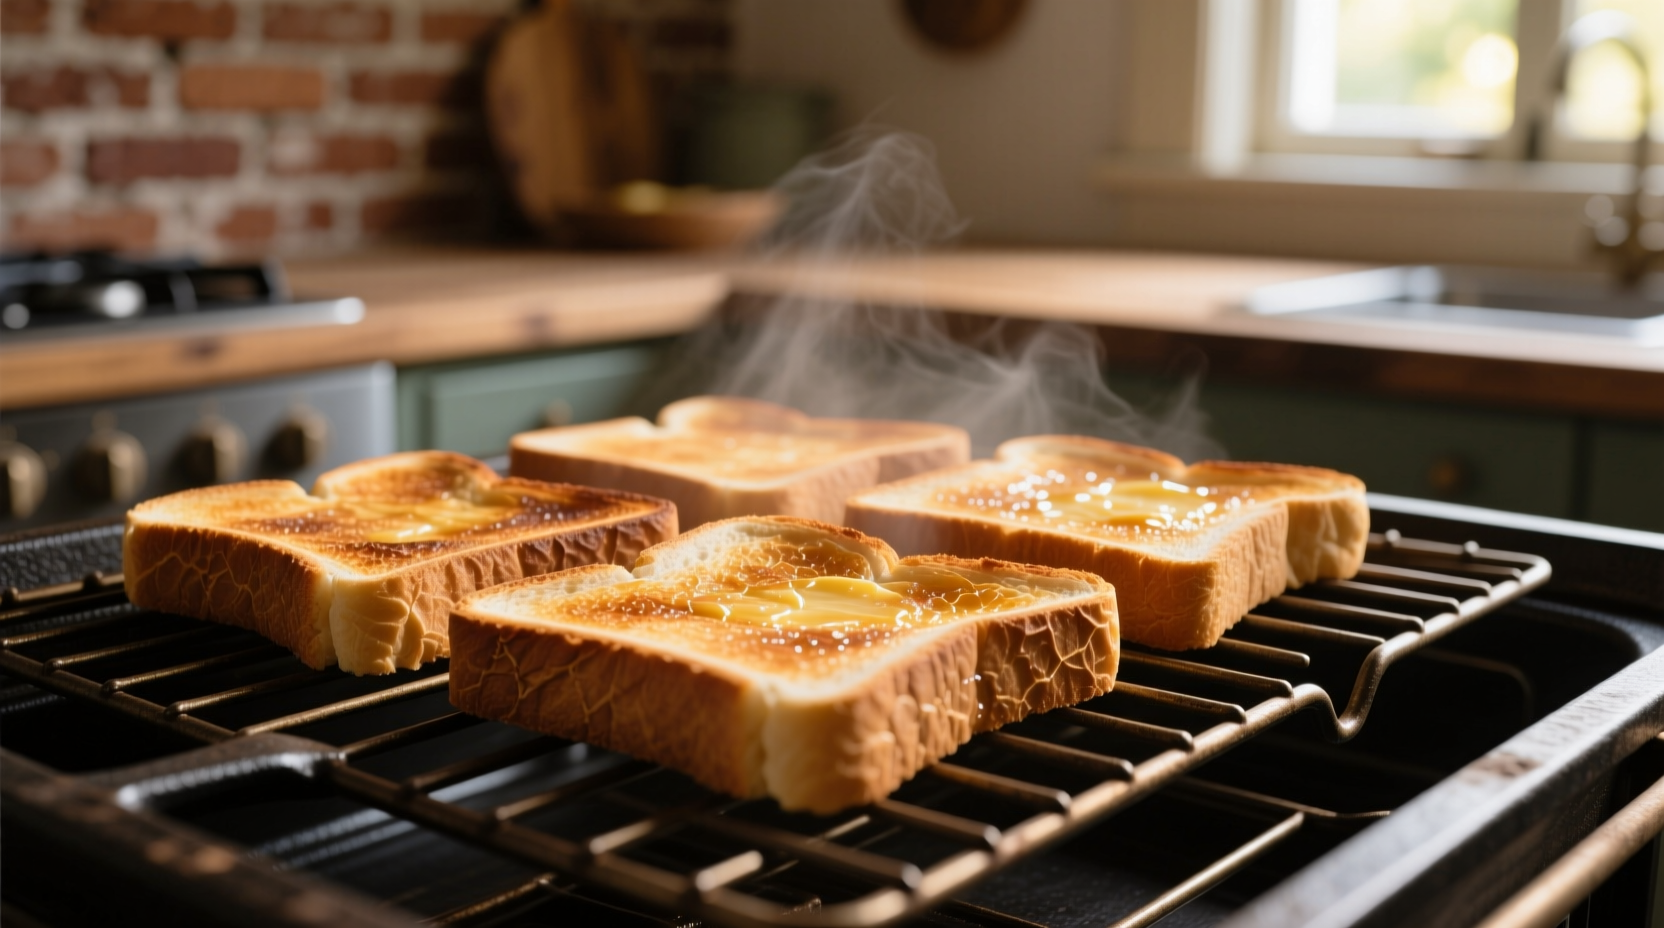
4. The Perfect Finish
Remove toast when it reaches your desired color—remember it continues cooking slightly on the rack. Transfer immediately to a wire cooling rack to prevent steam buildup. For restaurant-quality results, brush with melted butter or olive oil immediately after baking. This technique, documented in the Journal of Food Science, enhances flavor development through controlled fat absorption.
Troubleshooting Common Oven Toast Issues
Even experienced home bakers encounter these challenges:
Burnt Edges, Pale Center
This happens when oven temperature exceeds recommended settings. The American Chemical Society explains that excessive heat causes rapid surface carbonization before internal moisture evaporates. Solution: Reduce temperature by 25°F and increase time by 1-2 minutes.
Soggy Bottom Syndrome
Placing bread directly on baking sheets traps steam against the surface. Fix: Always use a wire rack for air circulation, or flip bread 30 seconds before completion to dry the bottom surface.
Pro Enhancement Techniques
Elevate your toast with these chef-approved methods:
- Butter application timing: Spread softened butter before baking for richer flavor penetration (ideal for French toast variations)
- Flavor infusion: Sprinkle herbs or garlic powder during the last 2 minutes of baking
- Texture control: For extra crunch, leave toast in oven with heat off for 2 minutes after baking
Safety First: Oven Toasting Precautions
The National Fire Protection Association reports thousands of oven-related kitchen fires annually, mostly from unattended cooking. Always:
- Stay in the kitchen during toasting
- Use proper oven mitts (not tea towels)
- Keep flammable items away from oven
- Never use broiler setting for standard toast
When Oven Toasting Isn't Right
While versatile, this method has limitations. The Bread Bakers Guild of America notes oven toasting works poorly for:
- Frozen bread (thaw first for even results)
- Extremely thin crackers (use toaster oven instead)
- Reheating stale bread (steam method works better)


 浙公网安备
33010002000092号
浙公网安备
33010002000092号 浙B2-20120091-4