
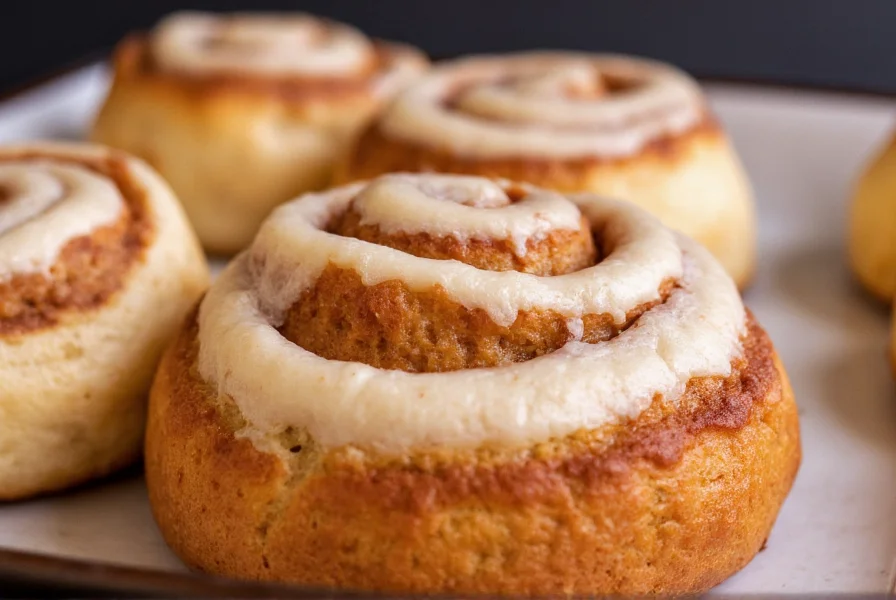
Understanding what makes a cinnamon roll visually appealing helps both home bakers and food photographers create mouthwatering images. Whether you're documenting your baking process or searching for recipe inspiration, recognizing key visual elements ensures you can identify quality cinnamon rolls at a glance.
Key Visual Characteristics of Perfect Cinnamon Rolls
When examining a picture of cinnamon rolls, certain features distinguish exceptional examples from mediocre ones. The most photogenic cinnamon rolls showcase distinct spiral patterns with evenly distributed cinnamon filling. The dough should appear soft yet structured, with a golden-brown crust that indicates proper baking temperature and time.
Professional food photographers emphasize the "pull" factor—where the layers slightly separate when the roll is lifted, revealing the gooey cinnamon filling within. This visual cue signals freshness and proper preparation technique. The ideal cinnamon roll image shows steam rising from the pastry, indicating it was photographed immediately after baking.
Essential Elements in Cinnamon Roll Photography
Capturing authentic cinnamon roll images requires attention to lighting, composition, and timing. Natural side lighting works best to highlight the texture of both the dough and icing. Photographers recommend shooting within 5-10 minutes of baking when the pastry still shows steam but hasn't absorbed excess moisture from cooling.
| Photography Element | Recommended Approach | Common Mistake to Avoid |
|---|---|---|
| Lighting | Natural window light from 45-degree angle | Harsh overhead lighting creating unappetizing shadows |
| Composition | Slice showing interior swirl pattern | Only showing top view without revealing layers |
| Timing | 5-10 minutes after baking | Photographing when completely cooled |
| Icing Application | Freshly drizzled with slight drip effect | Dry, hardened icing with no visual appeal |
How Cinnamon Roll Appearance Varies by Preparation Method
Different baking techniques produce distinct visual results that appear in cinnamon roll photography. Traditional hand-rolled versions show more irregular swirl patterns compared to machine-rolled commercial products. Artisanal cinnamon rolls often feature thicker cinnamon layers and visible butter pooling between the dough layers.
When comparing homemade versus store-bought cinnamon roll images, notice these key differences:
- Homemade examples typically show more variation in shape and size, with uneven icing distribution that suggests hand application
- Commercial products display uniform sizing, perfectly centered swirls, and consistent icing coverage
- Gourmet bakery versions often include visible nuts, fruit, or specialty toppings that distinguish them visually
Identifying Quality Through Visual Cues
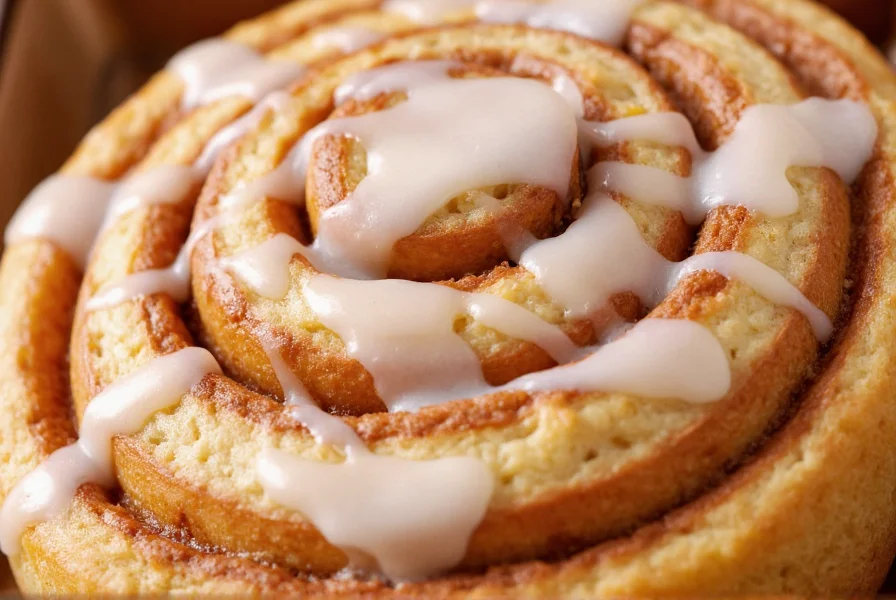
Experienced bakers can determine cinnamon roll quality from a single image by examining specific visual indicators. The ideal cinnamon roll picture shows:
- Golden-brown color without dark spots (indicating even baking)
- Visible separation between layers when slightly pulled apart
- Moist appearance without dry, cracked surfaces
- Proportional icing coverage that enhances rather than overwhelms the pastry
When evaluating cinnamon roll images for recipe accuracy, check that the swirl pattern appears consistent throughout the roll. Inconsistent spacing between layers often indicates improper rolling technique. The cinnamon filling should be visible as a distinct reddish-brown line between dough layers, not absorbed completely into the dough.
Troubleshooting Common Visual Problems
Certain visual flaws in cinnamon roll photographs can indicate preparation issues. Recognizing these helps both photographers and bakers improve their results:
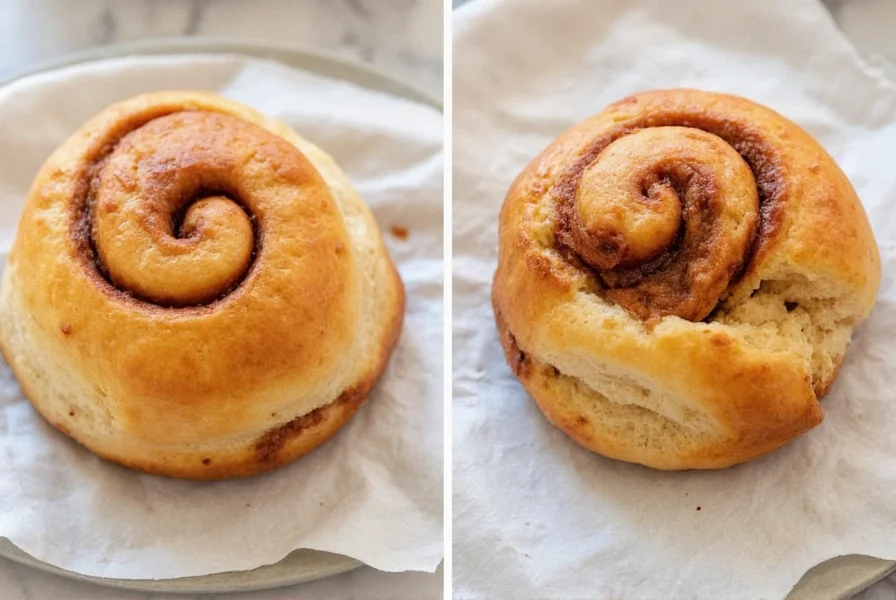
- Collapsed centers - Appears as sunken areas in the spiral pattern, indicating under-proofed dough
- Hard crust - Visible as overly dark, thick exterior that lacks soft appearance
- Fillings leaking out - Excessive cinnamon sugar visible on baking surface in photos
- Dry texture - Lack of sheen on dough surface, often accompanied by visible cracks
Practical Applications of Cinnamon Roll Visual Knowledge
Understanding cinnamon roll appearance serves multiple practical purposes. Home bakers can use visual references to troubleshoot their own creations, while food bloggers can create more compelling recipe presentations. Restaurant owners might analyze cinnamon roll images to ensure their pastry presentation meets customer expectations.
When searching for "picture cinnamon roll" online, look for images that show multiple angles including a cross-section view. The most helpful visual references include scale indicators like a fork or hand to provide size context. High-quality cinnamon roll photography always shows the pastry in its best light without excessive digital enhancement that misrepresents the actual product.
FAQ
What should a perfect cinnamon roll look like in a photograph?
A perfect cinnamon roll photograph shows a golden-brown exterior with visible spiral layers, slightly separated to reveal the cinnamon filling. The surface should appear moist but not greasy, with steam rising from freshly baked examples. Icing should be freshly applied with a slight drip effect, enhancing rather than overwhelming the pastry.
How can I tell if a cinnamon roll is properly baked from a picture?
Properly baked cinnamon rolls show an even golden-brown color throughout without dark spots or pale areas. The layers should be distinct but cohesive, with no collapsed centers. In high-quality images, you'll notice slight separation between layers when the roll is lifted, indicating proper proofing and baking time.
What's the difference between homemade and store-bought cinnamon roll appearance?
Homemade cinnamon rolls typically show more variation in shape and size, with uneven icing application that suggests hand preparation. Store-bought versions display uniform sizing, perfectly centered swirls, and consistent icing coverage. Artisanal bakery rolls often feature visible specialty ingredients like nuts or fruit that distinguish them visually from mass-produced options.
Why do some cinnamon roll pictures look more appealing than others?
The most appealing cinnamon roll photographs use natural side lighting to highlight texture, capture the pastry within 5-10 minutes of baking when steam is visible, and include a cross-section view showing the spiral pattern. Professional food photography emphasizes the "pull" factor where layers slightly separate, revealing the gooey filling within, which triggers appetite responses in viewers.




 浙公网安备
33010002000092号
浙公网安备
33010002000092号 浙B2-20120091-4