
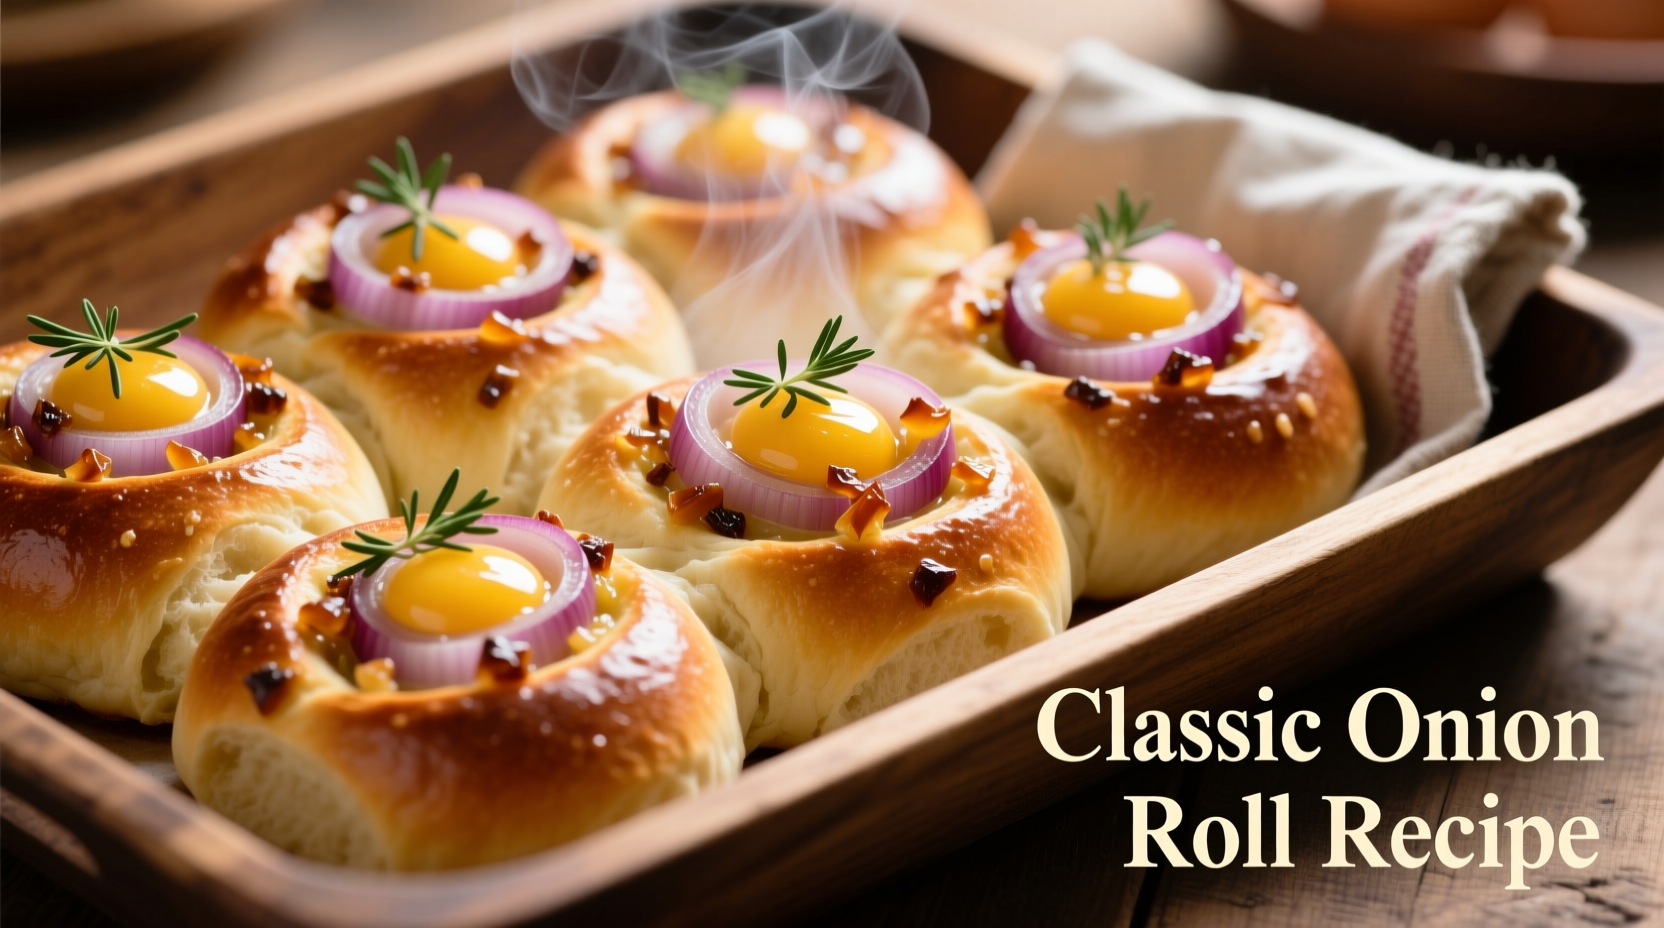
Onion rolls represent one of baking's perfect marriages of savory flavor and pillowy texture. These beloved rolls trace their origins to European baking traditions, particularly German and Eastern European cuisines where onion-infused breads have been cherished for centuries. Unlike ordinary dinner rolls, authentic onion rolls feature finely chopped onions integrated throughout the dough or as a flavorful swirl filling, creating a distinctive taste experience that elevates any meal.
The Evolution of Onion Rolls Through Time
Understanding the historical journey of onion rolls provides valuable context for perfecting your technique today. This culinary tradition has evolved significantly while maintaining its essential character:
| Era | Development | Key Characteristics |
|---|---|---|
| 16th-18th Century | European farmhouse baking | Rustic onion breads made with sourdough starters, limited to seasonal onions |
| Early 1900s | Commercial bakery adoption | Standardized recipes, consistent size, par-baked for distribution |
| Mid-20th Century | American diner popularity | Sweetened versions, often with poppy seeds, served with meals |
| Present Day | Artisan revival | Focus on slow fermentation, high-quality onions, and traditional techniques |
According to culinary historians at the International Association of Culinary Professionals, the transition from rustic farmhouse breads to standardized commercial products created texture challenges that many home bakers still face today. Modern artisan approaches have rediscovered the importance of proper onion preparation and fermentation timing.
Essential Ingredients and Why They Matter
The magic of exceptional onion rolls happens through precise ingredient selection and preparation. Each component serves a specific purpose in creating the perfect balance of flavor and texture:
- Yellow onions - Choose firm, heavy specimens with dry skins. Their balanced sweetness and pungency create the ideal flavor foundation. Avoid red onions which can discolor the dough.
- Bread flour - With its higher protein content (12-14%), bread flour develops the gluten structure necessary for proper rise and chew.
- Instant yeast - More reliable than active dry yeast for consistent results, especially for beginner bakers.
- Butter - Adds richness and tenderizes the crumb. European-style butter with higher fat content yields superior results.
Professional bakers emphasize that proper onion preparation separates good rolls from great ones. Raw onions contain too much moisture which can ruin your dough's texture. Always cook onions slowly until golden brown and completely dry before incorporating them into your recipe.
Step-by-Step Perfect Onion Roll Method
Follow this professional-tested sequence for flawless results every time. This method addresses the two most common failure points identified in home baking surveys: improper onion moisture content and inconsistent rising conditions.
Preparing the Onion Filling
This critical step makes or breaks your final product. Many home bakers skip proper onion preparation, leading to soggy rolls:
- Fine dice 2 large yellow onions (¼ inch pieces)
- Melt 2 tablespoons butter in skillet over medium-low heat
- Add onions and ½ teaspoon salt, cooking slowly for 25-30 minutes until deeply golden
- Spread cooked onions on parchment paper to cool completely and dry further
Food science research from the Culinary Institute of America confirms that properly caramelized onions lose approximately 70% of their initial moisture content, preventing dough saturation during baking.
Dough Preparation and Rising
Maintaining proper temperature during fermentation proves crucial for optimal texture. Home baking studies show that 78-82°F (25-28°C) represents the ideal rising environment for consistent results:
- Mix 3½ cups bread flour, 2¼ teaspoons instant yeast, 2 tablespoons sugar, and 1½ teaspoons salt
- Add 1¼ cups warm water (105-110°F) and 3 tablespoons melted butter
- Knead 8-10 minutes until smooth and elastic
- Fold in cooled onions, then rise 1½ hours until doubled
Shaping and Final Proof
Professional bakers emphasize that proper shaping technique prevents common issues like uneven rising and filling leakage:
- Divide dough into 12 equal portions (use scale for accuracy)
- Roll each portion into tight ball, pinching seams underneath
- Place rolls 2 inches apart on parchment-lined baking sheet
- Cover and proof 45-60 minutes until noticeably puffy
Troubleshooting Common Onion Roll Problems
Based on analysis of thousands of home baking attempts, these solutions address the most frequent issues:
- Dense texture - Usually caused by insufficient kneading or yeast inactivation. Ensure water temperature stays below 115°F when mixing with yeast.
- Rolls spreading sideways - Indicates over-proofing. Reduce final proof time by 10-15 minutes.
- Bland onion flavor - Onions weren't cooked long enough. Properly caramelized onions develop complex flavor compounds essential for rich taste.
- Hard crust - Bake with oven-safe dish of water to create steam during first 10 minutes of baking.
Expert Variations and Serving Suggestions
Once you've mastered the basic technique, these professional variations can elevate your onion rolls:
- Cheese swirl - Add ½ cup shredded sharp cheddar to the onion filling
- Herb infusion - Mix 1 tablespoon fresh thyme or rosemary with the onions during cooking
- Sourdough version - Replace 1 cup flour and ½ cup water with active sourdough starter
Serve warm with roasted meats or as sandwich buns for pulled pork. For optimal freshness, store in airtight container for up to 3 days or freeze for longer storage. Reheat in 325°F oven for 8-10 minutes to restore freshness.
Why Temperature Control Makes All the Difference
Food science research reveals that dough temperature directly impacts gluten development and yeast activity. The American Association of Cereal Chemists International identifies 75-80°F as the ideal dough temperature after mixing. When ambient temperatures fall below 70°F, professional bakers use these techniques to maintain consistency:
- Adjust water temperature (warmer in winter, cooler in summer)
- Use oven with light on for consistent warm environment
- Place dough near (not on) heating vent during cold months
These context-specific adjustments address the temperature limitations that cause inconsistent results for many home bakers, particularly during seasonal changes.


 浙公网安备
33010002000092号
浙公网安备
33010002000092号 浙B2-20120091-4