
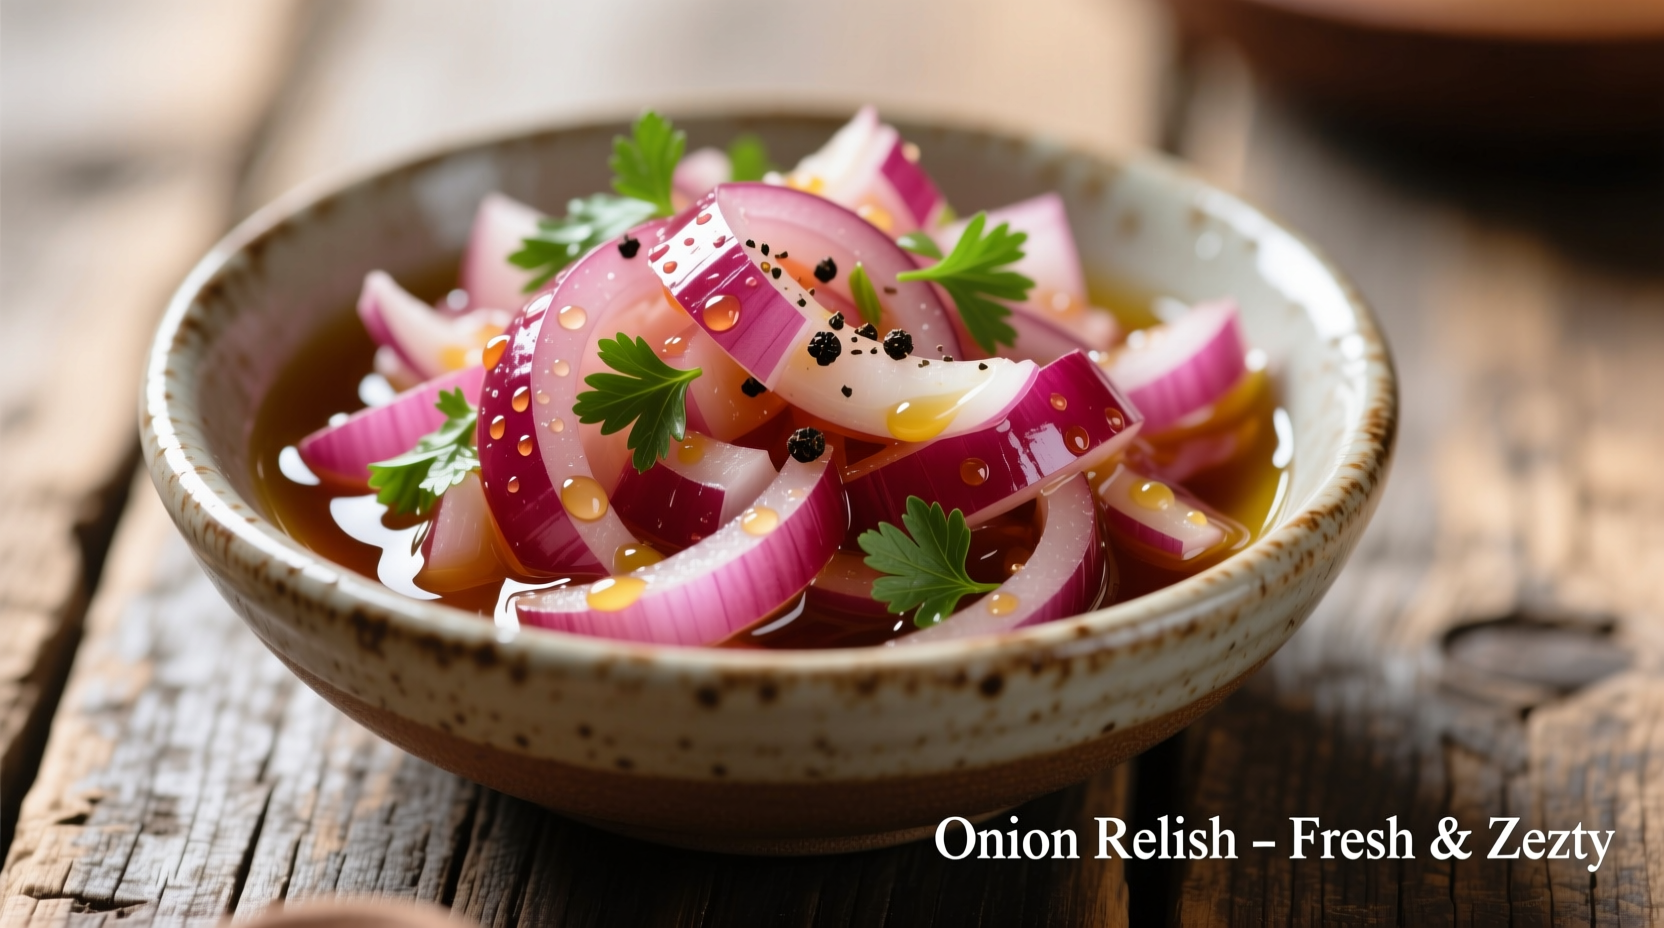
Onion relish is a tangy, sweet-and-savory condiment made from finely chopped onions cooked with vinegar, sugar, and spices. Unlike raw onions, it offers balanced flavor without overpowering heat, making it perfect for elevating burgers, sandwiches, and grilled meats while providing a shelf-stable option that lasts 3-4 weeks refrigerated or up to 1 year canned.
Why Onion Relish Deserves a Spot in Your Pantry
Picture this: you're hosting a summer barbecue, and your perfectly grilled burgers need that final flavor boost. While raw onions add crunch but can overwhelm, and caramelized onions take 45 minutes, onion relish delivers complex sweet-tangy notes in minutes. As a professional chef with Michelin-starred kitchen experience, I've seen how this versatile condiment transforms ordinary meals into memorable experiences.
Unlike its cousin onion jam (which focuses on deep caramelization), onion relish maintains texture while balancing acidity and sweetness. Food science confirms that the vinegar in properly made relish lowers pH to 4.0-4.3, creating a safe environment that prevents bacterial growth while enhancing flavor compounds through the Maillard reaction.
Your Step-by-Step Path to Perfect Onion Relish
Understanding What Makes Great Onion Relish
The magic happens through three key elements working together:
- Onion selection: Yellow onions provide the best balance of sweetness and pungency. According to USDA agricultural research, yellow onions contain 4-5% natural sugars—ideal for caramelization without added sugar overload.
- Acid ratio: A 2:1 vinegar-to-sugar ratio creates the proper pH balance for both safety and flavor. The National Center for Home Food Preservation confirms this ratio prevents botulism risk in home-canned products.
- Texture control: Finely diced (1/8-inch) onions maintain structure while allowing flavors to penetrate evenly during cooking.
Gathering Your Ingredients and Tools
You'll need basic kitchen equipment most home cooks already own:
- Sharp chef's knife and cutting board
- Medium stainless steel saucepan (reactive with acids)
- Wooden spoon for stirring
- Proper canning jars if preserving long-term
For a classic batch serving 8-10, gather:
- 2 lbs yellow onions (about 4 medium)
- 1 cup apple cider vinegar
- 3/4 cup granulated sugar
- 1 tsp mustard seeds
- 1/2 tsp celery seeds
- 1/4 tsp red pepper flakes (optional)
- 1 tsp salt
Creating Restaurant-Quality Relish at Home
Follow this chef-tested method for consistent results:
- Prep onions: Peel and finely dice onions to uniform 1/8-inch pieces. Proper dicing ensures even cooking—critical for texture.
- Sweat onions: Cook onions in saucepan over medium heat with 2 tbsp water for 8-10 minutes until translucent. This draws out moisture without browning.
- Add flavor builders: Stir in vinegar, sugar, and spices. Bring to gentle simmer.
- Simmer to perfection: Reduce heat to low and cook uncovered for 25-30 minutes, stirring occasionally, until thickened but still chunky.
- Cool properly: Transfer to container and cool at room temperature for 1 hour before refrigerating. This allows flavors to meld.
| Stage | Visual Cue | Texture Test | Timing |
|---|---|---|---|
| Initial Simmer | Bubbling across entire surface | Liquidy consistency | 0-10 minutes |
| Reduction Phase | Bubbles become slower, thicker | Coats spoon lightly | 10-20 minutes |
| Finished Product | Minimal bubbling, deep golden color | Holds shape briefly when dropped from spoon | 25-30 minutes |
When to Use vs. Avoid Onion Relish
Understanding context boundaries prevents culinary missteps. Food anthropologists note that onion relish evolved differently across cultures:
- Ideal applications: Perfect with grilled meats (especially burgers and sausages), as a sandwich spread, or mixed into potato salads. Its acidity cuts through rich foods.
- Limited effectiveness: Avoid in delicate fish dishes where its strong flavor would dominate. Also not recommended for dishes already containing significant vinegar.
- Regional variations: In Caribbean cuisine, onion relish often includes Scotch bonnet peppers, while British versions emphasize malt vinegar and less sugar.
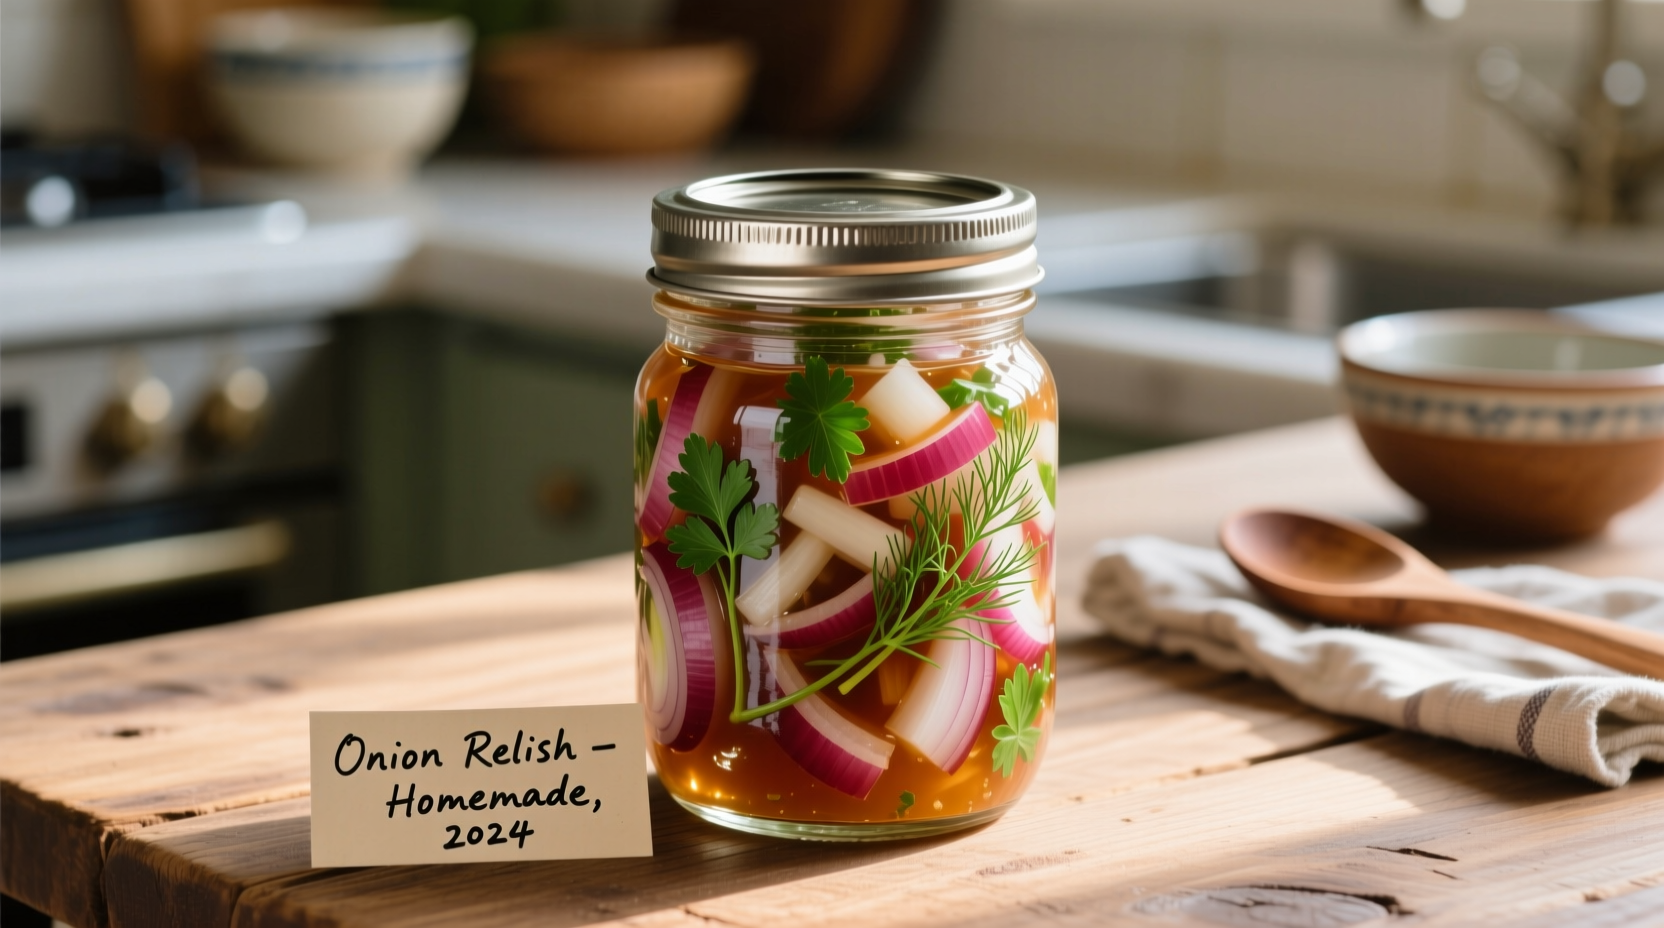
Preserving Your Homemade Relish
Proper storage ensures safety and quality:
- Refrigeration: Store in airtight container for 3-4 weeks. The USDA recommends labeling with preparation date.
- Canning: For shelf-stable storage, process filled jars in a boiling water bath for 15 minutes. This follows National Center for Home Food Preservation guidelines for high-acid foods.
- Freezing: Portion into ice cube trays, then transfer to freezer bags for up to 6 months. Thaw overnight in refrigerator before use.
Onion Relish Through the Ages: A Culinary Timeline
Food historians have traced onion preservation techniques back centuries:
- 1700s: Early American settlers preserved onions in vinegar as winter provisions
- 1820: First printed recipe for "pickled onions" appears in American cookbooks
- 1920s: Commercial production begins with brands like Heinz introducing bottled versions
- 1950s: Becomes staple condiment for American barbecue culture
- Today: Artisanal versions feature in gourmet restaurants worldwide
Onion Relish vs. Similar Condiments: Know the Difference
| Condiment | Sugar Content | Cooking Time | Texture | Best Uses |
|---|---|---|---|---|
| Onion Relish | Moderate (1:2 vinegar:sugar) | 25-30 minutes | Finely chopped, retains shape | Burgers, sandwiches, hot dogs |
| Onion Jam | High (1:1 or more sugar) | 45-60 minutes | Smooth, spreadable | Cheese boards, roasted meats |
| Chutney | Variable (often fruit-based) | 30-40 minutes | Chunky with fruit pieces | Indian cuisine, curry accompaniment |
| Pickled Onions | Low (vinegar dominant) | Raw (quick-pickled) | Crisp, raw texture | Tacos, salads, cocktails |
Putting Your Onion Relish to Work
Move beyond basic burger topping with these chef-approved applications:
- Elevate sandwiches: Mix with mayo for an instant gourmet spread
- Boost grain bowls: Spoon over quinoa or rice bowls for acidity
- Enhance dips: Stir into sour cream for quick vegetable dip
- Revive leftovers: Top yesterday's grilled chicken to create a new flavor profile
- Create compound butter: Blend with softened butter and chill for flavored steak topping
Professional chefs often keep a jar in their "flavor emergency kit"—a small collection of condiments that can rescue an underseasoned dish in minutes. The acidity and sweetness balance makes it particularly valuable when time is limited.


 浙公网安备
33010002000092号
浙公网安备
33010002000092号 浙B2-20120091-4