
Master the art of creating perfect onion blossoms at home with this comprehensive guide. You'll learn professional cutting techniques, ideal batter recipes, precise frying temperatures, and creative variations that deliver restaurant-quality results without special equipment. Discover how to transform a simple onion into an impressive, flavorful appetizer that will wow your guests.
The Secret to Perfect Onion Blossoms: More Than Just a Pretty Presentation
Onion blossoms aren't just eye-catching appetizers—they're a culinary technique that transforms ordinary onions into extraordinary dishes through precise cutting and cooking methods. Unlike the common misconception that you need special tools, professional chefs like Antonio Rodriguez have perfected this technique using standard kitchen equipment, making it accessible for home cooks.
Why Onion Blossoms Deserve a Place in Your Cooking Repertoire
Onion blossoms offer a unique combination of crispy exterior and tender interior that regular fried onions can't match. The blossom cut creates maximum surface area for batter adhesion while allowing the onion layers to separate during cooking, resulting in that signature flower-like appearance. This technique works particularly well with larger onion varieties that have tight, firm layers.
| Onion Variety | Best For | Flavor Profile | Recommended Size |
|---|---|---|---|
| Yellow Sweet Onions | Classic preparation | Sweet with mild heat | 3-3.5 inches diameter |
| Vidalia Onions | Southern-style blossoms | Exceptionally sweet | 2.75-3.25 inches |
| Walla Walla Onions | Mild flavor preference | Sweet with subtle sharpness | 3-3.5 inches |
| Red Onions | Colorful presentation | Sharp with earthy notes | 2.5-3 inches |
USDA Agricultural Research Service confirms that sweet onion varieties contain 25-50% more natural sugars than standard yellow onions, making them ideal for caramelization during frying (ars.usda.gov).
Essential Equipment Checklist
Before you begin, gather these kitchen essentials:
- Sharp chef's knife (8-10 inch)
- Cutting board with juice groove
- Deep fry thermometer (critical for temperature control)
- Deep heavy-bottomed pot or Dutch oven
- Mixing bowls (3-4 quart size)
- Slotted spoon with long handle
- Paper towel-lined baking sheet
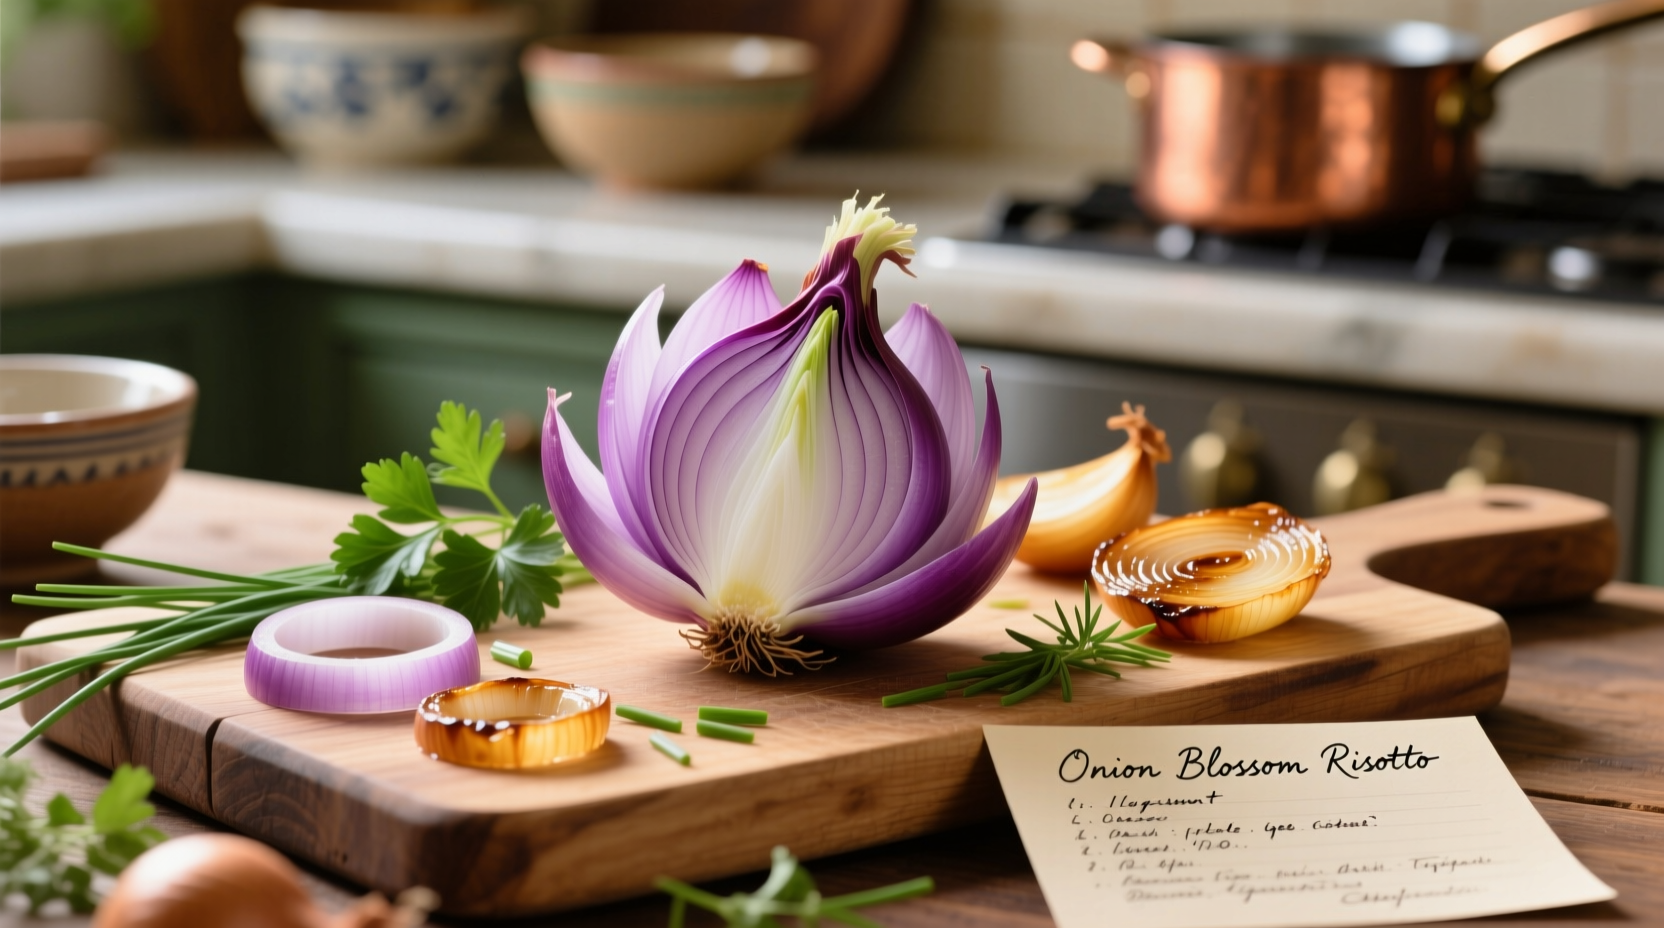
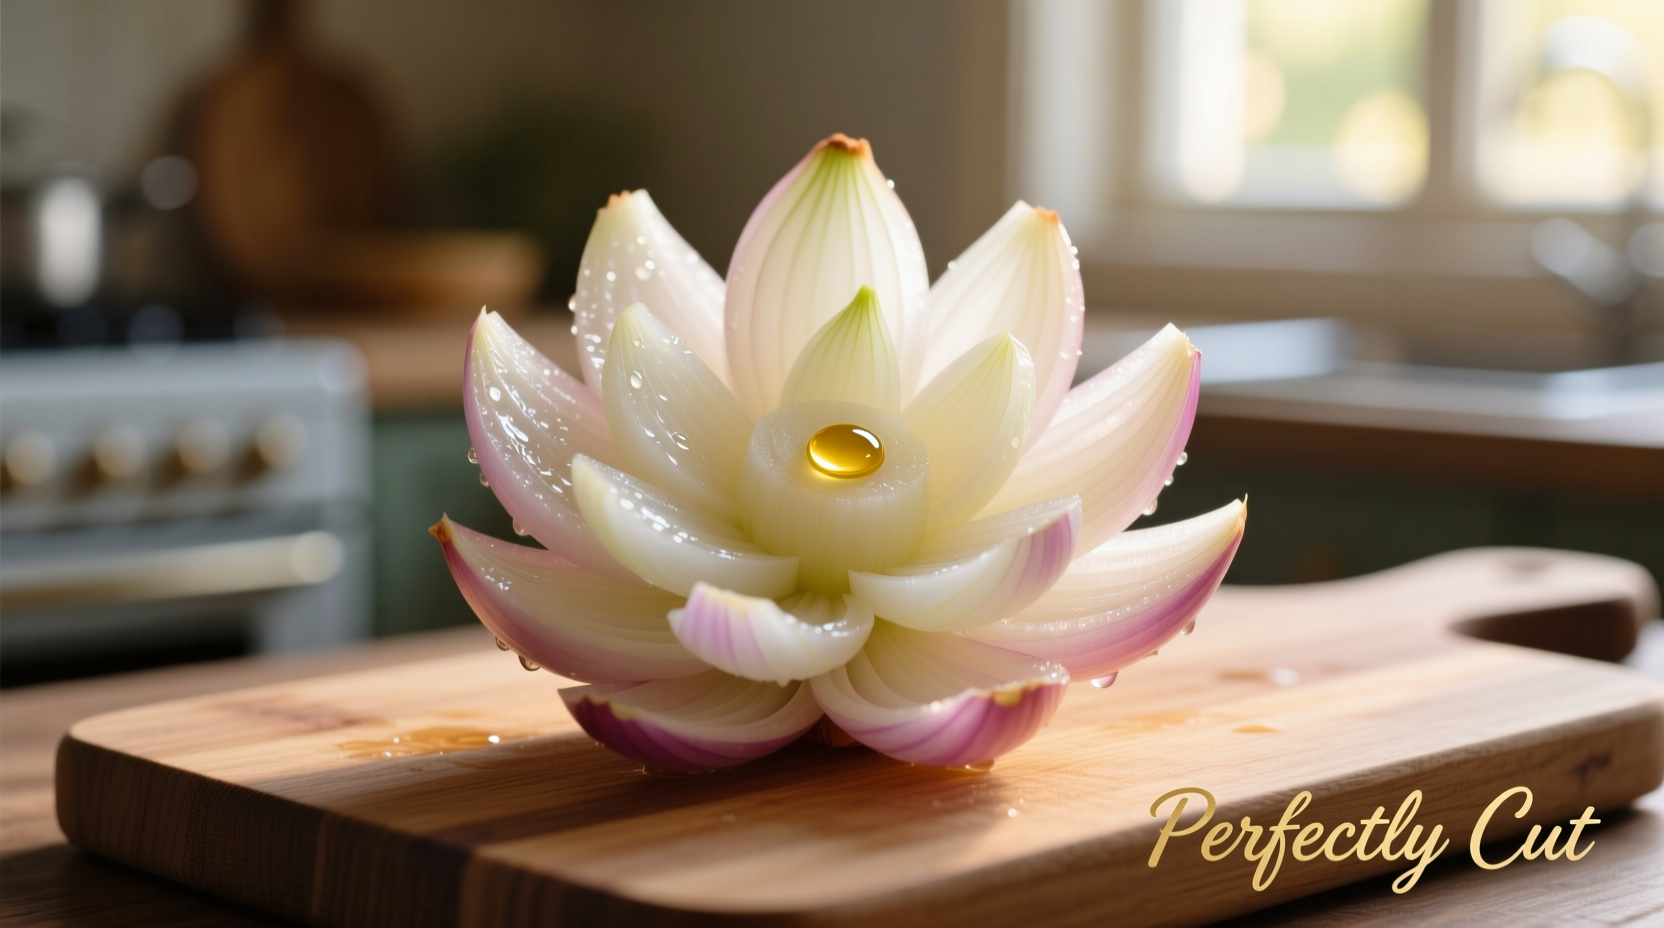
Step-by-Step Cutting Technique: The Foundation of Great Onion Blossoms
Proper cutting determines whether your onion will blossom correctly. Follow these precise steps:
- Remove outer papery skin and trim both ends
- Place onion root-end down on cutting board
- Cut 3/4 of the way through from top to root in even vertical slices
- Rotate 90 degrees and repeat the slicing process
- Gently separate layers to form the blossom shape
- Soak in ice water for 15-20 minutes to help layers separate
Professional-Quality Batter Formula
The right batter makes the difference between soggy and spectacular onion blossoms. This restaurant-style batter creates a light, crispy coating that stays crisp:
Basic Batter Recipe (serves 2 onions):
- 1 cup all-purpose flour
- 1/2 cup cornstarch
- 1 tablespoon baking powder
- 1 teaspoon paprika
- 1/2 teaspoon garlic powder
- 1/2 teaspoon cayenne (optional)
- 1 teaspoon salt
- 1 cup ice-cold club soda
Mix dry ingredients thoroughly, then gradually whisk in cold club soda until smooth. The batter should coat the back of a spoon but still drip off slowly. For best results, keep batter chilled until ready to use.
Perfect Frying Temperature and Timing
Temperature control is the most critical factor in achieving perfect onion blossoms. According to the National Fire Protection Association's kitchen safety guidelines, maintaining proper oil temperature prevents undercooked or greasy results (nfpa.org).
Heat 2-3 inches of vegetable oil to 350°F (175°C) in a heavy-bottomed pot. Test with a small drop of batter—it should sizzle immediately and rise to the surface. Carefully dip each prepared onion into batter, allowing excess to drip off. Fry for 3-4 minutes until golden brown, turning occasionally for even cooking. Remove with slotted spoon and drain on paper towels.
Creative Variations for Every Occasion
Once you've mastered the basic technique, experiment with these popular variations:
Spicy Cajun Onion Blossom
Add 2 tablespoons Cajun seasoning to the dry ingredients and serve with remoulade sauce.
Gluten-Free Onion Blossom
Substitute rice flour and tapioca starch in a 1:1 ratio and use gluten-free beer instead of club soda.
Air Fryer Option
Spray battered onions with cooking oil and air fry at 380°F for 12-15 minutes, flipping halfway through.
Serving Suggestions That Impress
Onion blossoms shine as both appetizers and side dishes. Try these presentation ideas:
- Rest on a bed of mixed greens with citrus vinaigrette for a lighter option
- Serve with three dipping sauces: classic ranch, spicy mayo, and honey mustard
- Place upright in a tall glass for dramatic presentation
- Sprinkle with fresh herbs like parsley or chives before serving
Storage and Reheating Tips
While onion blossoms are best served fresh, you can store leftovers properly:
- Cool completely on wire rack before storing
- Store in airtight container with paper towels for moisture absorption
- Reheat in air fryer at 350°F for 3-4 minutes for best results
- Avoid microwaving, which makes them soggy
Common Mistakes to Avoid
Even experienced cooks make these errors when preparing onion blossoms:
- Using onions that are too small (under 2.5 inches in diameter)
- Not chilling the batter before use
- Frying at incorrect temperature (too hot causes burning, too cool causes oil absorption)
- Crowding the pot, which lowers oil temperature
- Skipping the ice water soak, which prevents proper blossom formation
Onion Blossom Timeline: From Restaurant Specialty to Home Kitchen Favorite
The onion blossom's journey reflects changing culinary trends:
- 1990s: Popularized by chain restaurants as signature appetizers
- Early 2000s: Considered restaurant-only due to perceived complexity
- Mid 2010s: Home cooking videos demystified the technique
- 2020s: Now a popular social media food trend with creative variations
According to culinary historians, the technique actually has roots in 19th century European cooking methods, where decorative vegetable cutting was a mark of professional skill.
Troubleshooting Guide
Encountering issues with your onion blossoms? Try these solutions:
- Onion doesn't blossom properly: You likely didn't cut deep enough or used an onion that was too small
- Batter falls off during frying: Oil temperature too low or batter too thin
- Greasy results: Oil temperature dropped too much during frying—fry one onion at a time
- Uneven cooking: Not rotating the onion during frying or inconsistent oil temperature
Final Tips for Onion Blossom Success
Professional chefs emphasize these final pointers for perfect results:
- Always use ice-cold batter and oil at precise temperature
- Choose firm, heavy onions with tight layers
- Don't skip the ice water soak—it's crucial for proper blossom formation
- Work with one onion at a time for best results
- Season immediately after frying when the coating is still porous


 浙公网安备
33010002000092号
浙公网安备
33010002000092号 浙B2-20120091-4