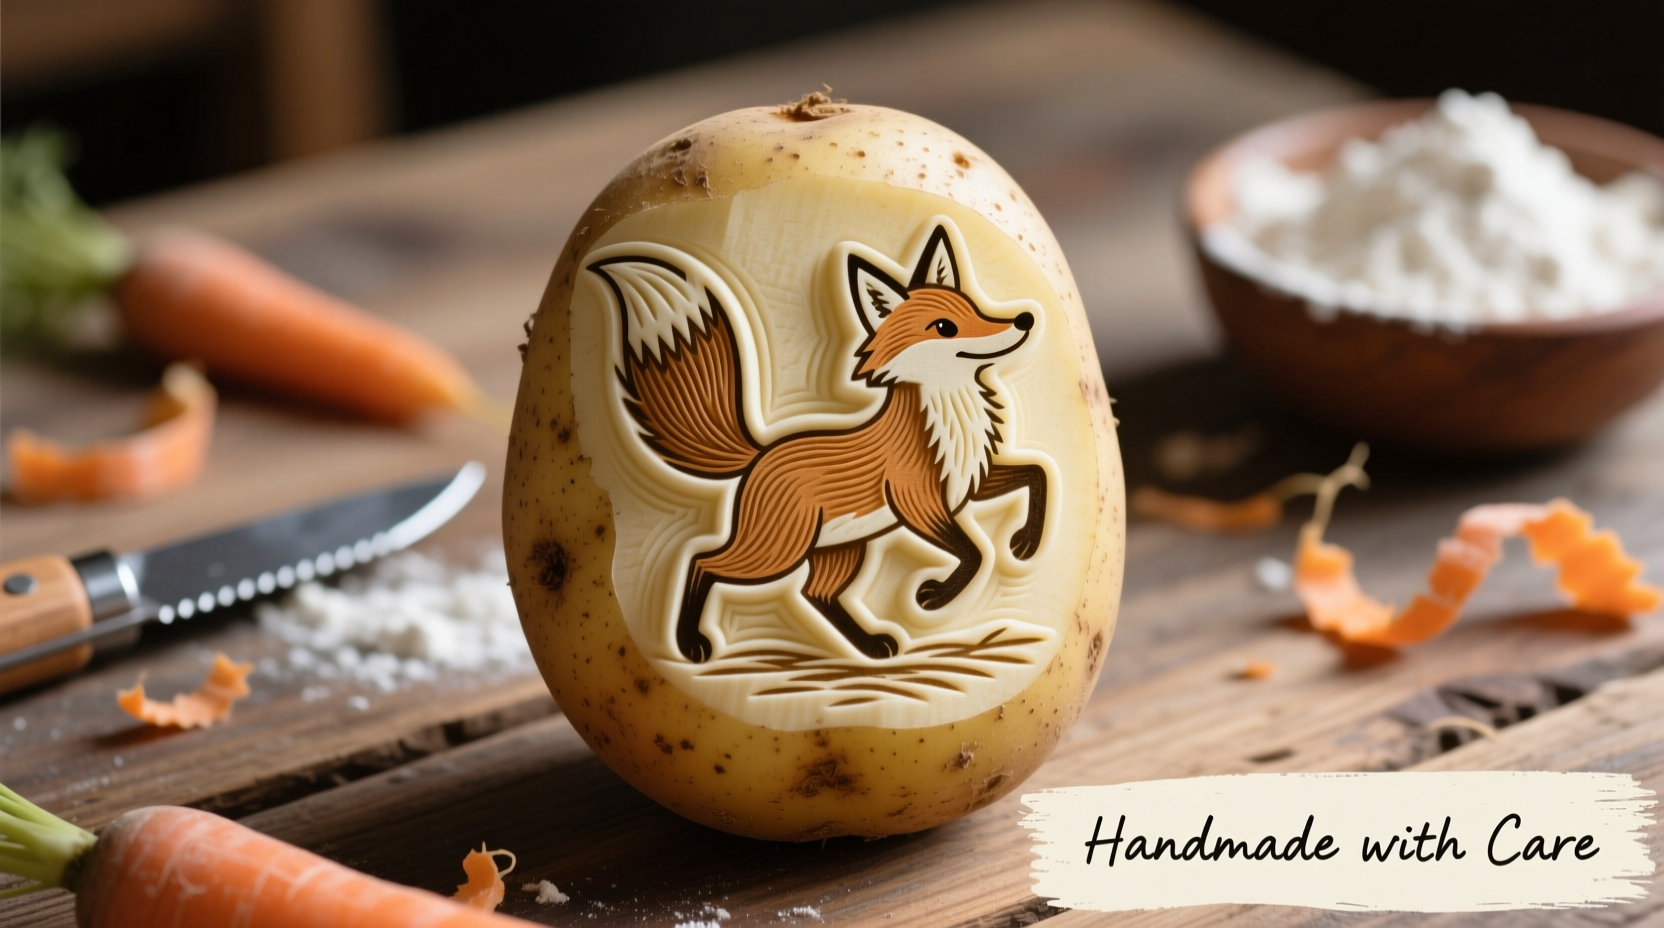
Transform ordinary potatoes into versatile printing tools with this comprehensive guide to potato stamping—a timeless craft technique that combines kitchen creativity with artistic expression. Whether you're a teacher planning classroom activities, a parent seeking educational projects for kids, or an artist exploring accessible printmaking methods, potato stamps offer an inexpensive, sustainable solution that yields professional results.
The Evolution of Potato Stamping: From Kitchen Experiment to Educational Staple
Potato stamping emerged as a practical craft technique during World War II when traditional art supplies became scarce. According to the National Art Education Association, resourceful teachers and families discovered that potatoes' firm texture and natural starch content made them ideal for creating custom stamps. The technique gained educational recognition in the 1950s when child development experts noted its benefits for fine motor skill development. Today, potato stamping remains a staple in early childhood education curricula worldwide, with modern adaptations incorporating eco-friendly inks and digital design planning.
Selecting Your Potato Canvas: Varietal Comparison Guide
| Potato Variety | Stamping Suitability | Best For | Limitations |
|---|---|---|---|
| Russet | ★★★★☆ | Large designs, bold patterns | Dry texture requires immediate use |
| Yukon Gold | ★★★★★ | All-purpose stamping, fine details | Shorter working time than Russets |
| Red Potatoes | ★★★☆☆ | Small stamps, children's projects | Thin skin limits carving depth |
| Sweet Potatoes | ★★☆☆☆ | Textured effects, organic patterns | Soft texture limits detail work |
Essential Materials Checklist
Before starting your potato stamp project, gather these basic supplies:
- Firm, blemish-free potatoes (Yukon Gold recommended for beginners)
- Sharp paring knife or linoleum carving tools
- Pencil for design transfer
- Water-based block printing ink or washable tempera paint
- Brayer (optional but recommended for professional results)
- Smooth printing surfaces (paper, fabric, or cardboard)
- Disposable plates for ink
- Paper towels for cleanup
Step-by-Step Potato Stamp Creation Process
Preparation Phase
Cut your potato in half crosswise to create a flat stamping surface. Choose the smoothest half with minimal eyes or blemishes. Wash and dry thoroughly—moisture affects ink adhesion. For classroom settings with children, pre-cut potatoes save time and enhance safety.
Design Transfer Techniques
Sketch your design on paper first, keeping in mind that potato stamps work best with bold, simplified shapes. Transfer your design by tracing with a pencil directly onto the potato surface or using carbon paper for more complex patterns. Remember: potato stamps create mirror images, so plan accordingly if using text or directional elements.

Carving Methodology
Carve away the negative space around your design, leaving your pattern raised about 1/8 inch above the cut surface. Professional crafters recommend using a "V"-shaped carving tool for clean lines, but a standard paring knife works well for beginners. Cut at a 45-degree angle away from your design for crisp edges. The Early Childhood Art Foundation notes that shallow carving (1-2mm depth) produces the cleanest impressions for children's projects.
Inking and Printing Process
Apply a thin, even layer of ink using a brayer or sponge applicator. Test your stamp on scrap paper first—potatoes absorb moisture quickly, so work efficiently. Press firmly but evenly onto your printing surface, applying consistent pressure for 3-5 seconds. Lift straight up to prevent smudging. For multi-color designs, clean the stamp thoroughly between colors and allow complete drying between layers.
Practical Applications and Limitations
Potato stamps excel in educational settings for teaching pattern recognition, symmetry, and color theory. They're ideal for creating custom wrapping paper, fabric designs, or greeting cards. However, understand their limitations: potato stamps typically last for 10-15 impressions before the surface degrades, making them unsuitable for large production runs. The technique works best on porous surfaces like paper and untreated fabric—avoid glossy papers or synthetic materials that won't accept the ink properly. For classroom use with young children, limit carving to simple shapes and supervise all knife work.
Advanced Techniques for Professional Results
Experienced crafters achieve gallery-quality results by employing these professional techniques:
- Multi-layer printing: Create complex designs by carving separate stamps for each color layer
- Texture variation: Use different carving depths to create tonal effects in single-color prints
- Eco-friendly inks: Mix food-safe dyes with cornstarch paste for non-toxic printing
- Preservation method: Store unused carved potatoes in cold water with lemon juice to prevent browning
Troubleshooting Common Issues
Encountering problems with your potato stamps? These solutions address frequent challenges:
- Blurred prints: You're using too much ink—apply thinner layers and blot excess on scrap paper
- Incomplete impressions: Press more firmly and ensure even pressure across the entire stamp surface
- Rapid deterioration: Use firmer potato varieties and work quickly before the cut surface oxidizes
- Color bleeding: Allow complete drying between color layers (minimum 30 minutes)
Expanding Your Printmaking Horizons
Once comfortable with potato stamps, explore these related techniques:
- Combine potato stamps with other vegetable printing (celery for texture, bell peppers for circles)
- Experiment with fabric printing using textile medium mixed with acrylic paints
- Create repeating patterns by planning stamp placement in advance
- Document your process for educational portfolios or classroom demonstrations


 浙公网安备
33010002000092号
 浙B2-20120091-4