
Preheat your oven to 375°F (190°C). Separate cinnamon rolls and place in a greased 9-inch round pan. Bake for 13-17 minutes until golden brown. Remove from oven, let cool 2 minutes, then spread included icing. Total preparation time: 5 minutes. Baking time: 13-17 minutes. Perfect results every time when following these precise Pillsbury cinnamon roll baking instructions.
Nothing beats the aroma of freshly baked cinnamon rolls filling your kitchen. Whether you're preparing a weekend breakfast or need a quick dessert solution, Pillsbury cinnamon rolls offer convenience without sacrificing that homemade taste. This comprehensive guide provides everything you need to achieve perfectly baked cinnamon rolls straight from the can, with professional tips that go beyond the basic instructions on the package.
What You'll Need for Perfect Pillsbury Cinnamon Rolls
Before you begin, gather these simple items:
- 1 can (11.7 oz) Pillsbury Grands! Cinnamon Rolls
- 9-inch round cake pan or pie dish
- Cooking spray or butter for greasing
- Oven preheated to 375°F (190°C)
- Wire cooling rack (optional but recommended)
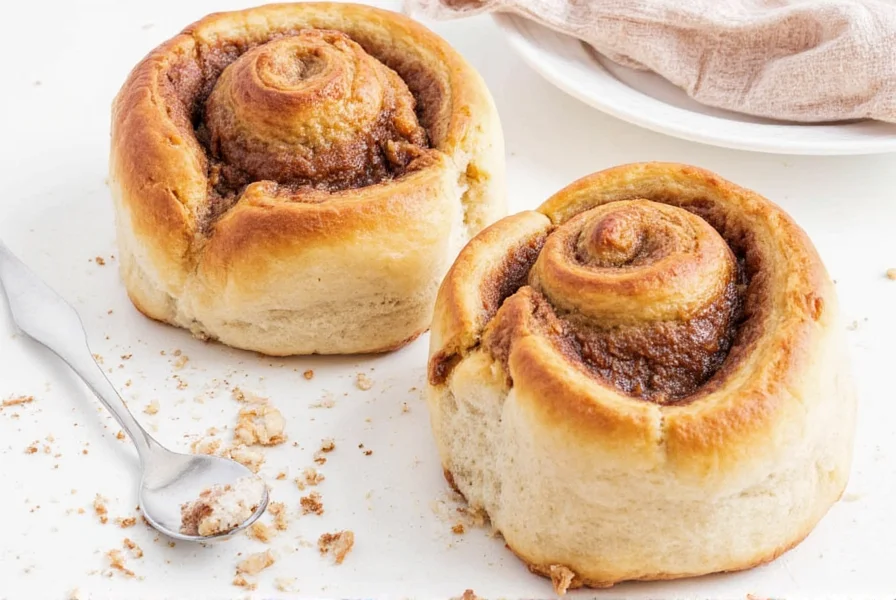
Step-by-Step Baking Instructions
Follow these detailed steps for flawless results every time you make Pillsbury cinnamon rolls from the can:
Preparation (2 minutes)
- Remove the can from refrigerator and let sit at room temperature for 5-10 minutes (this helps the dough separate more easily)
- Preheat your oven to 375°F (190°C) - crucial for proper rising and baking
- Generously grease a 9-inch round pan with cooking spray or softened butter
- Carefully open the can by pulling the tab (avoid squeezing the can)
- Separate the rolls by gently pulling them apart at the perforated lines
Baking Process (15 minutes)
- Place rolls cut-side down in the prepared pan, leaving space between them for expansion
- Bake in center rack of preheated oven for 13-17 minutes
- Check at 13 minutes - rolls are done when golden brown on top and bottom
- Remove from oven and let sit in pan for exactly 2 minutes (this allows structure to set)
- While rolls cool slightly, prepare the icing by warming the sealed packet in microwave for 5-10 seconds
- Spread icing evenly over warm rolls
| Oven Temperature | Baking Time | Visual Cues |
|---|---|---|
| 375°F (190°C) | 13-17 minutes | Golden brown top and bottom |
| 350°F (175°C) | 16-20 minutes | Slightly darker edges |
| Convection 350°F | 11-14 minutes | Even browning throughout |
Professional Tips for Perfect Results
While the basic Pillsbury cinnamon roll instructions work well, these expert techniques will elevate your baking:
- Room temperature matters: Let the can sit out for 5-10 minutes before opening for easier separation
- Pan selection: Use a dark metal pan for better browning, or a glass dish if you tend to overbake
- Spacing is key: Leave at least 1 inch between rolls in the pan for proper expansion
- Oven calibration: Use an oven thermometer to verify actual temperature - many ovens run hot or cold
- Don't overbake: Remove when tops are golden, not when they reach deep brown
Troubleshooting Common Issues
Even with perfect Pillsbury cinnamon roll baking instructions, problems can occur. Here's how to fix them:
Undercooked Rolls
If your cinnamon rolls are doughy in the center:
- Return to oven for 2-3 minute increments until done
- Next time, increase baking time by 2-3 minutes
- Check oven temperature with a separate thermometer
Overbrowned Rolls
If rolls are too dark on top:
- Reduce oven temperature by 25°F next time
- Place a sheet of aluminum foil loosely over rolls during last 5 minutes of baking
- Move pan to a lower oven rack position
Sticky Bottom Rolls
If rolls stick to the pan:
- Grease pan more thoroughly next time
- Let rolls cool 5 minutes before attempting to remove
- Run a butter knife around edges before serving
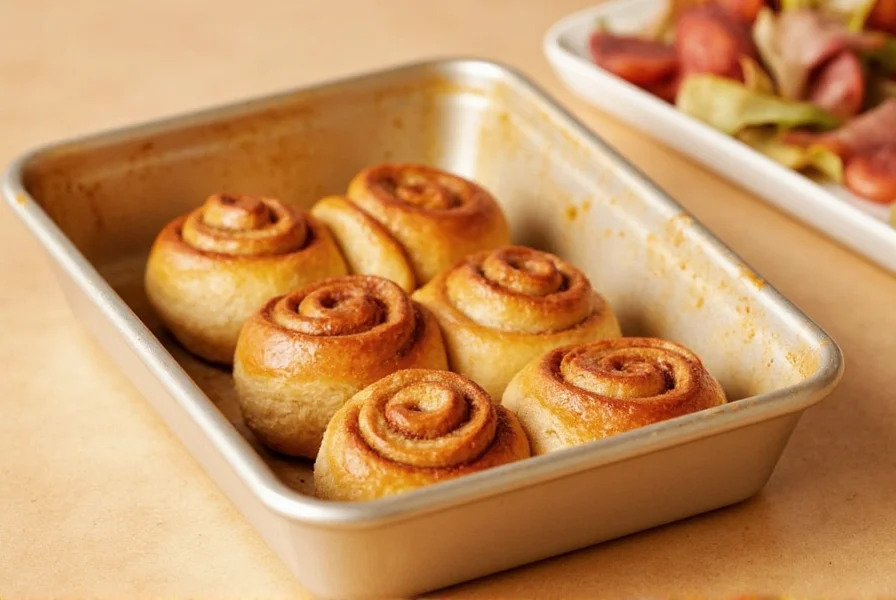
Delicious Variations to Try
Once you've mastered the standard Pillsbury cinnamon roll instructions, experiment with these simple upgrades:
- Extra gooey center: Place a square of cream cheese in the middle of each roll before baking
- Crunchy topping: Sprinkle coarse sugar on rolls before baking
- Flavor boost: Add 1/4 teaspoon of espresso powder to the icing for depth
- Gluten-free option: Use Pillsbury Gluten Free Cinnamon Rolls with same baking instructions
Storage and Reheating Instructions
Leftover cinnamon rolls? Here's how to keep them tasting fresh:
- Room temperature: Store in airtight container for up to 2 days
- Refrigerator: Keep for up to 1 week (though texture suffers)
- Freezer: Wrap individually and freeze for up to 3 months
- Reheating: Microwave for 10-15 seconds or warm in 300°F oven for 5 minutes
Frequently Asked Questions
Can I bake Pillsbury cinnamon rolls at 350 degrees instead of 375?
Yes, you can bake Pillsbury cinnamon rolls at 350°F, but you'll need to increase baking time to 16-20 minutes. The lower temperature creates more even baking but requires additional time for the rolls to cook through completely. Check at 16 minutes and continue baking in 2-minute increments until golden brown.
Why are my Pillsbury cinnamon rolls doughy in the middle?
Doughy centers typically occur when oven temperature is inaccurate or baking time is insufficient. Verify your oven temperature with a separate thermometer, as many household ovens run cooler than indicated. For high-altitude baking (above 3,500 feet), increase baking time by 2-4 minutes. Always check rolls at the minimum recommended time, then continue baking in 2-minute increments until done.
How do I prevent Pillsbury cinnamon rolls from sticking to the pan?
To prevent sticking, generously grease your baking pan with butter or non-stick cooking spray before placing the rolls. For extra insurance, line the bottom of the pan with parchment paper. After baking, let the rolls cool in the pan for 5 minutes before attempting to remove them, as this allows the structure to set. Running a thin knife around the edges before serving also helps release any stuck areas.
Can I prepare Pillsbury cinnamon rolls the night before?
Yes, you can prepare Pillsbury cinnamon rolls ahead of time. Place separated rolls in a greased pan, cover tightly with plastic wrap, and refrigerate overnight. When ready to bake, remove from refrigerator while preheating oven (takes about 15 minutes to come closer to room temperature), then bake according to standard instructions, adding 2-3 minutes to the baking time. This make-ahead method produces slightly denser but still delicious rolls.
What's the best way to reheat Pillsbury cinnamon rolls?
For best results when reheating Pillsbury cinnamon rolls, place them on a microwave-safe plate and cover loosely with a damp paper towel. Microwave for 10-15 seconds for one roll, adding 5 seconds per additional roll. Alternatively, warm in a 300°F oven for 5 minutes for more even heating that preserves texture better than microwaving. Never reheat at high temperatures, as this dries out the rolls.




 浙公网安备
33010002000092号
浙公网安备
33010002000092号 浙B2-20120091-4