
The Ultimate Guide to Perfect Instant Pot Chili
Making chili in an Instant Pot transforms a traditionally time-consuming dish into a weeknight-friendly meal without sacrificing flavor. Unlike slow simmering on the stove, pressure cooking extracts maximum flavor from ingredients in a fraction of the time while maintaining ideal texture. The key to success lies in understanding how pressure cooking affects chili's complex flavor development and avoiding the appliance's most common pitfalls.
Why Instant Pot Revolutionizes Chili Making
The sealed environment of an Instant Pot creates intense pressure that cooks ingredients up to 70% faster than conventional methods while preserving moisture and nutrients. For chili specifically, this means:
- Time efficiency - Complete chili in under 30 minutes instead of 2-3 hours
- Flavor concentration - Pressure forces flavors to meld more effectively
- Texture control - Beans and meat become tender without disintegrating
- Hands-off cooking - Minimal supervision required after initial browning
Professional chefs note that the high-pressure environment actually enhances certain flavor compounds that develop during long simmering, making well-executed Instant Pot chili potentially more complex than its slow-cooked counterpart.
Essential Equipment and Ingredients
While your Instant Pot does the heavy lifting, these elements ensure success:
| Category | Essential Items | Why It Matters |
|---|---|---|
| Equipment | 6-quart Instant Pot, wooden spoon, deglazing liquid (broth/wine) | Proper pot size prevents burn errors; deglazing liquid lifts stuck bits |
| Base Ingredients | Meat (1-1.5 lbs), 2 types of beans, fire-roasted tomatoes, broth | Variety creates depth; fire-roasted tomatoes add smokiness |
| Flavor Builders | Tomato paste, cocoa powder, coffee, chipotle peppers | Creates umami depth without excessive salt |
Classic Beef Chili Recipe (25-Minute Method)
This tested recipe serves 6 and consistently delivers rich flavor without common burn errors:
- Brown meat properly - Use 1.5 lbs ground chuck with 15% fat. Cook in sauté mode until deeply caramelized (not gray)
- Build flavor foundation - Add 1 diced onion, 3 minced garlic cloves, and 2 tbsp tomato paste. Cook 3 minutes until paste darkens slightly
- Layer spices correctly - Stir in 2 tbsp chili powder, 1 tsp cumin, 1 tsp smoked paprika, ½ tsp cinnamon. Cook 1 minute to bloom spices
- Deglaze thoroughly - Pour ½ cup broth while scraping bottom to remove all browned bits (critical for preventing burn errors)
- Add remaining ingredients - Include 1 (28oz) can fire-roasted tomatoes, 1 (15oz) can kidney beans (drained), 1 (15oz) can black beans (drained), 1 cup beef broth
- Pressure cook - Seal lid, set to manual high pressure for 10 minutes, then allow 15-minute natural release
- Final seasoning - Stir in 1 tbsp apple cider vinegar and adjust salt to taste after pressure cooking
Common Mistakes and Troubleshooting
Even experienced cooks encounter these Instant Pot chili issues:
Burn Error Prevention
The "Burn" message typically occurs when food sticks to the bottom. Prevent this by:
- Thoroughly deglazing after browning meat
- Adding liquids before spices (spices can scorch)
- Using at least 1 cup liquid for proper pressure building
- Stirring ingredients well before sealing the pot
Texture Troubles
If your chili turns out too thin or too thick:
- Too thin - Mix 1 tbsp cornstarch with 2 tbsp cold water, return to sauté mode and simmer 3-5 minutes
- Too thick - Add additional broth ¼ cup at a time until desired consistency
- Mushy beans - Always use canned beans (they're pre-cooked) and add them toward the end of cooking
Dietary Variations That Actually Work
Adapt this base recipe for different dietary needs without sacrificing flavor:
Vegetarian Instant Pot Chili
Replace meat with 2 cups cooked lentils and 1 cup diced mushrooms. Use vegetable broth and add 1 tbsp soy sauce for umami. Include 1 cup corn kernels for texture variation. Cook for 8 minutes pressure cook time.
White Chicken Chili
Use 1.5 lbs boneless chicken thighs (cut into 1-inch pieces), 2 cans white beans, green chilies, and tomatillo sauce instead of tomatoes. Add 1 tsp cumin and ½ tsp oregano. Cook 8 minutes with 10-minute natural release. Shred chicken after cooking.
Keto-Friendly Version
Omit beans and use 2 lbs ground beef with 1 cup diced eggplant instead. Replace sugar-containing tomatoes with diced fresh tomatoes and 2 tbsp tomato paste. Add ¼ cup nutritional yeast for cheesy depth without carbs.
Flavor Enhancement Techniques
Pressure cooking's speed can sometimes limit flavor development. Counteract this with these chef-approved methods:
- Acid balance - Finish with 1-2 tbsp apple cider vinegar or lime juice to brighten flavors
- Umami boosters - Add 1 tbsp soy sauce, 1 tsp instant espresso powder, or 2 minced anchovies when building flavor base
- Spice layering - Bloom dried spices in oil before adding liquids to maximize flavor extraction
- Texture contrast - Reserve ½ cup beans, mash, and stir back in at the end for thicker consistency
Serving and Storage Guidelines
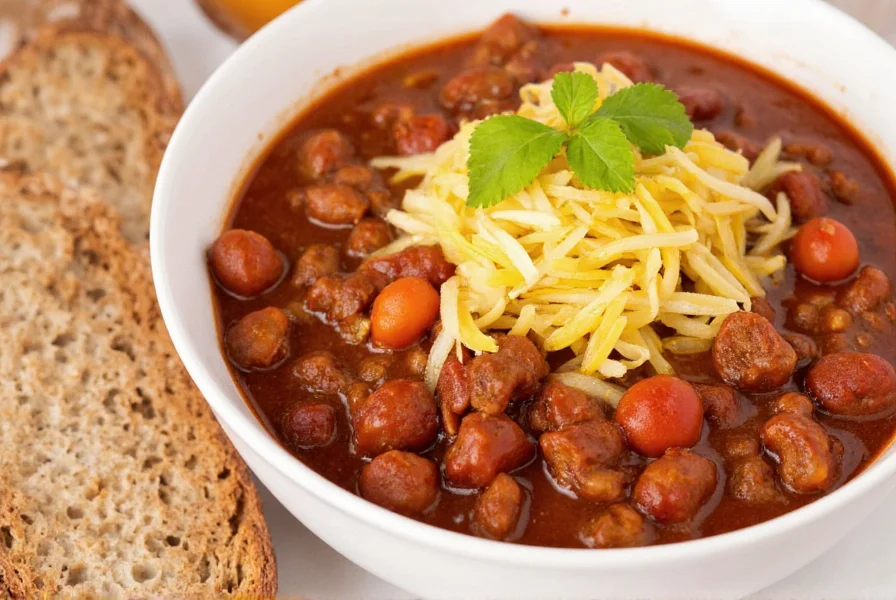
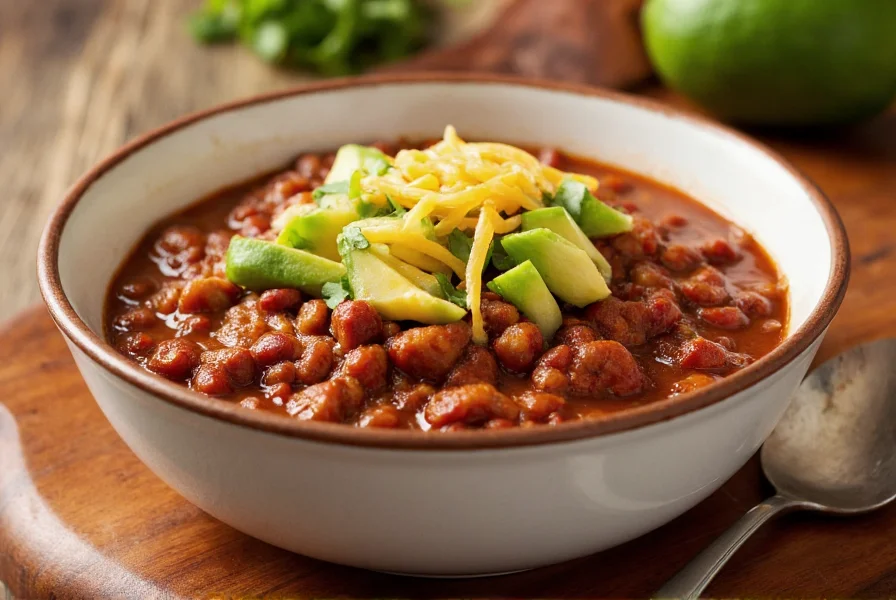
For optimal flavor, let chili rest 15-20 minutes before serving to allow flavors to meld. Top with:
- Fresh cilantro and diced red onion
- Avocado slices or guacamole
- Sharp cheddar or cotija cheese
- Lime wedges for brightness
Store in airtight containers for up to 5 days in the refrigerator or freeze for up to 3 months. Reheat gently on sauté mode with a splash of broth to restore moisture. Chili often tastes better the second day as flavors continue to develop.
Frequently Asked Questions
How long does chili need to cook in an Instant Pot?
Most chili recipes require 8-12 minutes of actual pressure cooking time, plus 10-15 minutes for natural pressure release. Total time from start to finish is typically 25-30 minutes, significantly faster than traditional stovetop methods which take 2-3 hours.
Why does my Instant Pot say 'burn' when making chili?
The 'burn' message typically appears when food particles stick to the bottom of the pot. Prevent this by thoroughly deglazing after browning meat (scrape all browned bits with broth), adding liquids before spices, ensuring at least 1 cup of liquid, and stirring ingredients well before sealing the pot. Using tomato paste instead of acidic tomato products first also helps.
Can I put frozen meat directly in Instant Pot for chili?
Yes, but with adjustments. Frozen meat will extend the time needed to reach pressure by 5-10 minutes. For best flavor development, however, we recommend browning thawed meat first. If using frozen meat, increase liquid by ¼ cup and add 2-3 minutes to the pressure cooking time.
How do I thicken Instant Pot chili without cornstarch?
Several effective methods exist: 1) Use the sauté function after pressure cooking to simmer uncovered for 5-10 minutes, 2) Mash some of the beans against the pot wall and stir back in, 3) Add 2-3 tbsp instant potato flakes which thicken without altering flavor, or 4) Stir in ¼ cup masa harina (corn dough) which also adds authentic chili flavor.
Should I do natural or quick release for chili?
Always use natural release (10-15 minutes) for chili. Quick release can cause liquid to spurt out through the valve and may result in unevenly cooked beans or meat. The natural release period allows flavors to continue developing and prevents texture issues that can occur with sudden pressure changes.


 浙公网安备
33010002000092号
浙公网安备
33010002000092号 浙B2-20120091-4