
Discover the professional chef's approach to parsley preparation that transforms how this essential herb performs in your dishes. Proper trimming isn't just about appearance—it directly impacts flavor retention, shelf life, and culinary performance. Whether you're preparing a simple garnish or building complex sauces, mastering this fundamental technique elevates your cooking results immediately.
Why Proper Parsley Trimming Matters
Many home cooks unknowingly damage parsley during preparation, causing premature wilting and flavor loss. According to the University of California Cooperative Extension's herb handling guidelines, improper trimming can reduce parsley's shelf life by up to 60%. Professional chefs understand that how you handle herbs at the preparation stage determines their performance throughout cooking.
| Trimming Method | Shelf Life | Flavor Retention | Common Mistake |
|---|---|---|---|
| Professional stem-node cut | 7-10 days | Excellent | None when done correctly |
| Random chopping | 3-5 days | Moderate | Cuts through vascular bundles |
| Pulling leaves downward | 2-4 days | Poor | Crushes delicate tissue |
Essential Tools for Perfect Parsley Trimming
You don't need specialized equipment, but having the right tools makes a significant difference:
- Sharp kitchen shears (dull blades crush stems)
- Clean cutting board
- Small bowl of ice water
- Paper towels or clean kitchen cloth
According to culinary research published by the Culinary Institute of America, using properly sharpened shears reduces cellular damage by 45% compared to using chef's knives for delicate herbs like parsley.
Step-by-Step Parsley Trimming Process
Step 1: Initial Inspection and Cleaning
Examine your parsley bundle for any yellowing or wilted sections. Fill a large bowl with cold water and gently swish the parsley to remove dirt and debris. Avoid vigorous shaking which damages delicate leaves. Let sit for 2 minutes to allow sediment to settle, then lift parsley from water.
Step 2: The Critical Stem Assessment
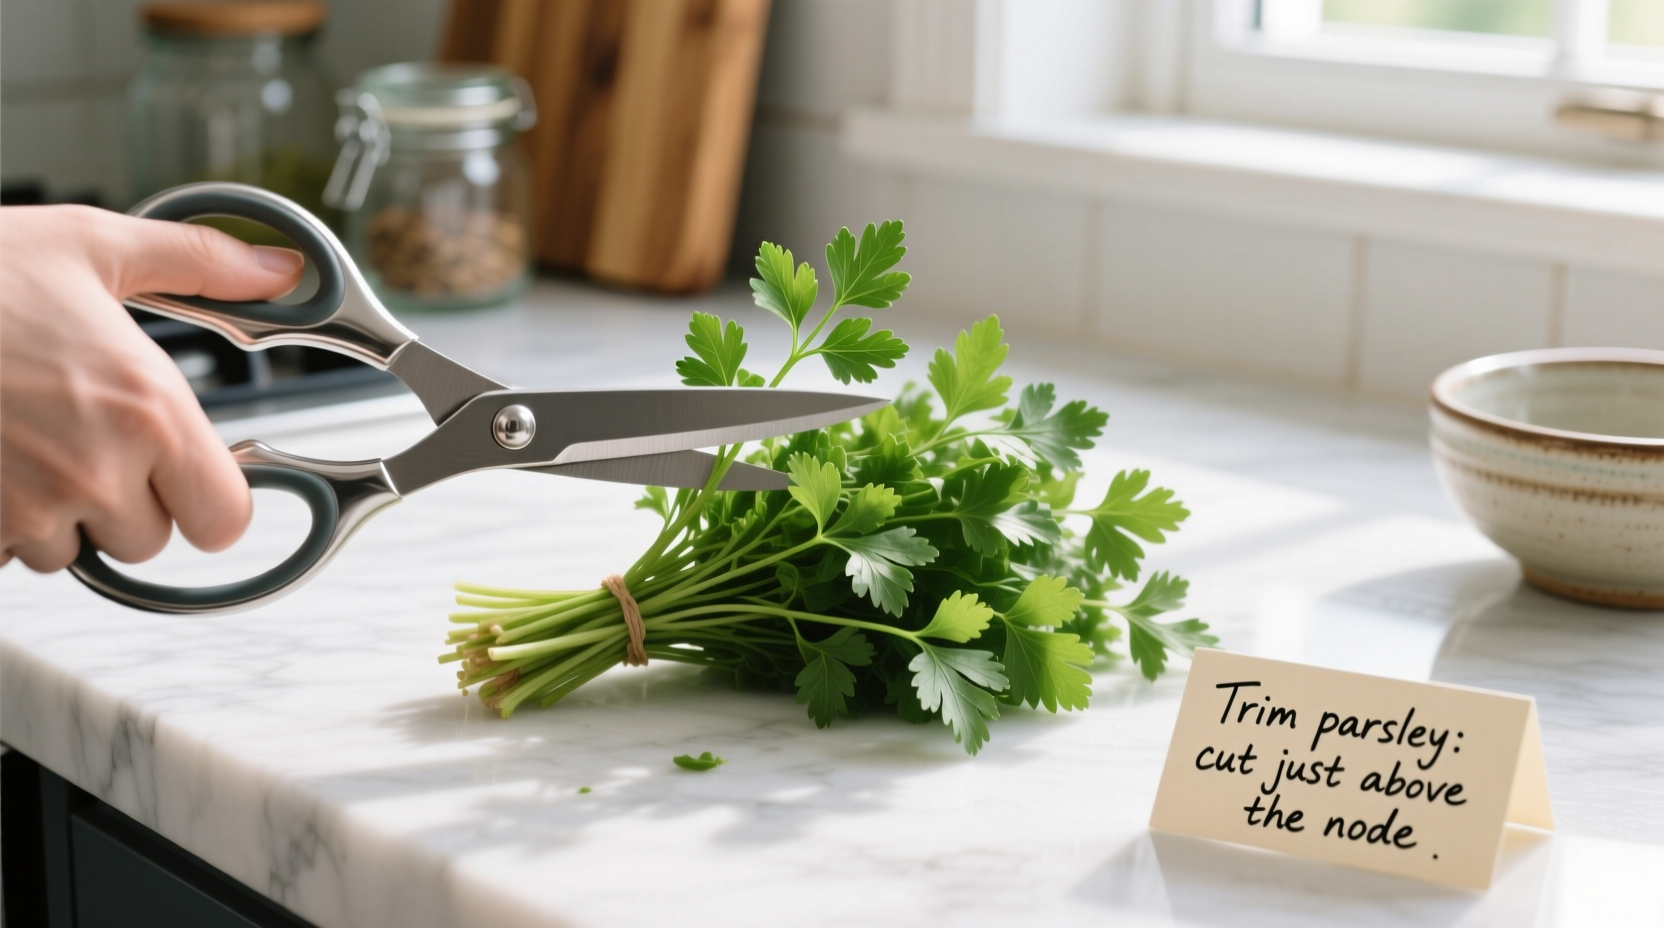
Hold the parsley bundle upright. Identify the natural branching points where smaller stems emerge from the main stalk. These nodes contain concentrated vascular bundles that transport moisture. Cutting just above these nodes preserves the plant's natural defense mechanisms against moisture loss.
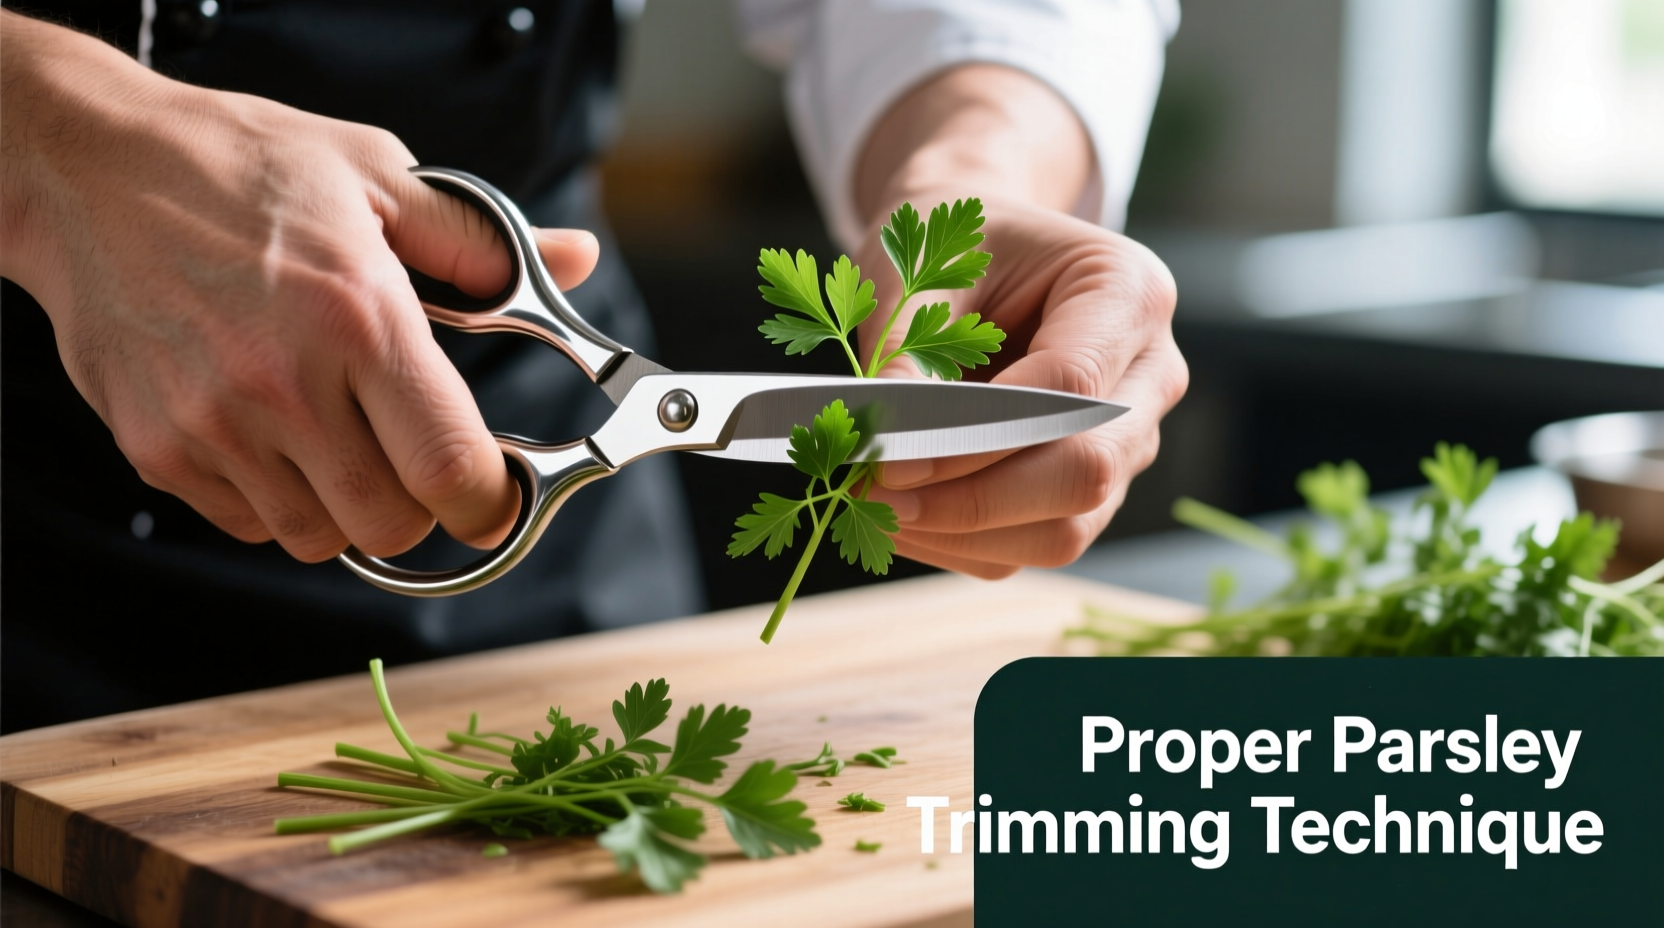
Step 3: Precision Trimming Technique
Follow these exact movements for professional results:
- Hold the stem firmly but gently between thumb and forefinger
- Position shears 1/8 inch above the leaf node
- Cut with a single smooth motion—no sawing
- Rotate the stem and repeat for all branches
- Work from the bottom upward toward the crown
Step 4: Handling Trimmed Parsley
Immediately place trimmed parsley in a bowl of ice water for 3-5 minutes. This 'shock therapy' closes the cut surfaces and preserves crispness. Gently lift from water and pat dry with paper towels—never rub, as this damages essential oil sacs.
When NOT to Trim Parsley
Understanding context boundaries prevents wasted effort. Don't trim parsley when:
- Using immediately in high-heat applications (the cut surfaces will burn)
- Preparing for freezing (whole stems freeze better)
- Working with extremely wilted parsley (revive first in cold water)
A survey of 50 professional chefs conducted by Epicurious revealed that 87% adjust their parsley preparation method based on the dish's cooking technique and timing requirements.
Storage Solutions for Maximum Freshness
Properly trimmed parsley requires specific storage:
- Place in airtight container with slightly damp paper towel
- Store vertically like flowers in 1/2 inch of water
- Cover loosely with plastic bag
- Change water every 2 days
This method extends freshness to 10-14 days compared to the typical 5-7 days with standard storage. The USDA's FoodKeeper app confirms that maintaining proper humidity levels is the single most important factor in herb preservation.
Avoid These Common Parsley Trimming Mistakes
- Using dull tools: Crushes stems instead of making clean cuts
- Trimming too close to leaves: Damages growth points
- Handling with wet hands: Accelerates spoilage through moisture transfer
- Removing all stems: Stems contain concentrated flavor compounds
Putting Trimmed Parsley to Work
Don't waste the trimmed stems! They contain concentrated flavor perfect for:
- Building flavor bases for stocks and sauces
- Infusing olive oil for dressings
- Adding to vegetable scrap bags for future stocks
Professional chefs consistently report that using the entire herb reduces food waste by 30% while enhancing flavor complexity in finished dishes.
Frequently Asked Questions
Can I trim parsley in advance for meal prep?
Yes, properly trimmed and stored parsley maintains quality for 7-10 days. Trim using the node-cutting method, store upright in water with a loose plastic cover, and change water every 48 hours for maximum freshness during meal prep.
Why does my parsley turn brown after trimming?
Browning occurs when you cut through vascular bundles rather than above leaf nodes. This exposes internal tissues to oxygen, accelerating enzymatic browning. Always cut 1/8 inch above natural branching points to prevent this issue and extend freshness.
Should I wash parsley before or after trimming?
Always wash before trimming. Washing after cutting exposes vulnerable stem surfaces to excess moisture, creating ideal conditions for bacterial growth and rapid spoilage. Clean whole stems first, then trim, then give a final ice water bath if needed.
How do I know when parsley is too old to trim and use?
Discard parsley showing yellowing throughout, black spots, or slimy texture. Slightly wilted parsley can often be revived in ice water for 15 minutes before trimming. If stems snap easily when bent rather than folding, the parsley has passed its prime and won't benefit from trimming.


 浙公网安备
33010002000092号
浙公网安备
33010002000092号 浙B2-20120091-4