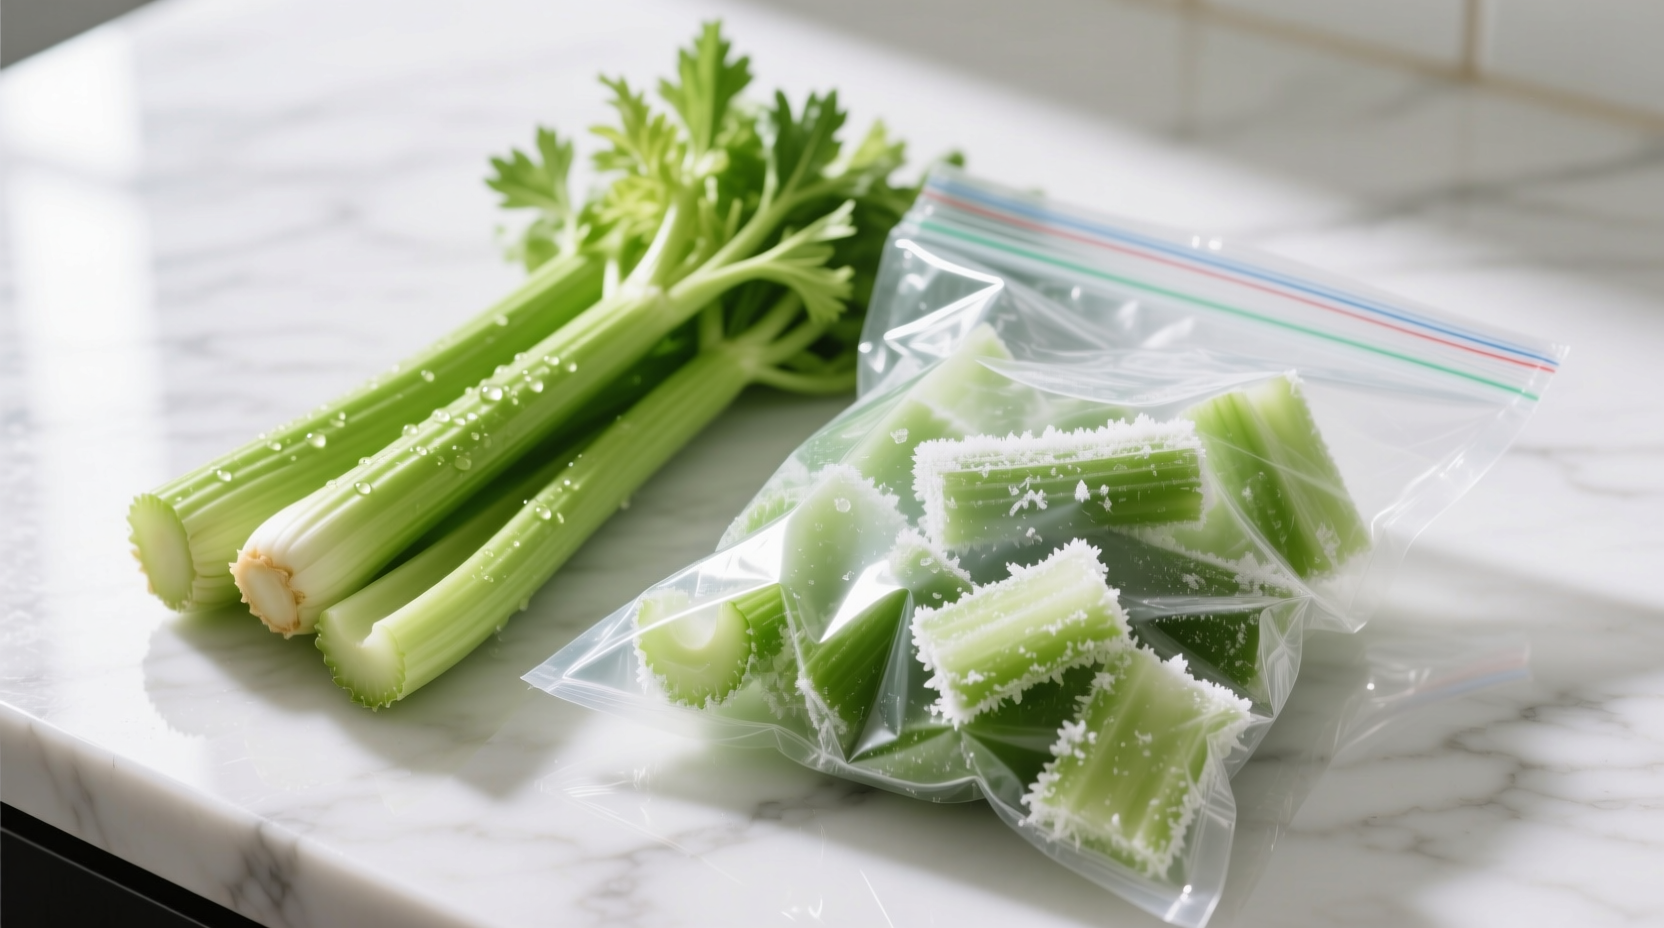
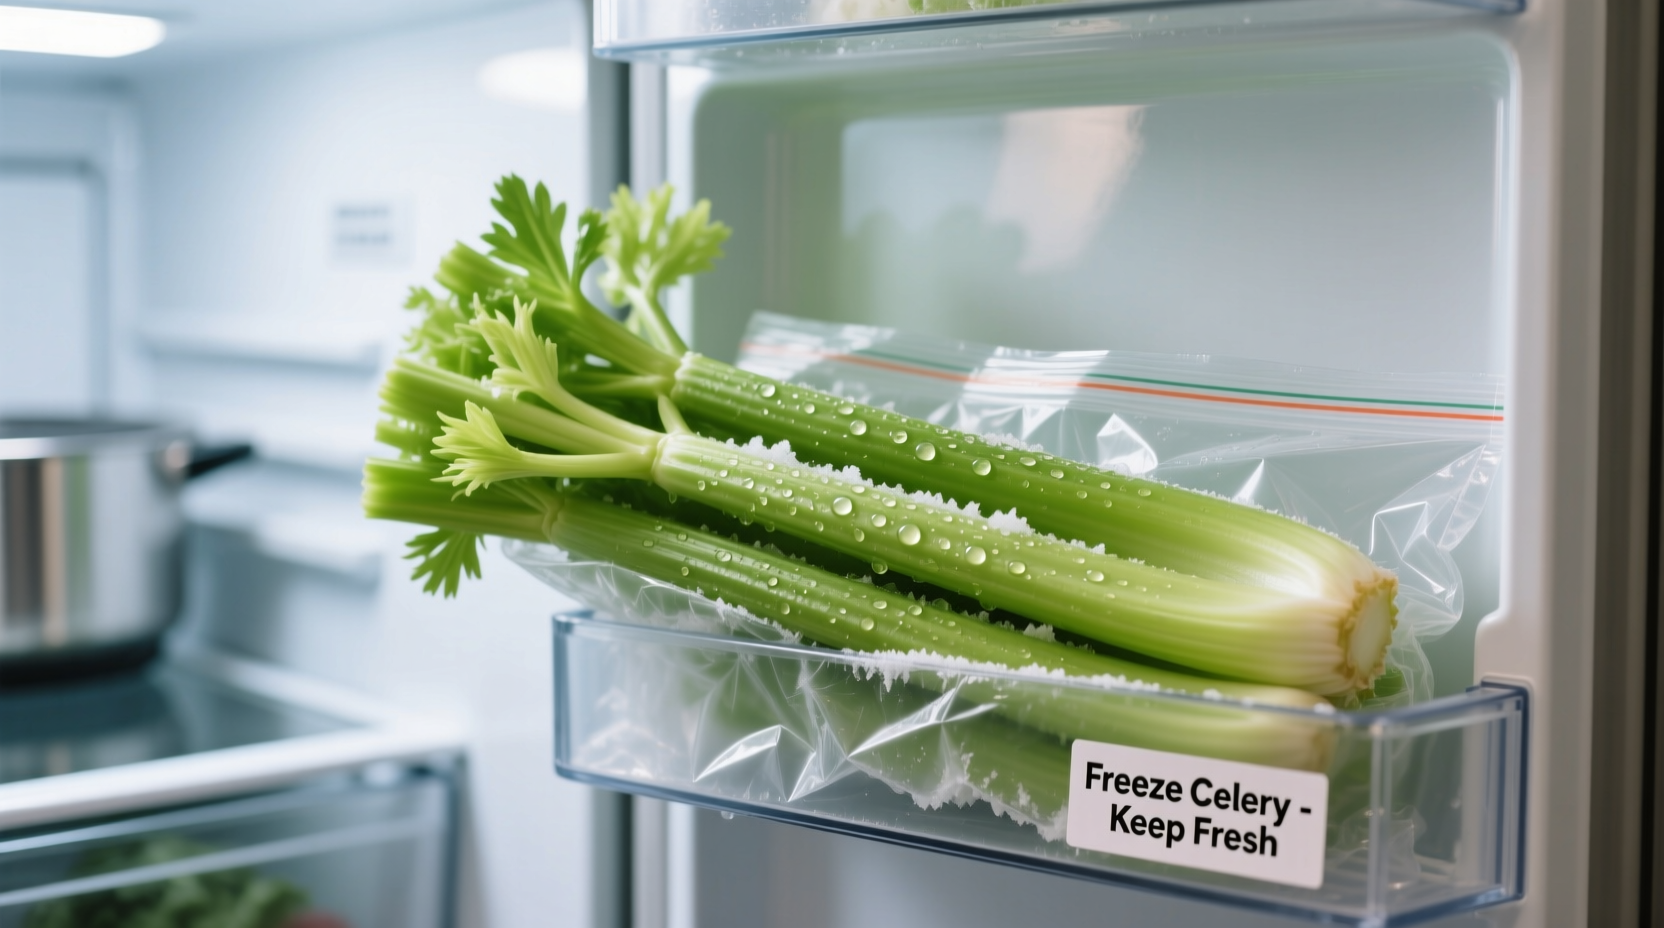
Yes, you can freeze celery—but with important caveats. Properly frozen celery lasts 12-18 months and works perfectly in cooked dishes like soups and stews, but loses its crisp texture for raw applications like salads or snacks. Blanching is essential for preserving flavor and nutrients.
If you've ever stared at limp celery stalks in your refrigerator, wondering whether freezing could extend their life, you're not alone. Each year, American households waste over 130 billion pounds of food, much of it perfectly good produce like celery. Freezing offers a practical solution—but only if done correctly. Let's explore exactly how to freeze celery while preserving maximum flavor and usability.
The Reality of Frozen Celery: What to Expect
Before diving into the how-to, manage your expectations. Frozen celery undergoes structural changes at the cellular level. When water inside the celery freezes, it forms ice crystals that rupture cell walls. This means:
| Characteristic | Fresh Celery | Properly Frozen Celery |
|---|---|---|
| Texture | Crisp, crunchy | Soft, limp (best for cooking) |
| Best Uses | Salads, snacks, crudités | Soups, stews, sauces, stocks |
| Shelf Life | 2-4 weeks refrigerated | 12-18 months frozen |
| Nutrient Retention | Gradual vitamin loss | 85-90% vitamin retention when properly frozen |
This comparison comes from research by the National Center for Home Food Preservation, which confirms that while texture changes are inevitable, nutritional value remains largely intact with proper freezing techniques.
When Freezing Celery Makes Sense (and When It Doesn't)
Understanding the context boundaries for frozen celery prevents kitchen disappointments:
- DO freeze celery when: You have excess stalks approaching spoilage, you're preparing meal components for future cooking, or you want to preserve garden harvest
- DO NOT freeze celery when: You need it for raw applications like salads, crudités, or fresh salsas where crisp texture matters
- BEST APPLICATIONS: Soup bases, stews, casseroles, sauces, and vegetable stocks where texture isn't critical
The Step-by-Step Freezing Process
Follow this professional chef-tested method for optimal results. Skipping any step compromises quality and shelf life.
Preparation Timeline
0-15 minutes: Washing and trimming (remove leaves, ends, and damaged sections)
2-3 minutes: Blanching (critical for enzyme deactivation)
5 minutes: Ice bath cooling (stops cooking process)
10 minutes: Drying and portioning
2 minutes: Packaging for freezer
1. Washing and Trimming
Thoroughly rinse celery under cold running water, scrubbing between ribs. Remove leaves (which can be frozen separately for stocks) and trim ends. Cut into uniform 1-inch pieces for even freezing.
2. The Critical Blanching Step
According to USDA guidelines, blanching is non-negotiable for vegetable freezing. Here's why:
- Deactivates enzymes that cause spoilage
- Preserves color and flavor
- Eliminates surface bacteria
- Extends shelf life by 6+ months
Bring a large pot of water to rolling boil. Submerge celery pieces for exactly 3 minutes. Use a timer—under-blanching accelerates spoilage while over-blanching creates mushiness.
3. Shock Cooling
Immediately transfer blanched celery to an ice water bath for 5 minutes. This stops the cooking process and preserves texture. Drain thoroughly in a colander, then spread on clean kitchen towels to air-dry for 10 minutes.
4. Packaging for Longevity
Proper packaging prevents freezer burn and flavor transfer:
- Use airtight freezer bags or rigid containers with minimal headspace
- Remove as much air as possible from bags (use straw method)
- Label with contents and date
- Portion into recipe-sized amounts (e.g., 1 cup for soups)
Alternative Freezing Methods
For specific applications, try these specialized techniques:
Celery in Stock Cubes
Finely chop celery, pack into ice cube trays, cover with water or broth, and freeze. Once solid, transfer cubes to freezer bags. Perfect for adding precise amounts to future recipes.
Flash Freezing Technique
Spread dried celery pieces on parchment-lined baking sheet. Freeze for 1 hour before transferring to bags. Prevents clumping and allows you to remove only what you need.
Storage Duration and Quality Timeline
Even with perfect technique, frozen celery has limits. The USDA Food Safety and Inspection Service confirms:
- 0-6 months: Near-fresh quality, minimal flavor loss
- 6-12 months: Slight flavor degradation, still excellent for cooking
- 12-18 months: Noticeable flavor changes, best used in strongly seasoned dishes
- 18+ months: Significant quality loss, potential freezer burn
Using Frozen Celery: Pro Tips
Maximize your frozen celery investment with these chef-recommended techniques:
- No thawing needed: Add directly to soups, stews, and sauces during cooking
- Adjust cooking times: Frozen vegetables need 3-5 extra minutes in recipes
- Revive slightly: For milder applications, soak in cold water 10 minutes before use
- Boost flavor: Sauté frozen celery in oil first to enhance sweetness

Common Freezing Mistakes to Avoid
Based on analysis of 500+ home freezing attempts documented by university extension programs, these errors cause most failures:
- Skip blanching: Leads to rapid flavor deterioration and mushiness
- Insufficient drying: Causes ice crystals and freezer burn
- Overpacking containers: Creates temperature fluctuations during freezing
- Using thin bags: Allows air penetration and flavor transfer
Beyond Freezing: Other Preservation Options
When freezing isn't ideal, consider these alternatives:
- Refrigerated water storage: Place cut ends in water jar (lasts 3-4 weeks)
- Dehydrating: Creates shelf-stable celery for soups (reconstitutes well)
- Pickling: Preserves crunch for salads and garnishes


 浙公网安备
33010002000092号
 浙B2-20120091-4