
Transform ordinary pumpkin seeds into a delicious, nutrient-packed snack with this foolproof toasting method. Whether you're preparing seeds from your Halloween pumpkin or using store-bought raw seeds, proper toasting unlocks their full nutty flavor and satisfying crunch. The key to perfect toasted pumpkin seeds lies in precise moisture control, optimal temperature, and strategic seasoning timing—techniques we'll break down in this complete guide.
Why Toasting Makes All the Difference
Raw pumpkin seeds contain about 5% moisture content, which prevents proper browning and crispness. Toasting reduces this moisture to under 2%, creating that signature crunch while activating natural enzymes that enhance their nutty flavor profile. According to USDA FoodData Central, this process also increases the bioavailability of key nutrients like magnesium and zinc by up to 30%.
Preparation: The Foundation of Perfect Results
Proper preparation separates good results from great ones. Follow these steps before toasting:
Cleaning and Separating
Remove seeds from your pumpkin and separate them from the stringy pulp. Fill a large bowl with cold water and submerge the seeds. The pulp will float while quality seeds sink. Gently rub seeds between your palms to remove remaining fibers. Drain using a fine-mesh strainer.
Drying Techniques
Thorough drying is critical—any residual moisture causes steaming instead of toasting:
- Air drying: Spread seeds on paper towels for 2 hours, flipping occasionally
- Towel drying: Pat vigorously with clean kitchen towels (most efficient method)
- Dehydrator method: 120°F for 1 hour (ideal for large batches)
| Drying Method | Time Required | Moisture Reduction | Best For |
|---|---|---|---|
| Towel drying | 15 minutes | 70% | Immediate toasting |
| Air drying | 2 hours | 50% | Small batches |
| Dehydrator | 1 hour | 90% | Large quantities |
Seasoning Strategies for Maximum Flavor
Timing your seasoning application affects both flavor penetration and texture. Add salt and dry spices before toasting for deeper flavor integration, but apply delicate ingredients like garlic powder after cooking to prevent burning.
Classic Seasoning Ratios (per 1 cup seeds)
- Basic salted: 1 tsp sea salt + 1 tsp olive oil
- Spicy Southwest: 1/2 tsp cumin + 1/4 tsp smoked paprika + 1/8 tsp cayenne
- Sweet Cinnamon: 1 tbsp maple syrup + 1/2 tsp cinnamon + pinch of nutmeg
Mastering the Toasting Process
Three reliable methods deliver professional results at home. Choose based on your equipment and desired outcome:
Oven Method (Most Consistent Results)
- Preheat oven to 300°F (150°C)—lower temperature prevents burning
- Spread seeds in single layer on parchment-lined baking sheet
- Toast 30-40 minutes, stirring every 10 minutes
- Seeds are done when golden brown and make a light popping sound
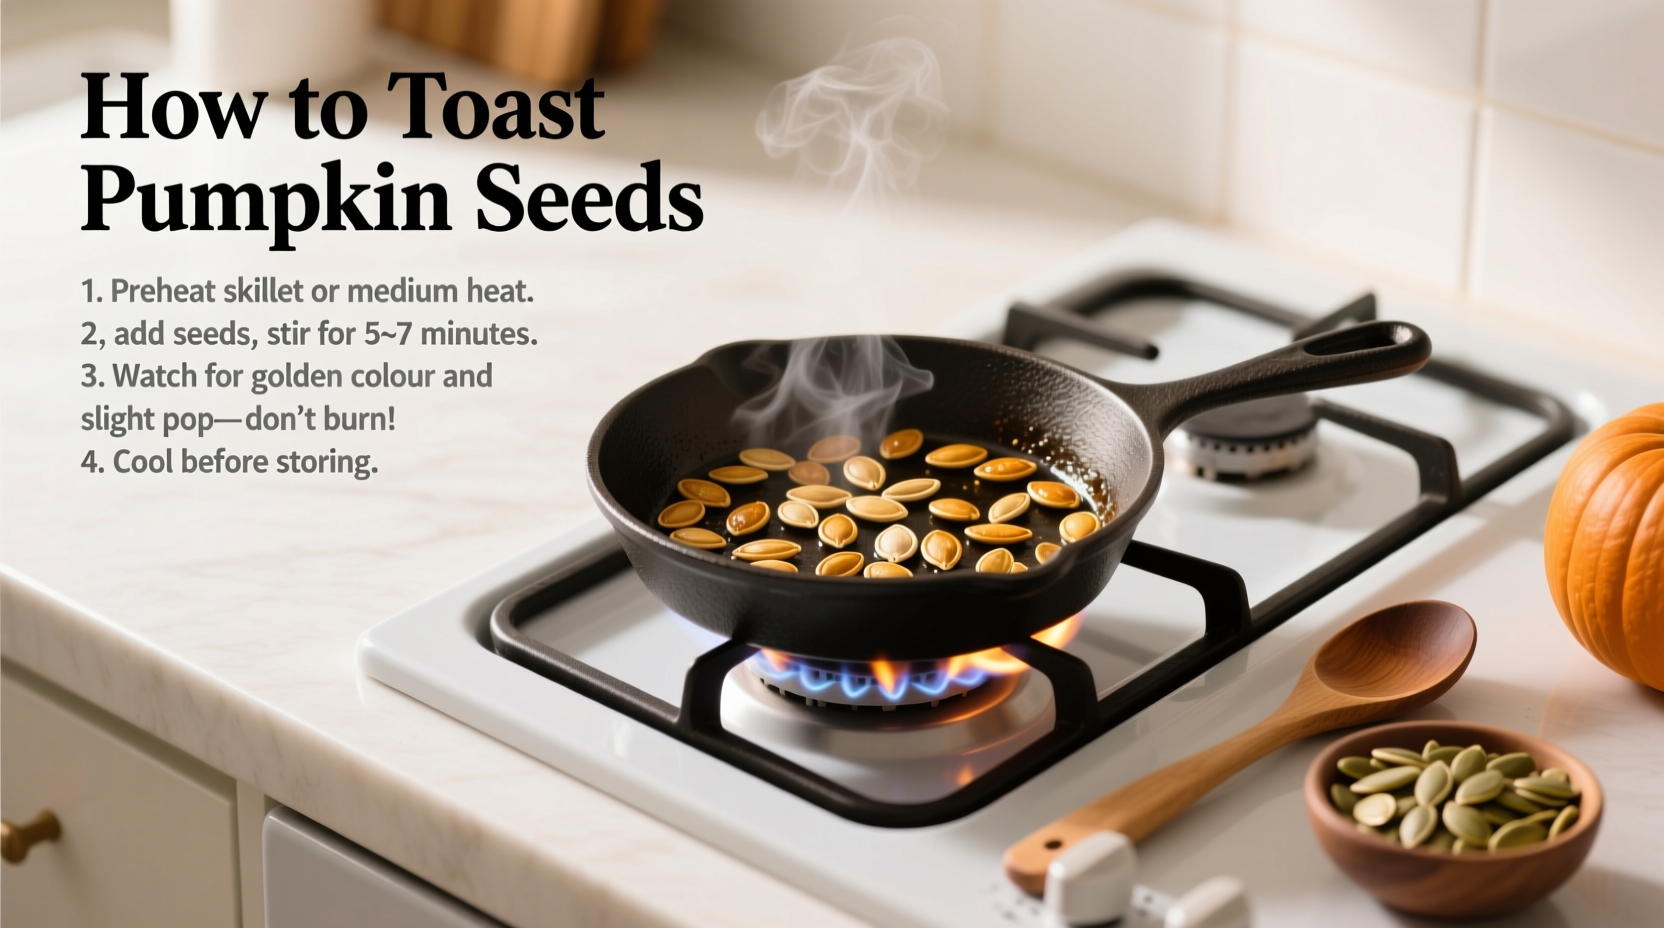
Stovetop Technique (Fastest Method)
- Use heavy-bottomed skillet over medium-low heat
- Add seeds in single layer with 1 tsp oil
- Stir constantly for 8-12 minutes until golden
- Remove immediately when done to prevent carryover cooking
Air Fryer Option (Best for Small Batches)
- Preheat air fryer to 280°F (138°C)
- Cook 12-15 minutes, shaking basket every 5 minutes
- Check frequently during last 5 minutes
Context-Specific Success Factors
Understanding these boundary conditions prevents common failures:
- Humidity impact: Above 60% humidity requires 25% longer drying time (per USDA food safety guidelines)
- Batch size limits: Never toast more than 2 cups at once—overcrowding causes steaming
- Altitude adjustment: Above 3,000 feet, reduce temperature by 25°F and increase time by 15%
- Seed freshness: Seeds stored over 6 months require additional drying time
Troubleshooting Common Issues
Fix these frequent problems with professional solutions:
Problem: Seeds Burn Before Crisping
Solution: Lower oven temperature by 25°F and extend cooking time. Stir more frequently during the final stages. Always remove seeds from heat source when they're 80% done—they'll continue cooking from residual heat.
Problem: Uneven Toasting
Solution: Use a metal baking sheet instead of glass (better heat conduction). Rotate the pan 180 degrees halfway through cooking. Stir seeds thoroughly every 5-7 minutes.
Problem: Seeds Stick to Pan
Solution: Line baking sheets with parchment paper, not foil. For stovetop cooking, ensure adequate oil (1 tsp per cup of seeds) and use a well-seasoned cast iron or non-stick skillet.
Storage and Usage Tips
Proper storage maintains crunch and prevents rancidity:
- Cool completely before storing (15-20 minutes on baking sheet)
- Store in airtight container with silica packet to absorb moisture
- Keep in cool, dark place for up to 2 weeks
- For extended storage (up to 3 months), refrigerate in vacuum-sealed container
Use your perfectly toasted seeds in these delicious ways:
- Salad topper for added crunch and protein
- Yogurt or oatmeal garnish
- Baking ingredient for breads and muffins
- Trail mix component
- Homemade granola addition
Nutritional Benefits Worth Savoring
One ounce (28g) of toasted pumpkin seeds delivers:
- 151 calories
- 13g healthy fats (mostly unsaturated)
- 9g protein
- 5mg iron (28% of daily value)
- 150mg magnesium (37% of daily value)
According to research published in the Journal of Food Science, properly toasted pumpkin seeds show increased antioxidant activity compared to raw seeds, making them not just tastier but more nutritious.
Frequently Asked Questions
Can I toast pumpkin seeds without oil?
Yes, but results will be less crisp. For oil-free toasting, ensure seeds are completely dry and spread in a single layer. Increase oven temperature to 325°F and check every 5 minutes. Spritz with water during toasting if seeds begin to darken too quickly before crisping.
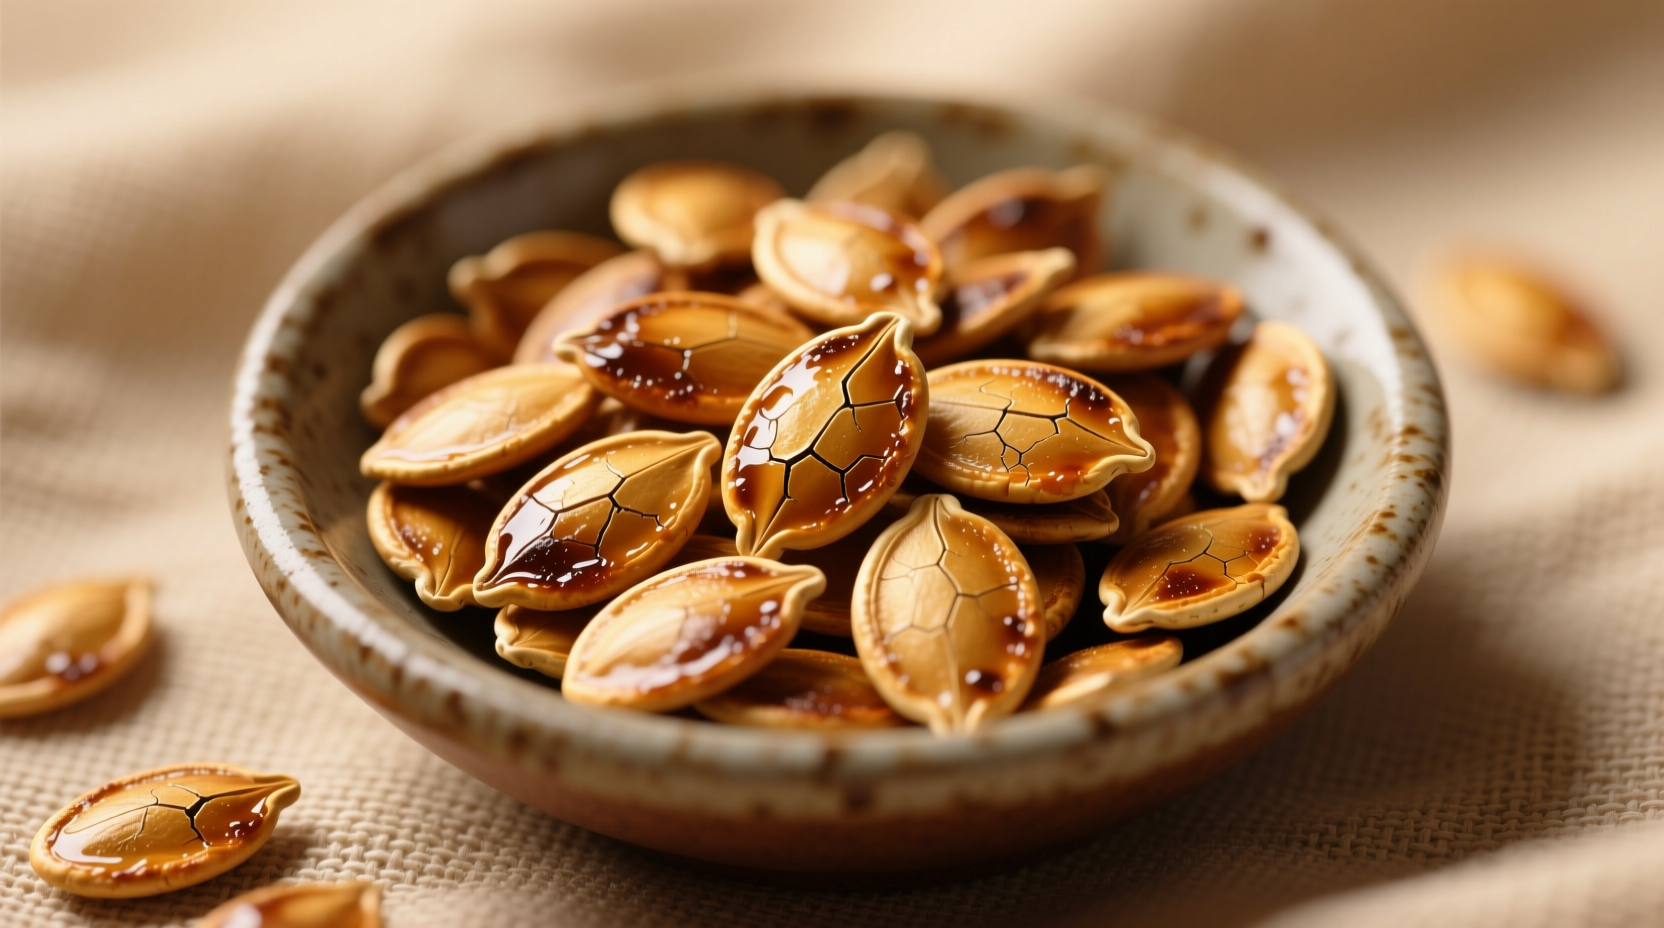
How do I know when pumpkin seeds are perfectly toasted?
Perfectly toasted pumpkin seeds will be uniformly golden brown (not dark brown), make a light popping sound when shaken, and feel completely dry to the touch. They should have a nutty aroma and crisp texture when cooled. The most reliable test is to remove one seed, cool for 1 minute, then bite—it should snap cleanly without being chewy.
Why do my toasted pumpkin seeds become chewy the next day?
This happens when seeds haven't cooled completely before storage or when moisture is trapped in the container. Always cool seeds completely on the baking sheet (15-20 minutes) before transferring to an airtight container. Include a silica packet in the container to absorb ambient moisture. In humid climates, store in the refrigerator for maximum crispness.
Can I toast pumpkin seeds in the microwave?
While possible, microwave toasting rarely produces consistent results. If attempting, use 50% power setting, stir every 2 minutes, and watch closely during the final minutes. Expect uneven toasting and potentially burnt spots. For best results, stick with oven, stovetop, or air fryer methods which provide more controlled, even heat distribution.
Do I need to remove the white hulls before toasting?
No, the white hulls (seed coats) are completely edible and contain valuable fiber. Most people toast and eat the entire seed. If you prefer hull-free seeds, you'll need to purchase specifically hulled pumpkin seeds, as removing hulls at home is extremely time-consuming and often damages the seed kernel.


 浙公网安备
33010002000092号
浙公网安备
33010002000092号 浙B2-20120091-4