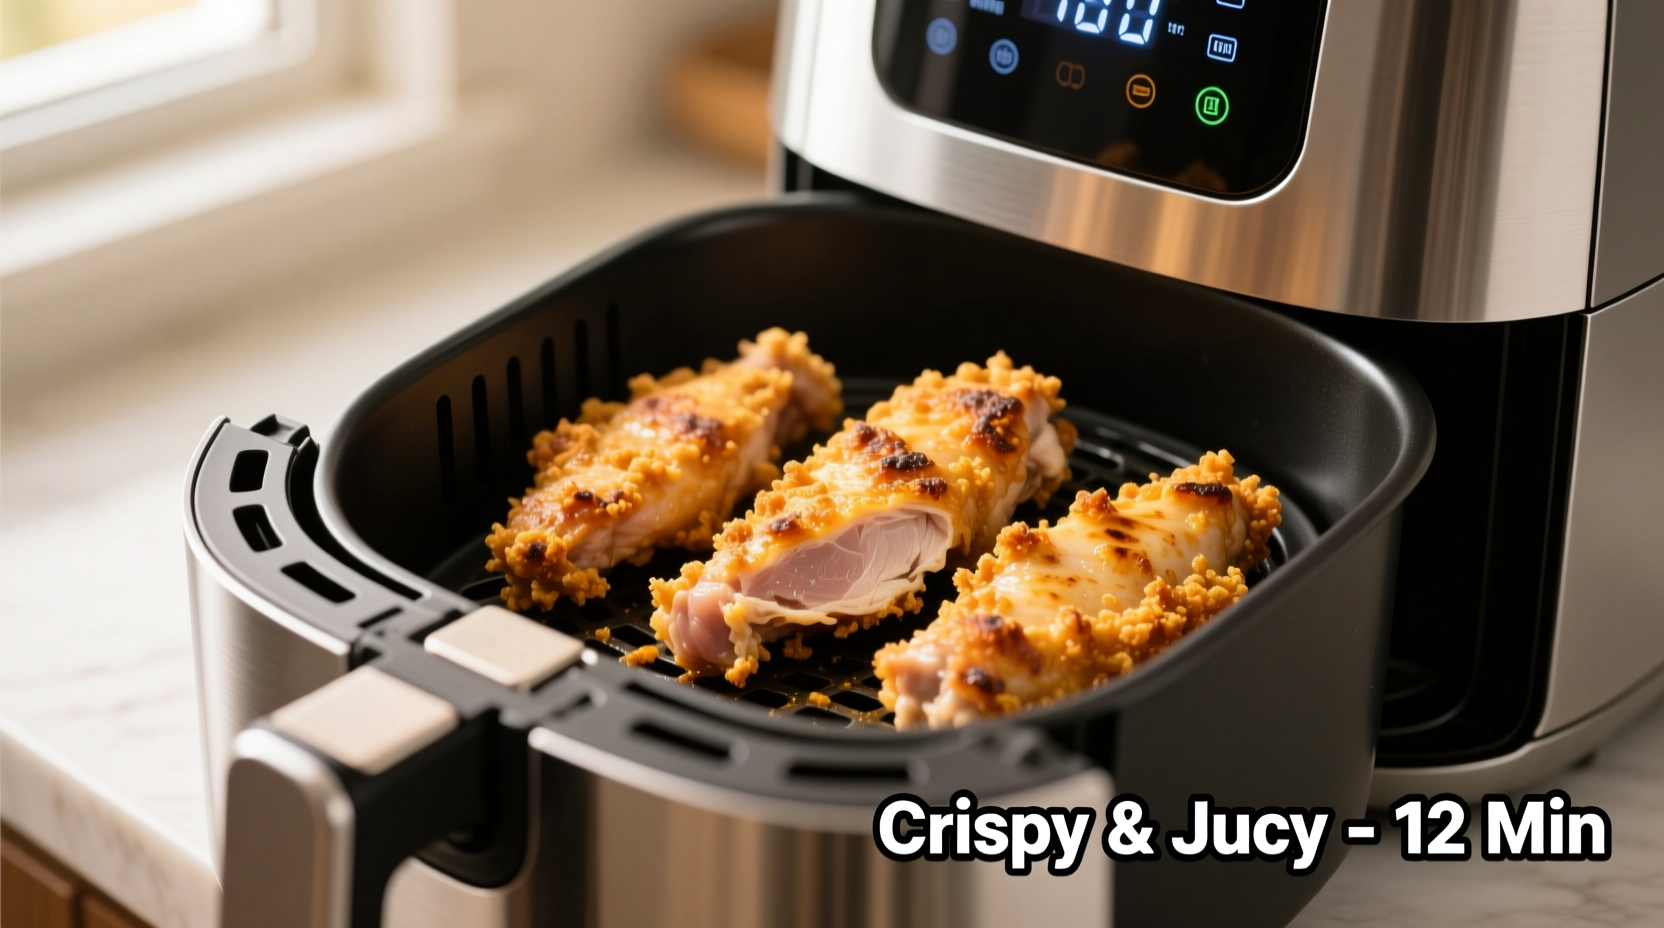
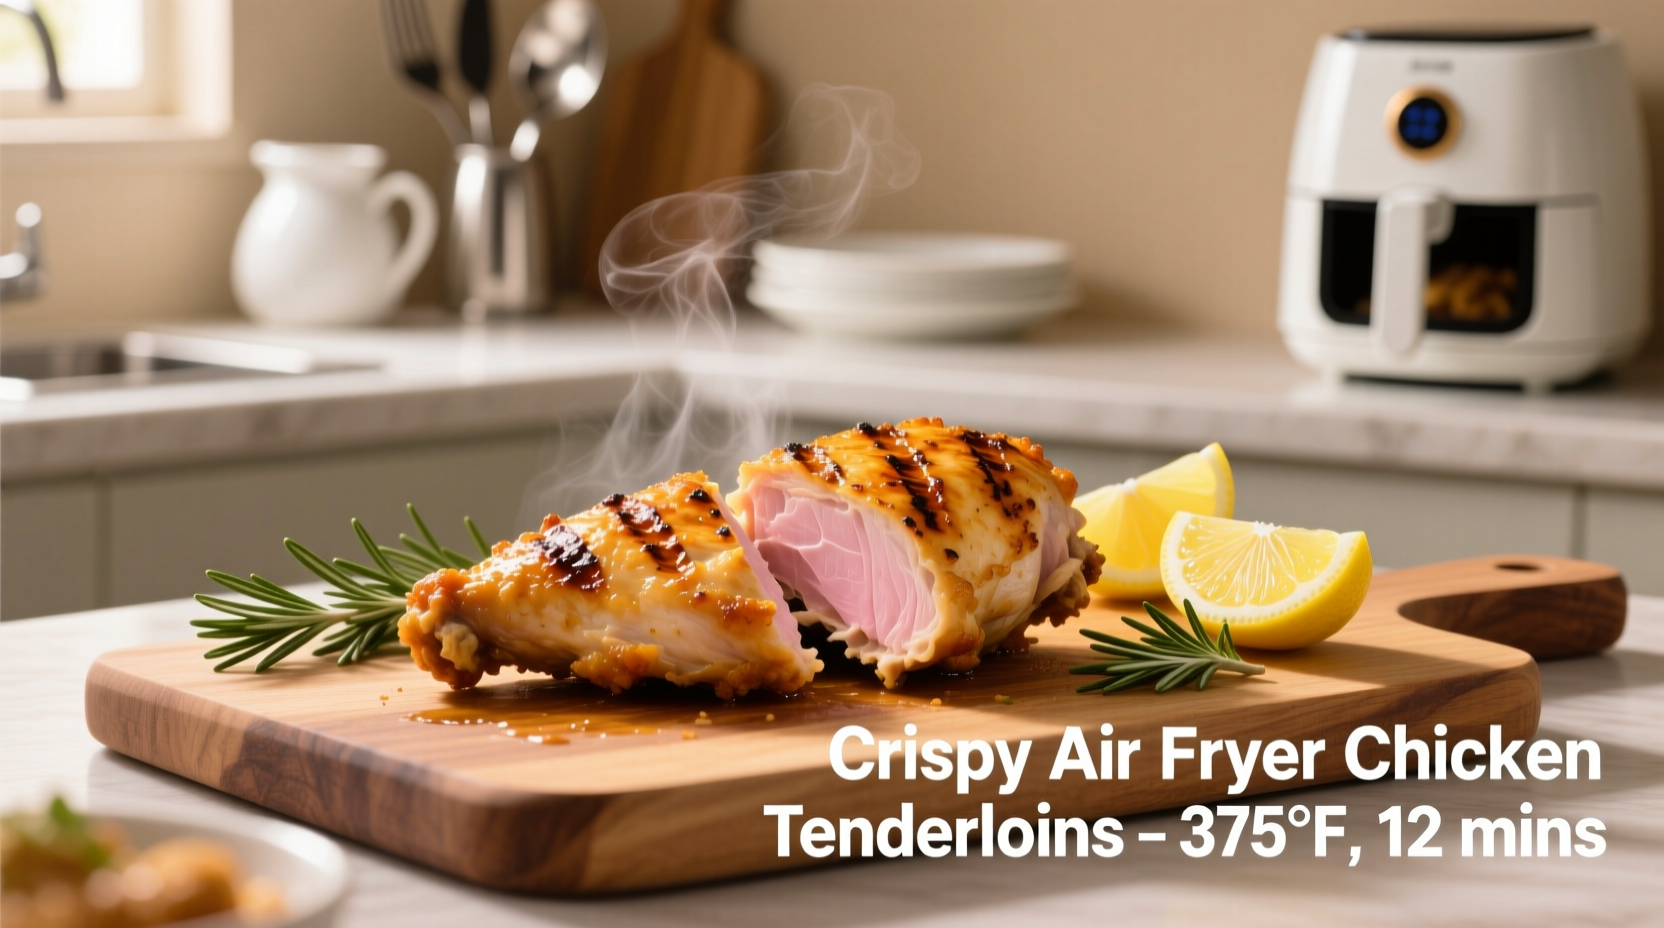
Discover the fastest, most reliable method to cook perfect chicken tenderloins in your air fryer—achieving crispy exteriors and juicy interiors in under 15 minutes with minimal oil. This guide delivers precise temperature controls, foolproof timing, and professional seasoning techniques that eliminate guesswork and prevent dry, overcooked chicken.
Why Air Fryer Chicken Tenderloins Outperform Other Methods
Air frying transforms chicken tenderloins through rapid convection heating that creates restaurant-quality results at home. Unlike oven baking which takes 20+ minutes, air fryers circulate superheated air at 3-4 times the speed, producing a golden crust while locking in moisture. The USDA Food Safety and Inspection Service confirms that proper air frying achieves safe internal temperatures faster than traditional methods, reducing the risk of undercooked poultry (fsis.usda.gov).
| Cooking Method | Time Required | Oil Needed | Texture Result |
|---|---|---|---|
| Air Fryer | 8-10 minutes | 1 tsp | Crispy outside, juicy inside |
| Oven Baking | 18-22 minutes | 1 tbsp | Drier, less crust development |
| Pan Frying | 10-12 minutes | 2-3 tbsp | Inconsistent browning |
Prep Work: Setting Up for Success
Proper preparation makes the difference between rubbery and restaurant-quality chicken. Start with properly thawed tenderloins—never cook frozen chicken as this creates uneven cooking. Pat each piece thoroughly with paper towels; surface moisture is the enemy of crispiness. For optimal results, let chicken sit at room temperature for 15 minutes before cooking. This simple step, recommended by culinary professionals, allows heat to penetrate evenly.

Seasoning Strategies for Maximum Flavor
Chicken tenderloins have mild flavor that benefits from strategic seasoning. Create a balanced dry rub using this professional ratio: 1 teaspoon salt, 1/2 teaspoon black pepper, and 1/2 teaspoon garlic powder per pound of chicken. For variation, try these chef-approved combinations:
- Lemon-Herb: Add 1 teaspoon dried thyme and zest of 1 lemon
- Spicy Cajun: Mix in 1/2 teaspoon cayenne and 1 teaspoon paprika
- Garlic Parmesan: Toss with 2 tablespoons grated parmesan after cooking
Apply seasoning 10 minutes before cooking to allow flavors to penetrate. Lightly coat with 1 teaspoon of oil—just enough to help seasoning adhere. Remember: air fryers require significantly less oil than traditional frying methods.
Perfect Cooking Technique: Timing and Temperature
Preheat your air fryer to 400°F for 3 minutes—this critical step ensures immediate searing. Arrange tenderloins in a single layer with space between pieces; overcrowding causes steaming instead of crisping. Cook for 8-10 minutes total, flipping halfway through at the 5-minute mark. The exact time depends on thickness:
- Thin tenderloins (under 1/2 inch): 7-8 minutes
- Standard tenderloins: 8-10 minutes
- Thick cuts (over 3/4 inch): 10-12 minutes
Use an instant-read thermometer to verify 165°F internal temperature at the thickest part. Visual cues include golden-brown color and juices running clear when pierced. Never skip the 3-minute resting period after cooking—this allows juices to redistribute throughout the meat.
Troubleshooting Common Issues
Dry chicken? Overcooking by even 60 seconds dries out tenderloins. Set timers precisely and check early. Uneven browning? Rotate the basket 180 degrees when flipping. Sticking to basket? Lightly spray basket with oil before adding chicken. Different air fryer models require slight adjustments:
| Air Fryer Brand | Temperature Adjustment | Time Adjustment |
|---|---|---|
| Philips | No adjustment needed | Standard timing |
| Ninja | Reduce by 10°F | Add 1-2 minutes |
| Cosori | No adjustment needed | Reduce by 1 minute |
When Air Frying Isn't Ideal: Context Boundaries
While air frying excels for chicken tenderloins, certain situations warrant alternative methods. When cooking for large groups (more than 6 servings), oven baking produces more consistent results across multiple batches. For extremely thick tenderloins (over 1 inch), finish in a 350°F oven for 3-4 minutes after air frying to ensure thorough cooking without exterior burning. The National Air Fryer Association notes that extremely wet marinades compromise air frying's crispiness effect (airfryerassociation.org).
Serving and Storage Guidelines
Serve immediately for best texture, pairing with roasted vegetables or a fresh salad. Store leftovers in an airtight container in the refrigerator for up to 3 days. To reheat without drying out, place in air fryer at 350°F for 3-4 minutes—this restores crispness better than microwave reheating. Never freeze cooked chicken tenderloins as this compromises texture; instead, freeze raw seasoned portions for future cooking.
Frequently Asked Questions
Can I cook frozen chicken tenderloins in an air fryer?
Yes, but with adjustments. Increase cooking time to 12-15 minutes at 380°F, flipping halfway. Check internal temperature reaches 165°F. Frozen chicken requires 25% more cooking time and may have slightly less crisp exterior.
How do I prevent chicken from drying out in the air fryer?
Prevent dryness by not overcooking (remove at 160°F as temperature rises during resting), using minimal oil, and avoiding overcrowding the basket. Marinating for 30-60 minutes in buttermilk or olive oil-based marinades also helps retain moisture.
What's the ideal temperature for cooking chicken tenderloins?
400°F is optimal for chicken tenderloins. This high heat creates immediate searing for crispiness while cooking through quickly. Lower temperatures (below 375°F) result in longer cooking times that dry out the delicate meat.
How many chicken tenderloins can I cook at once?
Cook in a single layer with 1/2 inch space between pieces. Most 5-6 quart air fryers accommodate 1-1.5 pounds (about 12-15 tenderloins). Overcrowding causes steaming instead of crisping—cook in batches if necessary for best results.


 浙公网安备
33010002000092号
 浙B2-20120091-4