
Unlock Long-Lasting Garlic Freshness: Your Complete Storage Guide
Nothing ruins a perfect recipe like discovering your garlic has sprouted, molded, or turned soft. Whether you've harvested your garden bounty or bought in bulk at the farmers market, proper garlic storage extends shelf life while preserving that vibrant flavor chefs prize. This guide delivers science-backed methods used by professional kitchens and experienced gardeners to keep your garlic bulbs fresh and ready for cooking.
Why Proper Garlic Storage Matters
Garlic isn't just a flavor enhancer—it's a living bulb that continues metabolic processes after harvest. When stored incorrectly, garlic either dehydrates too quickly or retains excess moisture, leading to common problems:
- Sprouting: Caused by warm temperatures and high humidity
- Mold growth: Results from trapped moisture in sealed containers
- Softening: Occurs when bulbs sit in damp conditions
- Flavor degradation: Happens when exposed to light and heat
According to research from the University of California Agriculture and Natural Resources, properly stored garlic maintains both its culinary properties and health-promoting compounds for significantly longer periods. Their studies show that garlic stored at optimal conditions retains 95% of its allicin content (the compound responsible for many health benefits) for up to 180 days.
Your Step-by-Step Garlic Storage Journey
Step 1: Prepare Your Garlic for Storage
Before storing, properly prepare your garlic bulbs regardless of whether they're homegrown or store-bought:
- Curing harvested garlic: If you've grown your own, cure bulbs for 2-3 weeks in a warm, dry, shaded area with good airflow. This hardens the outer layers and prepares them for long-term storage.
- Cleaning: Gently brush off excess dirt—never wash garlic before storage as moisture promotes mold.
- Inspection: Discard any bulbs with soft spots, cuts, or signs of mold that could spread to others.
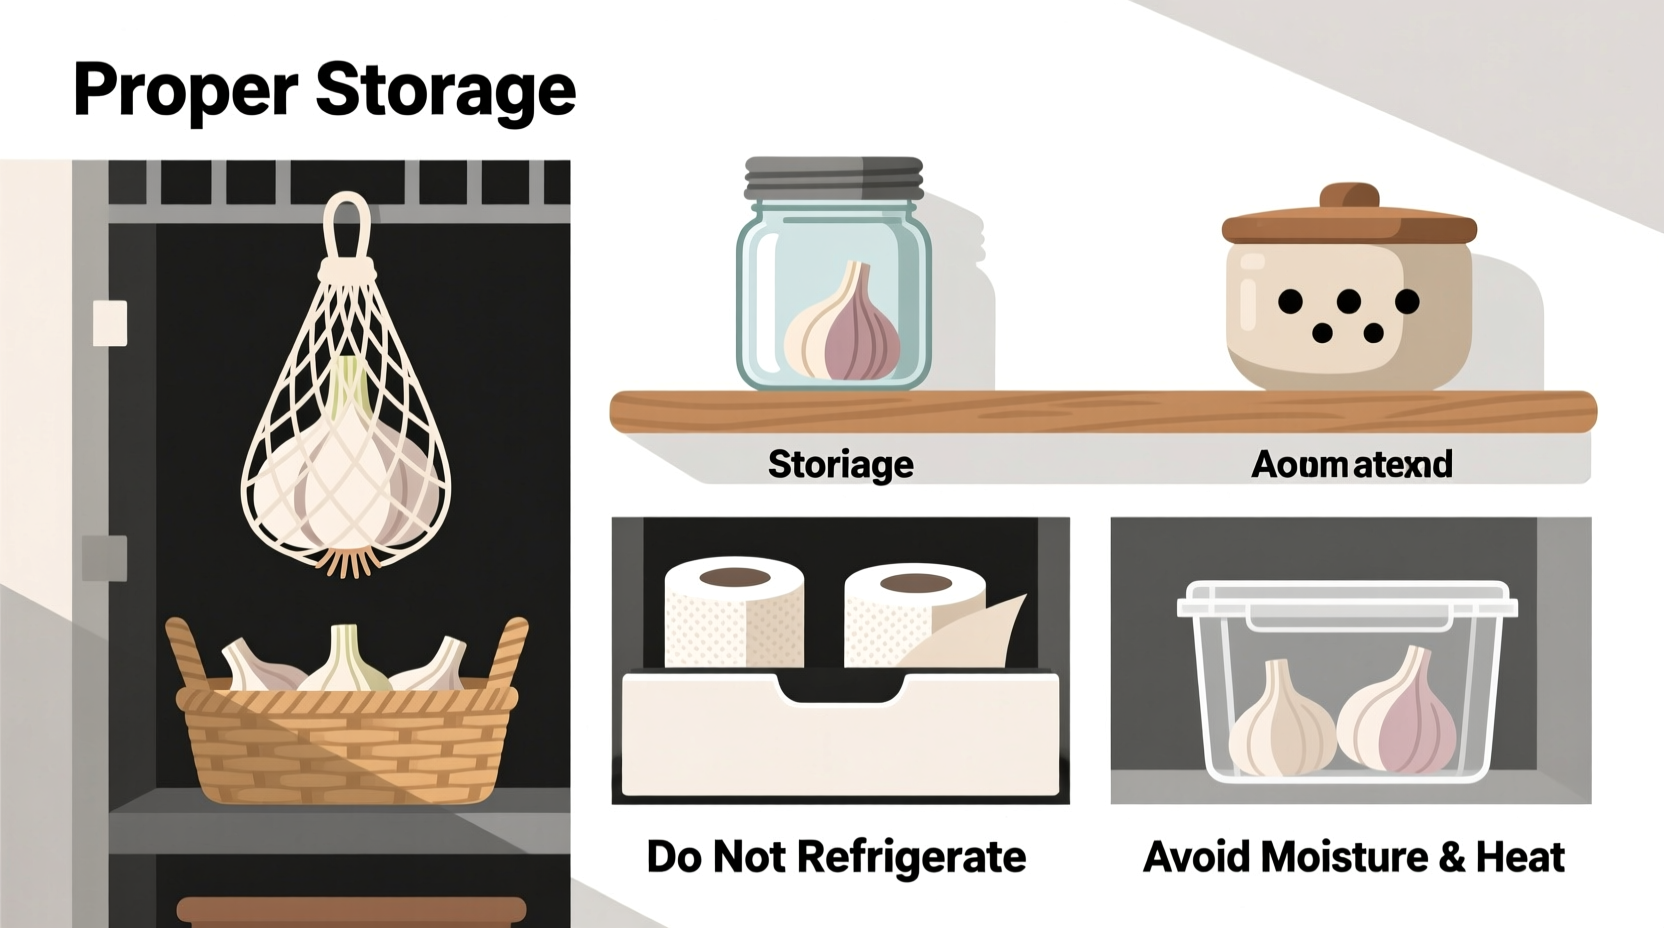
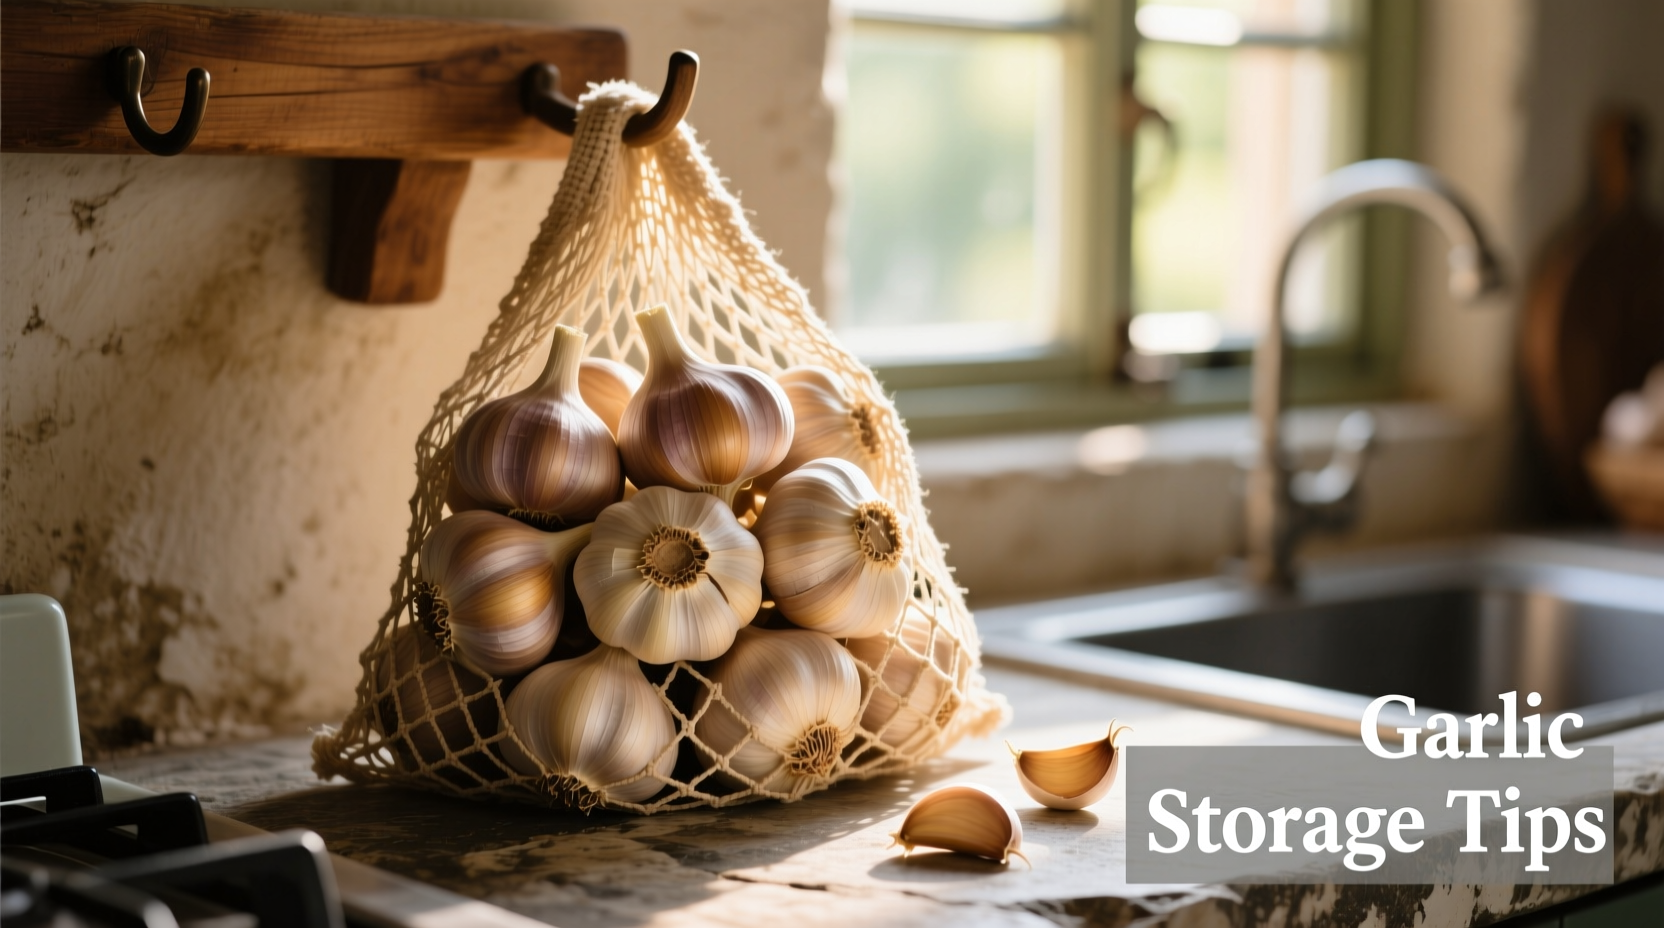
Step 2: Choose Your Storage Method
Different storage methods work best for different situations. Consider your kitchen environment and how quickly you use garlic:
| Storage Method | Best For | Expected Shelf Life | Key Requirements |
|---|---|---|---|
| Mesh bags or breathable containers | Most home kitchens | 3-6 months | Cool, dark place with air circulation |
| Braiding | Softneck varieties, decorative storage | 4-5 months | Properly cured bulbs, dry environment |
| Paper bags with holes | Humid climates | 2-4 months | Regular inspection for moisture |
| Cold storage (32-40°F) | Commercial growers, large harvests | 6-8 months | Controlled humidity (65-70%) |
This comparison reflects data from the USDA Agricultural Research Service, which has documented optimal storage conditions for allium crops through extensive field testing. Their research confirms that proper ventilation is more critical than exact temperature control for home storage situations.
Step 3: Create the Perfect Storage Environment
The ideal garlic storage environment maintains specific conditions that slow metabolic processes without causing damage:
- Temperature: 60-65°F (15-18°C) is optimal. Temperatures below 40°F trigger sprouting, while above 70°F accelerates drying.
- Humidity: 60-70% relative humidity prevents both dehydration and mold growth.
- Light: Complete darkness preserves flavor compounds that degrade when exposed to light.
- Airflow: Constant gentle circulation prevents moisture buildup between bulbs.
Many home cooks successfully use pantry shelves, basement corners, or even closets as storage locations. The key is finding a spot that maintains relatively stable temperature without dramatic fluctuations.
Step 4: Monitor and Maintain Your Stored Garlic
Proper garlic storage isn't a "set and forget" process. Regular monitoring prevents small issues from becoming major problems:
- Weekly inspection: Check for any bulbs showing signs of sprouting, soft spots, or mold.
- Remove problem bulbs immediately: One spoiled bulb can quickly affect others nearby.
- Rotate stock: Use older bulbs first to maintain freshness throughout your supply.
- Adjust for seasonal changes: During humid summer months, you may need to increase airflow.
Special Considerations for Different Garlic Types
Not all garlic varieties store equally well. Understanding these differences helps you manage expectations:
- Softneck garlic (most common in supermarkets): Stores 8-10 months. Flexible stalks allow braiding. Best for warm climates.
- Hardneck garlic (common in farmers markets): Stores 4-6 months. Produces a flower stalk (scape). More cold-hardy with richer flavor.
- Solo garlic (single clove varieties): Stores 2-3 months. Higher moisture content requires extra care.
According to Cornell University's Vegetable Program, hardneck varieties typically show signs of deterioration 2-3 months before softneck varieties under identical storage conditions. This knowledge helps you prioritize usage when storing multiple types.
Troubleshooting Common Garlic Storage Problems
Even with proper techniques, issues sometimes arise. Here's how to address them:
- Sprouting garlic: If cloves have begun sprouting but remain firm, simply remove the green shoot and use the bulb immediately. To prevent future sprouting, move to a cooler location.
- Soft or mushy bulbs: Discard immediately—these have likely developed internal mold. Check surrounding bulbs carefully.
- Excessive drying: If your environment is too dry, try storing garlic in a paper bag with small ventilation holes to retain some moisture.
- Mold development: Usually indicates excess moisture. Clean storage container thoroughly and ensure better air circulation moving forward.
What NOT to Do With Your Garlic
Avoid these common storage mistakes that dramatically reduce garlic's shelf life:
- Refrigerating whole bulbs: Cold temperatures trigger sprouting and texture changes
- Storing in sealed plastic bags: Traps moisture leading to mold
- Keeping near heat sources: Ovens, dishwashers, and direct sunlight accelerate deterioration
- Washing before storage: Introduces moisture that promotes spoilage
Food safety experts at the National Center for Home Food Preservation warn that storing garlic in oil at room temperature creates conditions where Clostridium botulinum can grow, potentially causing botulism. If you prepare garlic in oil, refrigerate it and use within 1 week, or freeze for longer storage.
When to Use Alternative Storage Methods
While whole bulb storage works best for most situations, these alternatives serve specific needs:
- Freezing peeled cloves: Ideal for prepping for future cooking. Place cloves in airtight container for up to 12 months.
- Drying for powder: Use a food dehydrator at 130°F until completely dry, then grind into powder.
- Pickling: Preserves cloves in vinegar for refrigerator use up to 4 months.
Remember that these alternative methods change garlic's texture and flavor profile, making them better suited for specific recipes rather than general-purpose storage.
Maximizing Your Garlic Investment
By following these evidence-based storage techniques, you'll enjoy fresh-tasting garlic throughout the year while reducing food waste. The key is understanding that garlic remains a living product that requires specific environmental conditions to maintain quality. Whether you're storing a single bulb from the grocery store or an entire garden harvest, proper storage ensures you always have this essential ingredient ready for your next culinary creation.


 浙公网安备
33010002000092号
浙公网安备
33010002000092号 浙B2-20120091-4