
Have you ever wondered what to do with those lemon seeds after enjoying a refreshing glass of lemonade? Sprouting your own lemon tree from seed is simpler than you might think and offers a rewarding gardening project that connects you with nature's growth cycle. Unlike store-bought seedlings, growing from seed gives you complete control over the growing conditions and provides a fascinating educational experience for both adults and children. In this comprehensive guide, you'll learn the precise techniques that horticultural experts use to maximize germination success while avoiding the most common mistakes that cause seeds to fail.
What You'll Need to Sprout Lemon Seeds
Before starting your lemon seed sprouting journey, gather these essential materials. Using the right supplies makes a significant difference in your success rate and helps prevent common issues like mold or dehydration:
- Fresh lemon seeds (ideally from organic lemons to avoid chemical treatments)
- Paper towels or coffee filters (undyed and chemical-free)
- Plastic zip-top bag or container with lid
- Spray bottle with distilled or filtered water
- Small pots (3-4 inches in diameter)
- Well-draining potting mix (cactus or seed starting mix works best)
- Optional: Small spray mister for humidity control
| Method | Success Rate | Time to Sprout | Key Benefits | Common Challenges |
|---|---|---|---|---|
| Baggie Method (Paper Towel) | 85-90% | 14-21 days | Easy monitoring, controlled moisture | Potential mold if too wet |
| Direct Soil Planting | 60-70% | 21-28 days | No transplant shock | Harder to monitor progress |
| Water Germination | 50-60% | 10-14 days | Fast initial root development | Root damage during transplant |
Step-by-Step Guide to Sprouting Lemon Seeds
Step 1: Selecting and Preparing Quality Seeds
The foundation of successful germination begins with seed selection. Choose plump, firm seeds from fully ripe lemons - these contain the highest viability. Immediately after extracting seeds from your lemon, rinse them thoroughly under cool running water to remove all pulp and sugars that can encourage mold growth. For optimal results, plant seeds within 24 hours of extraction as they lose viability quickly when dried out. According to research from the University of California Agriculture and Natural Resources, fresh lemon seeds have up to 90% germination potential when handled properly, compared to less than 40% for dried seeds (UC ANR, 2023).
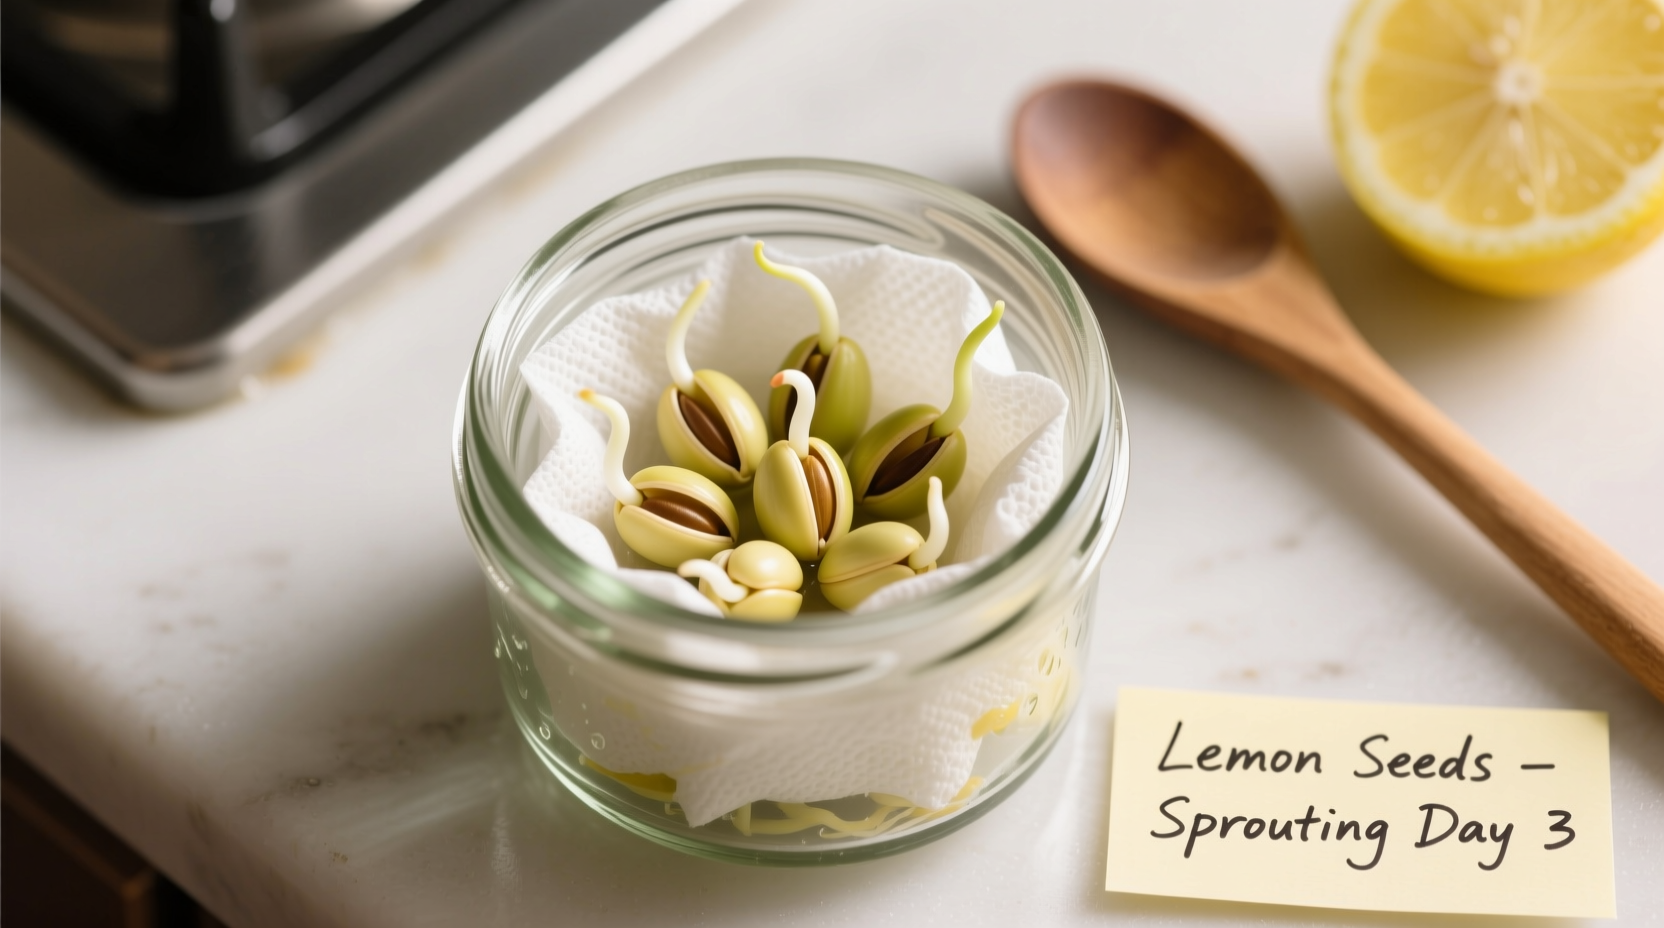
Step 2: The Paper Towel Germination Method
This proven technique offers the highest success rate for home gardeners. Here's how to implement it correctly:
- Moisten a paper towel with distilled water until damp but not soaking wet
- Place seeds on one half of the paper towel, spacing them at least 1 inch apart
- Fold the other half over the seeds to cover them completely
- Place the paper towel in a plastic zip-top bag, leaving it slightly open for air exchange
- Store in a warm location (70-80°F / 21-27°C) away from direct sunlight
Mist the paper towel with water whenever it begins to dry out, typically every 2-3 days. This method allows you to monitor root development without disturbing the delicate emerging roots. The University of Minnesota Extension confirms that maintaining consistent moisture at this stage increases germination success by approximately 35% compared to less controlled methods.
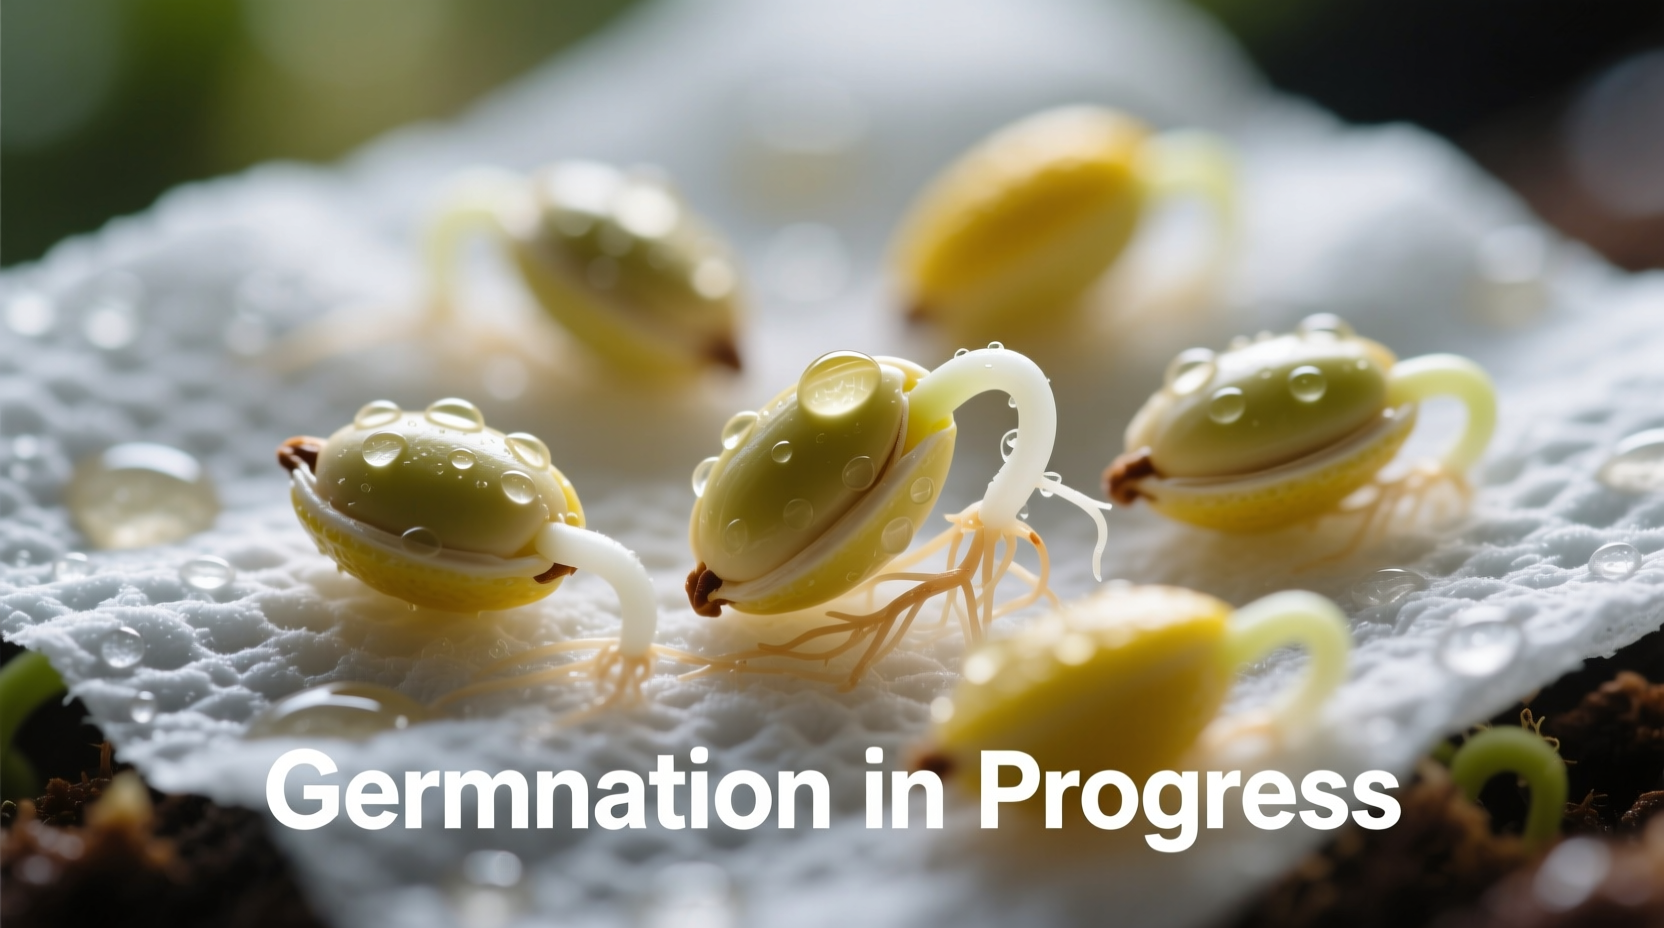
Step 3: Monitoring Germination Progress
Check your seeds every 3-4 days for signs of germination. Properly cared-for lemon seeds typically show their first root tips within 10-14 days, though some may take up to 3 weeks. When you see roots approximately 1/4 to 1/2 inch long, it's time to transplant. Don't wait until roots become too long, as this can damage the delicate root system during transfer. The ideal transplant stage occurs when the root is visible but still relatively short, before the seed coat has fully split open.
Step 4: Transplanting to Soil
Prepare small pots (3-4 inches) with well-draining potting mix, leaving about 1 inch of space below the rim. Create a 1-inch deep hole in the center of each pot. Carefully transfer sprouted seeds using tweezers or your fingers, placing them root-down in the hole with the pointed end facing down. Gently cover with soil without compacting it. Water lightly to settle the soil around the seed, ensuring the soil remains moist but not waterlogged. Place pots in a warm location with bright, indirect light.
Step 5: Caring for Emerging Seedlings
Within 1-2 weeks after transplanting, you should see the first green shoots emerging from the soil. At this stage, provide these care essentials:
- Maintain consistent soil moisture (never soggy)
- Provide 8-12 hours of bright, indirect light daily
- Keep temperatures between 65-85°F (18-29°C)
- Fertilize lightly with balanced liquid fertilizer after first true leaves appear
Common Challenges and Solutions
Even with careful attention, you might encounter these common issues during the sprouting process:
Mold Growth on Paper Towel
If you notice white or green mold developing, immediately remove the seeds, rinse them thoroughly with water, and replace the paper towel with a fresh, slightly less moist one. Ensure the bag has adequate air exchange by leaving the top partially open. According to horticultural research from Cornell University, mold issues decrease by 75% when seeds are rinsed weekly during the germination process (Cornell Citrus Research).
Seeds Not Sprouting
If after 3 weeks you see no signs of germination, check these factors:
- Temperature was too low (below 65°F / 18°C)
- Seeds dried out during the process
- Seeds were from a non-viable source (commercial lemons sometimes have treated seeds)
- Seeds were planted too deep after germination
Leggy or Weak Seedlings
When seedlings grow tall and spindly with pale leaves, they're not receiving enough light. Move them to a brighter location or supplement with a grow light for 12-16 hours daily. Rotate pots regularly to ensure even growth. The Royal Horticultural Society notes that proper light exposure during the first month of growth improves seedling survival rates by 60%.
What to Expect After Sprouting
Understanding the growth timeline helps set realistic expectations for your lemon tree journey. Here's what happens after successful germination:
| Stage | Timeline | What to Expect | Care Requirements |
|---|---|---|---|
| Germination | 10-21 days | Root emergence from seed | Consistent moisture, 70-80°F |
| Transplanting | 2-4 weeks after germination | First green shoot appears | Bright indirect light, moist soil |
| Establishment | 2-3 months | Multiple sets of true leaves | Regular watering, light fertilizing |
| Maturity | 3-6 years | Flowering potential | Full sun, proper pruning |
Remember that lemon trees grown from seed typically take 3-6 years to produce fruit, and the fruit may differ from the parent lemon due to genetic variation. Many home gardeners find the journey of nurturing a tree from seed to maturity deeply rewarding regardless of fruit production. The American Horticultural Society reports that approximately 70% of home-grown citrus trees from seed eventually produce fruit when given proper care and conditions.
Advanced Tips for Long-Term Success
For those committed to growing their lemon tree beyond the seedling stage, consider these professional techniques:
- When your seedling reaches 6-8 inches tall, begin acclimating it to outdoor conditions gradually over 7-10 days
- Use a balanced citrus fertilizer once monthly during growing season
- Repot annually into slightly larger containers until reaching your desired size
- Maintain humidity levels above 40% for optimal growth
- Rotate your plant regularly for even growth
While growing lemon trees from seed won't produce identical fruit to the parent tree due to genetic variation, the resulting tree will still produce edible lemons with proper care. Many gardeners find the process of nurturing a tree from seed creates a special connection to their plant that store-bought trees can't match.


 浙公网安备
33010002000092号
浙公网安备
33010002000092号 浙B2-20120091-4