
Why Sprout Garlic Instead of Letting It Go to Waste?
When garlic bulbs start sprouting in your pantry, most people toss them. But those green shoots contain surprising benefits you're missing. Sprouted garlic develops different compounds than fresh cloves, creating a unique culinary asset rather than spoiled produce.
| Property | Regular Garlic | Sprouted Garlic (3-5 days) |
|---|---|---|
| Allicin Content | High (pungent) | Reduced (milder) |
| Antioxidants | Moderate | Up to 5x higher (Journal of Agricultural and Food Chemistry) |
| Flavor Profile | Sharp, spicy | Grassy, mild, slightly nutty |
| Culinary Use | Cooked dishes | Raw applications, garnishes |
According to research published in the Journal of Agricultural and Food Chemistry, garlic sprouts develop significantly higher antioxidant activity than fresh cloves after just a few days of sprouting. This transformation turns what many consider "past its prime" into a nutritional powerhouse.
Your Simple Sprouting Starter Kit
You don't need special equipment—just items already in your kitchen:
- Garlic cloves (even those starting to sprout)
- Shallow container (small bowl, jar lid, or plate)
- Water (changed daily)
- Indirect sunlight location
Professional chefs like those at the Culinary Institute of America recommend using organic garlic when possible, as non-organic bulbs often receive sprout inhibitors during processing that can delay or prevent sprouting.
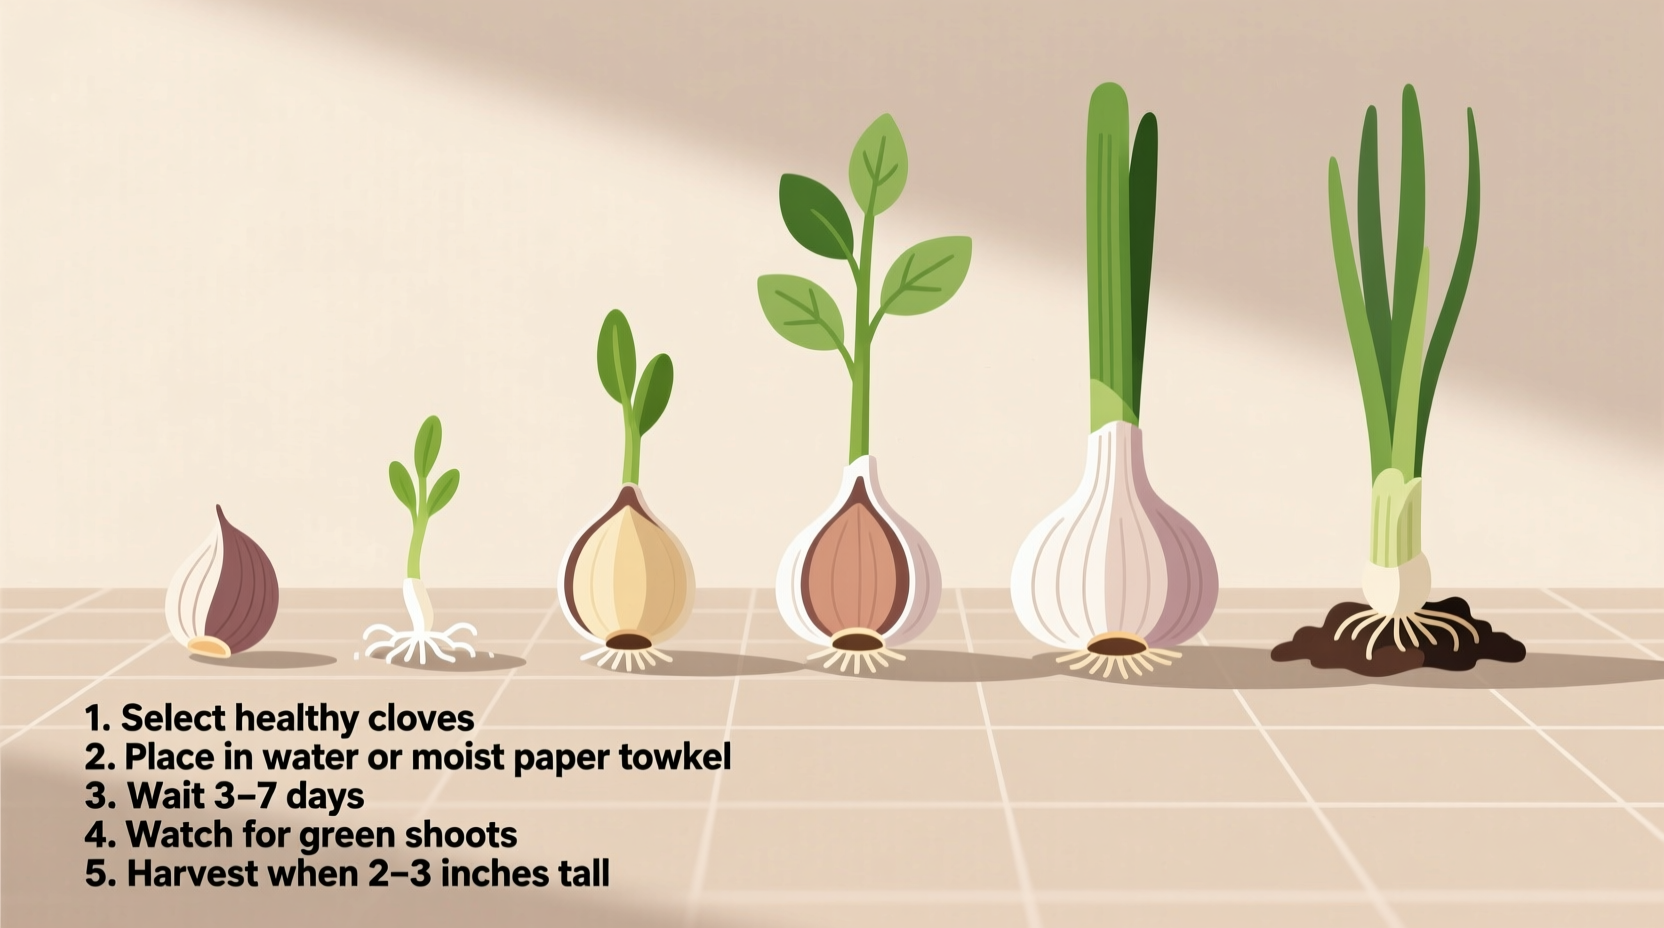
Step-by-Step Sprouting Process: Day by Day
Day 1: Preparation
Gently separate cloves from the bulb without damaging the base. Place them upright in your container with the flat end (root side) facing down. Add just enough water to cover the bottom quarter-inch of the cloves—never submerging them completely.
Days 2-3: Growth Phase
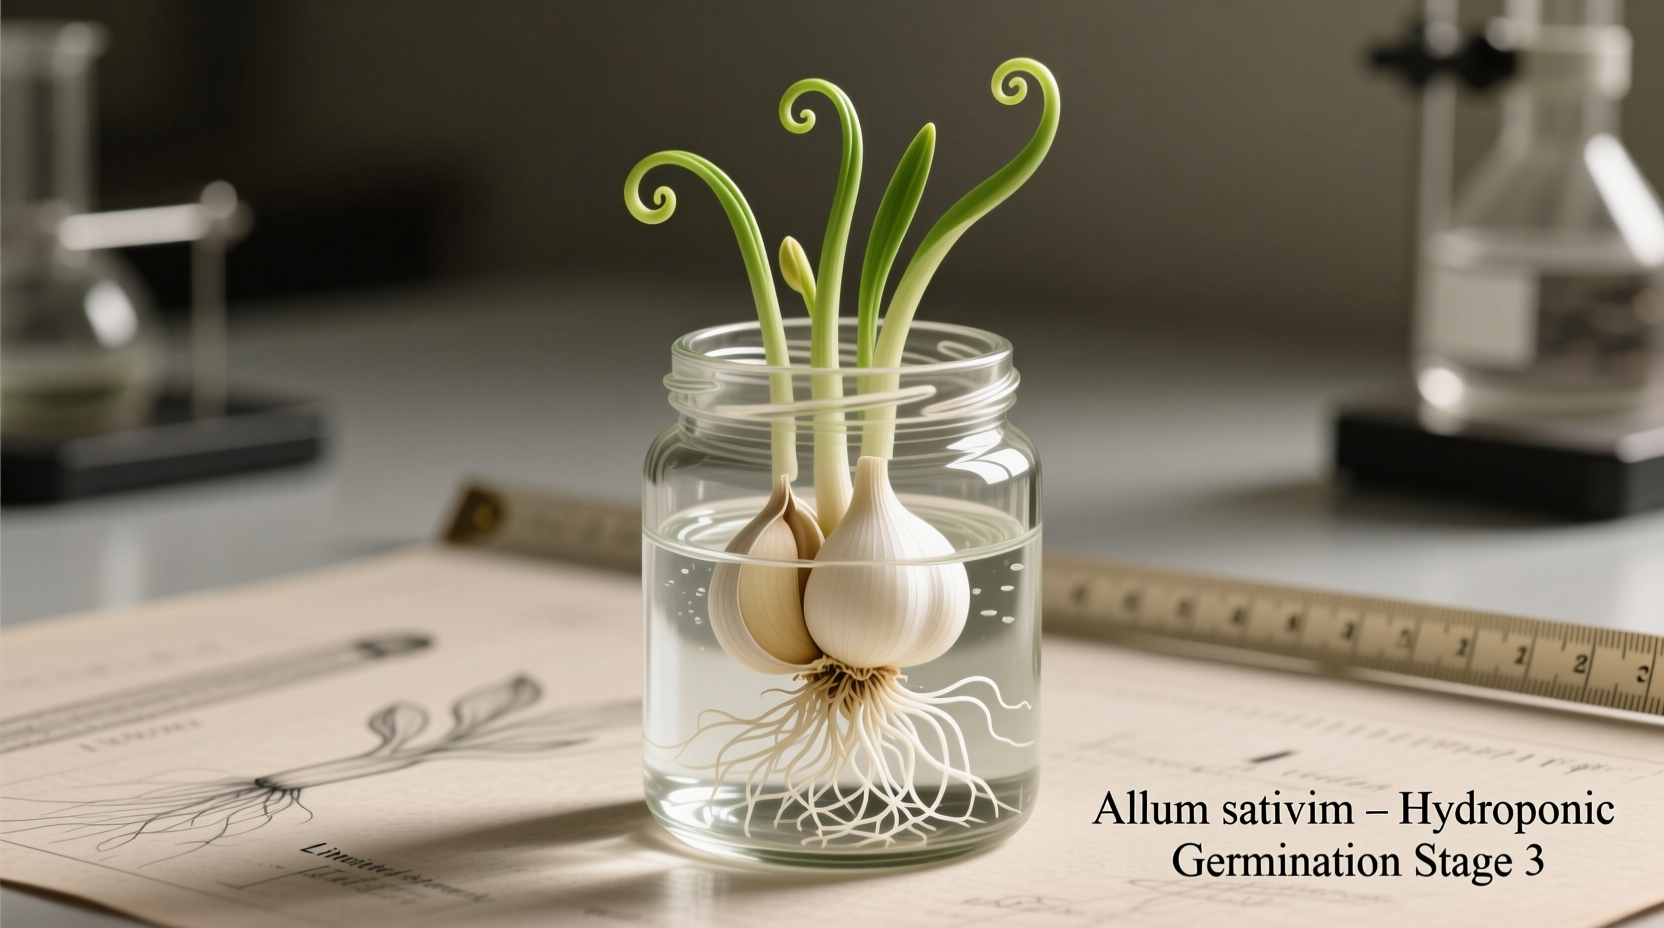
Change the water daily to prevent bacterial growth. You'll notice white root hairs developing at the base and the green shoot emerging from the top. Position near a window with indirect light—direct sun can scorch the delicate sprouts.
Days 4-5: Harvest Time
When sprouts reach 2-4 inches tall with vibrant green color, they're ready. Use kitchen scissors to cut just above the clove. The base can continue producing secondary sprouts for up to two weeks with proper care.
Garlic Sprouting Timeline
- Day 1: Clove preparation, initial water setup
- Day 2: Root development begins
- Day 3: Visible green shoot emergence
- Day 4: Rapid vertical growth
- Day 5: Harvest-ready at 2-4 inches
- Days 6-14: Secondary growth possible
Troubleshooting Common Sprouting Issues
Yellowing Sprouts
If your sprouts turn yellow instead of green, they're not getting enough light. Move to a brighter location with indirect sunlight. The USDA Extension Service notes that proper light exposure is critical for chlorophyll development in garlic sprouts.
Mold or Slimy Texture
This indicates stagnant water. Change water daily and ensure cloves aren't submerged. If mold appears, rinse cloves thoroughly and start with fresh water. The National Center for Home Food Preservation recommends using room temperature water changed daily to prevent microbial growth.
Stunted Growth
If growth stalls after day 3, your garlic may have been treated with sprout inhibitors. Try a different bulb or source organic garlic. Commercial garlic often contains chlorpropham, a sprout inhibitor documented by the USDA Agricultural Marketing Service.
Culinary Applications: Making the Most of Your Sprouts
Garlic sprouts offer a completely different flavor profile than mature garlic. Their mild, grassy taste works beautifully in applications where raw garlic would be too harsh:
- Salads: Slice thinly and toss with greens
- Stir-fries: Add in the last minute of cooking
- Omelets: Mix into eggs before cooking
- Garnishes: Place whole sprouts on finished dishes
- Pesto: Substitute for some basil in traditional recipes
When substituting for regular garlic, use a 3:1 ratio—three parts sprouts for one part minced garlic. The sprouts won't provide the same pungency but will deliver fresh garlic flavor without overwhelming heat.
Advanced Sprouting Techniques
Once you've mastered water sprouting, try these professional methods:
Continuous Harvest System
Set up three containers on a rotating schedule: one just planted, one mid-growth, and one ready for harvest. This ensures you always have fresh sprouts available. Chefs at top restaurants use similar systems for consistent ingredient supply.
Soil Method for Larger Harvests
For more substantial yields, plant cloves in potting soil. You'll get both sprouts and eventually new bulbs. The University of California Cooperative Extension recommends this method for year-round garlic production in home gardens.
Flavor Enhancement Through Growing Conditions
Vary your sprouting conditions to influence flavor. Cooler temperatures (60-65°F) produce milder sprouts, while warmer conditions (70-75°F) develop more pronounced garlic notes. This technique, documented in agricultural studies, gives you control over your final flavor profile.
Storage and Preservation
Harvested sprouts stay fresh for 5-7 days when stored in a damp paper towel inside a sealed container in the refrigerator. For longer storage, blend sprouts with olive oil and freeze in ice cube trays—a technique recommended by the National Center for Home Food Preservation for preserving fresh herb flavors.


 浙公网安备
33010002000092号
浙公网安备
33010002000092号 浙B2-20120091-4