
Why Slow Cooking Transforms Tough Cuts into Tender Masterpieces
Slow cooking works magic on tougher, collagen-rich beef cuts through a process called collagen hydrolysis. As Chef Antonio Rodriguez explains, "The low, steady heat gradually breaks down connective tissues into gelatin, creating that signature fall-apart texture while preserving moisture." This scientific approach to tenderizing makes slow cookers ideal for economical cuts that would otherwise be too chewy with faster cooking methods.
Selecting the Right Cut: Your Foundation for Success
Not all beef roasts respond equally well to slow cooking. Understanding the differences between cuts prevents disappointing results:
| Beef Cut | Marbling Level | Best Cooking Time | Texture Result |
|---|---|---|---|
| Chuck Roast | High | 8-10 hours low | Fall-apart tender |
| Brisket | Very High | 9-12 hours low | Melts in mouth |
| Rump Roast | Moderate | 6-8 hours low | Firm but tender |
| Round Roast | Low | Not recommended | Risk of dryness |
According to the National Cattlemen's Beef Association, chuck roast (from the shoulder) contains the ideal 20-30% marbling for slow cooking, providing enough fat to braise the meat while rendering down during the long cooking process. Avoid lean cuts like eye of round, which lack sufficient connective tissue to transform during slow cooking.
Preparation: The Critical First Steps
Proper preparation separates good results from exceptional ones. Follow these steps before your roast hits the slow cooker:
Dry and Sear for Maximum Flavor
Pat the roast completely dry with paper towels—moisture is the enemy of proper searing. Heat 1-2 tablespoons of oil in a skillet over medium-high heat until shimmering. Sear all sides for 2-3 minutes per side until a deep brown crust forms. This Maillard reaction creates complex flavor compounds that simmering alone cannot achieve.
Building Your Flavor Foundation
While your roast sears, prepare aromatics:
- 1 large onion, roughly chopped
- 4 garlic cloves, smashed
- 2 carrots, cut into 2-inch pieces
- 2 celery stalks, cut into 2-inch pieces
Place these in the bottom of your slow cooker to create a natural rack that elevates the roast, preventing it from sitting directly in liquid.
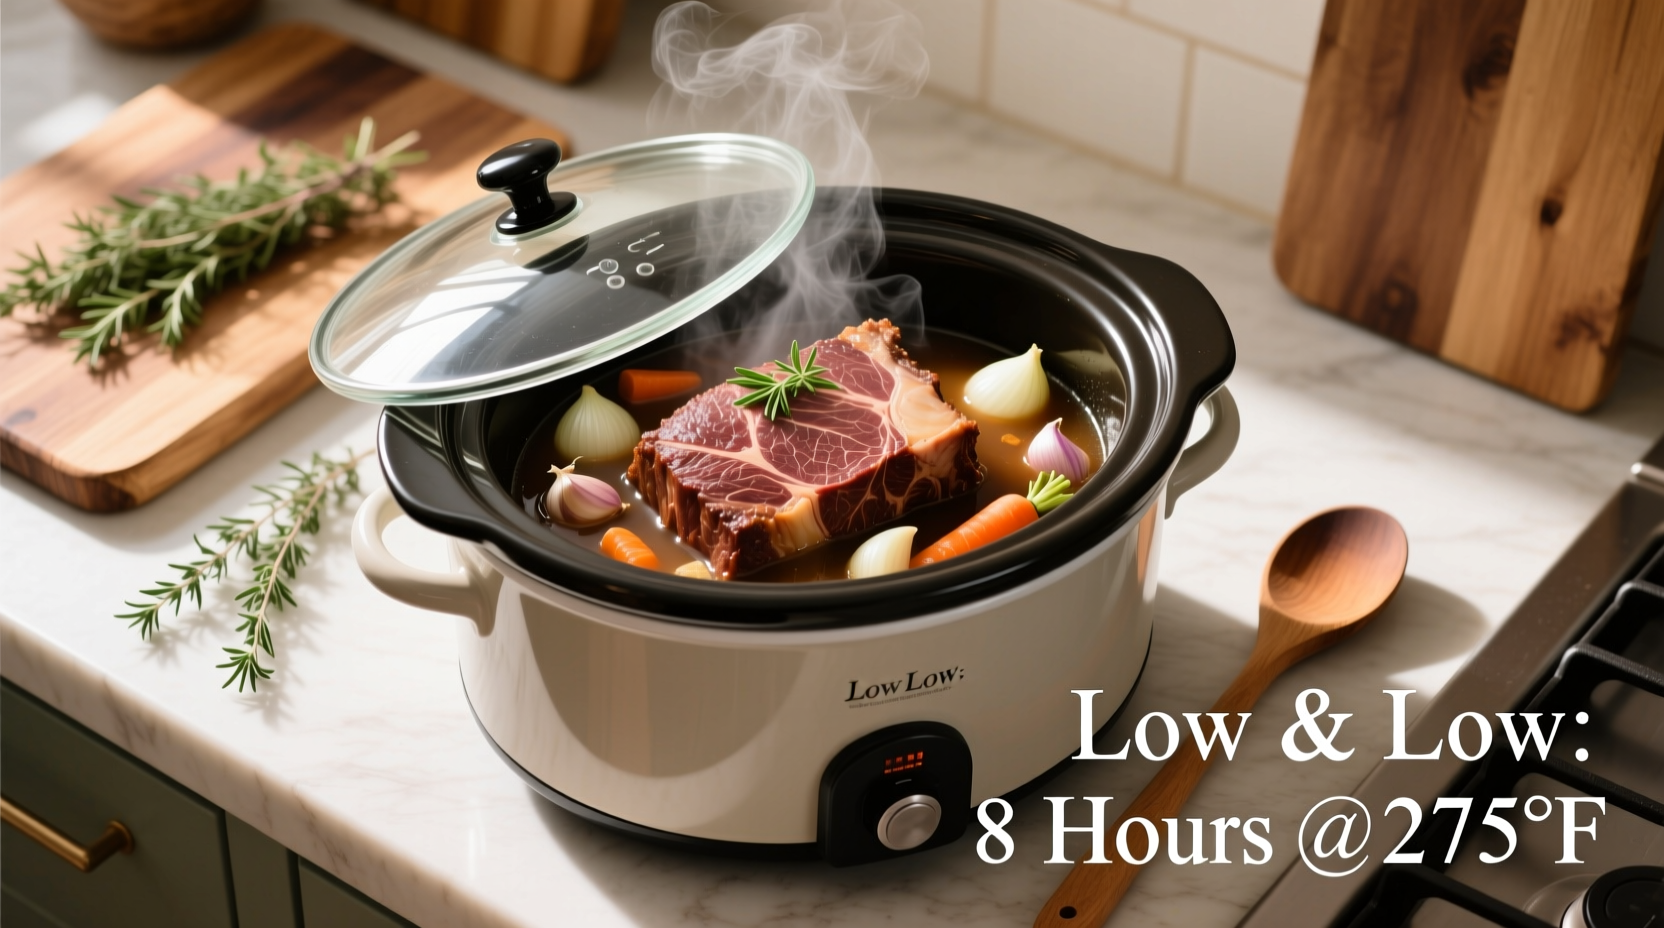
Cooking Timeline: Precision for Perfect Results
Timing varies based on roast weight and your slow cooker's performance. This timeline ensures optimal results while meeting food safety standards:
| Roast Weight | Low Setting | High Setting | Internal Temperature |
|---|---|---|---|
| 2-3 lbs | 6-8 hours | 3-4 hours | 195-205°F |
| 3-4 lbs | 8-10 hours | 4-6 hours | 195-205°F |
| 4-5 lbs | 10-12 hours | 6-8 hours | 195-205°F |
The USDA Food Safety and Inspection Service confirms that beef cooked to 145°F is safe, but for tough cuts like chuck roast, you need the higher 195-205°F range to fully break down collagen. USDA guidelines state that as long as the meat reaches 140°F and remains there for at least 15 seconds, it's safe, but texture requires the higher temperature range for connective tissue breakdown.
Avoiding Common Pitfalls: Expert Troubleshooting
Even experienced cooks encounter issues with slow cooker roasts. Here's how to fix them:
Problem: Meat is Tough Despite Long Cooking
Solution: Your slow cooker may not be reaching proper temperature. Test with a thermometer—many older models run cooler than labeled. Add 1-2 hours cooking time if needed, but never remove the lid frequently as this adds significant time (about 20 minutes per peek). For best results, use an oven-safe thermometer to monitor internal temperature without opening the cooker.
Problem: Excessive Liquid or Watery Gravy
Solution: You've used too much liquid. The ideal ratio is 1 cup liquid per 3 pounds of meat. If you've already cooked, remove the roast and vegetables, then set your slow cooker to high with the lid off for 30-60 minutes to reduce the liquid. Alternatively, thicken with a cornstarch slurry (1 tablespoon cornstarch mixed with 2 tablespoons cold water per cup of liquid).
Problem: Lack of Flavor Depth
Solution: You skipped the sear or used insufficient seasoning. Always sear first, and season generously with salt (1 teaspoon per pound) at least 45 minutes before cooking to allow penetration. Add umami boosters like 2 tablespoons tomato paste or 1 ounce dried mushrooms to the cooking liquid.
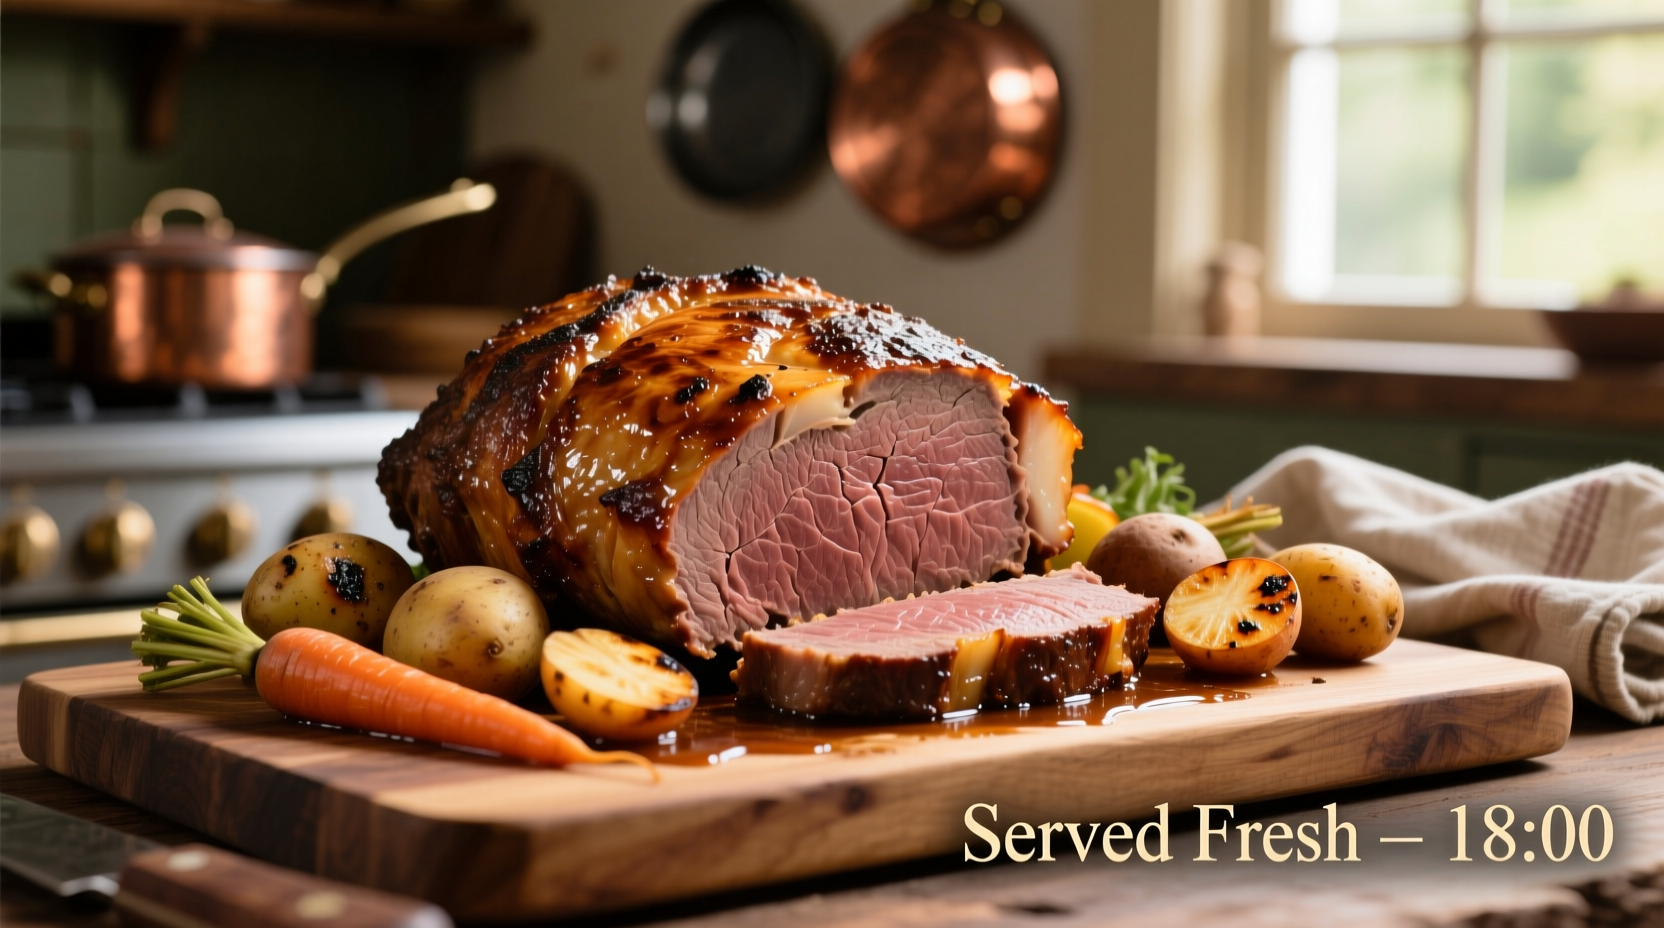
Finishing Touches: From Cooker to Plate
The final steps determine whether you serve a good roast or an exceptional one:
Resting is Non-Negotiable
Remove the roast from the slow cooker and let it rest, tented with foil, for 15-20 minutes. This allows juices to redistribute throughout the meat. Cutting too soon releases precious moisture onto your cutting board.
Creating Perfect Gravy
While the roast rests, skim excess fat from the cooking liquid. In a separate pan, melt 2 tablespoons butter, whisk in 2 tablespoons flour to make a roux, then gradually whisk in the strained cooking liquid. Simmer until thickened to your desired consistency. For restaurant-quality results, finish with a splash of red wine vinegar to brighten flavors.
When Slow Cooking Isn't the Right Choice
While slow cookers excel with certain cuts, they have limitations. Avoid using them for:
- Lean cuts under 2 inches thick - These overcook before connective tissues break down
- Meals requiring precise temperature control - Slow cookers maintain a simmer (185-200°F), not higher temperatures
- Recipes needing browning during cooking - You can't achieve proper Maillard reaction after the initial sear
- Delicate ingredients - Vegetables added at the beginning become mushy
For these situations, consider alternative methods like Dutch oven braising or sous vide for more precise temperature control.
Storage and Reheating for Maximum Enjoyment
Proper storage preserves your hard work for future meals:
- Refrigeration: Store in airtight container with cooking liquid for up to 4 days
- Freezing: Portion into meal-sized containers with liquid for up to 3 months
- Reheating: Gently warm in covered dish with 2 tablespoons liquid at 300°F until internal temperature reaches 165°F
Never reheat in the slow cooker on high setting, as this creates a dangerous temperature zone where bacteria can grow. The USDA Food Safety and Inspection Service recommends reheating leftovers to 165°F as measured with a food thermometer.


 浙公网安备
33010002000092号
浙公网安备
33010002000092号 浙B2-20120091-4