
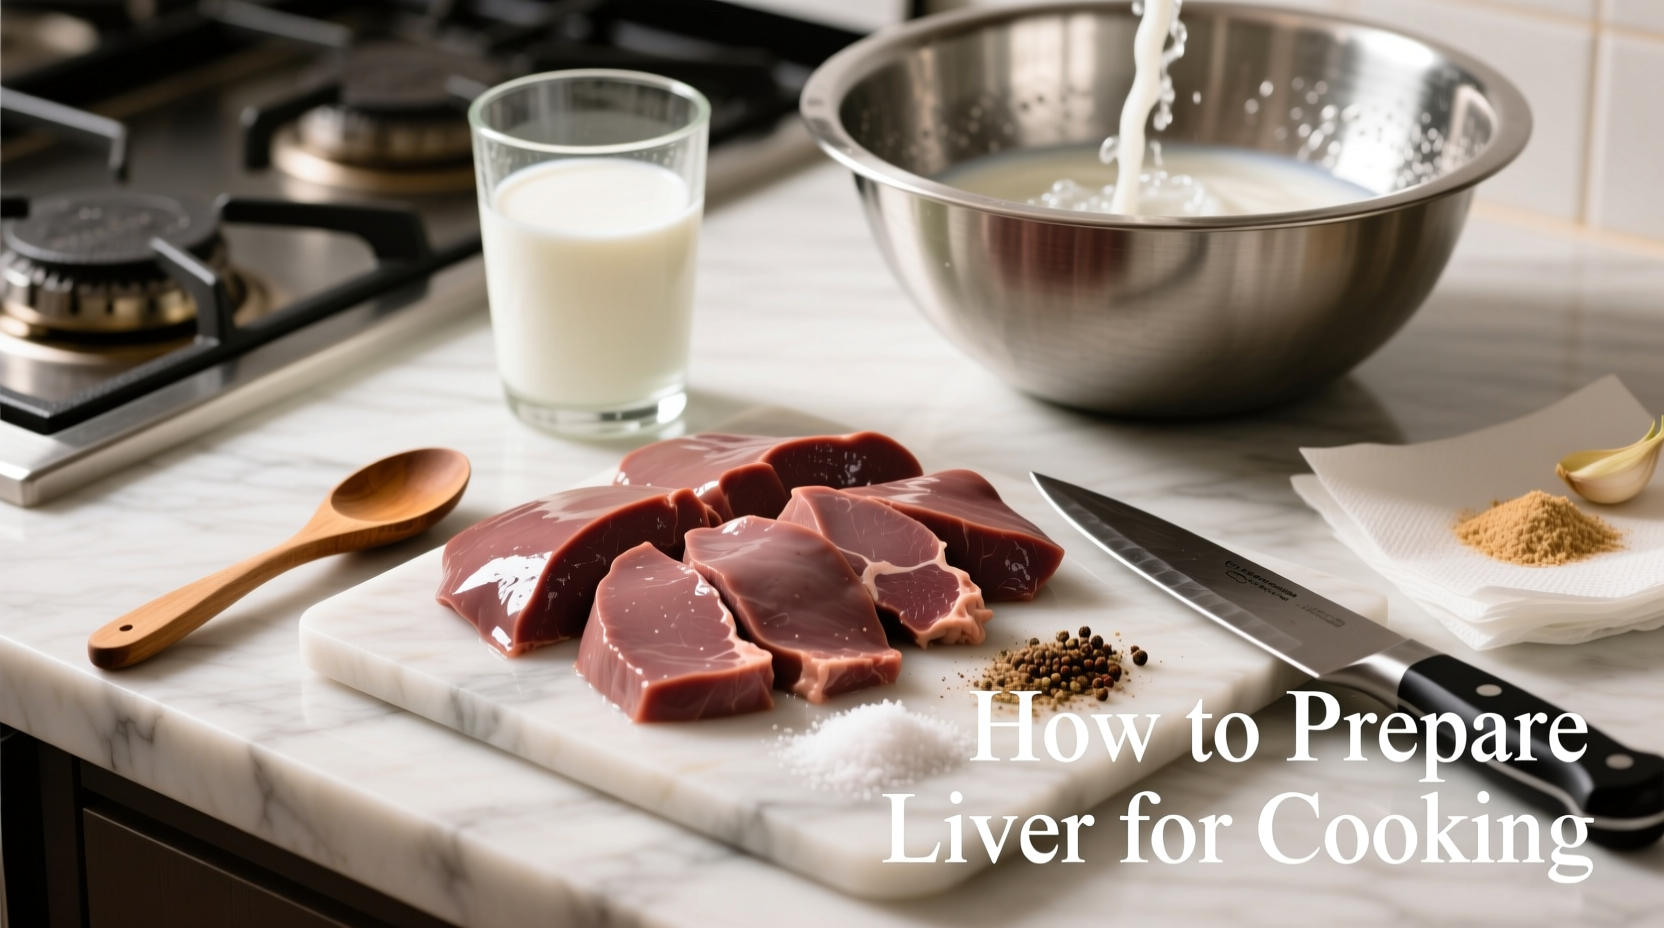
The Complete Guide to Preparing Liver for Cooking
Many home cooks avoid liver due to its strong flavor and texture issues, but proper preparation transforms this nutrient powerhouse into a delicious meal. With the right techniques, you'll consistently create tender, flavorful liver dishes that even skeptics will enjoy. This guide walks you through every step with professional chef insights and food science principles.
Why Liver Preparation Matters
Liver contains high concentrations of blood and connective tissues that create bitterness when improperly handled. According to USDA food safety guidelines, proper preparation also reduces potential pathogens while preserving the organ meat's exceptional nutritional profile (rich in iron, vitamin A, and B vitamins). The key is understanding how each preparation step affects both safety and flavor development.
Essential Tools You'll Need
Before starting, gather these kitchen essentials:
- Sharp boning or paring knife
- Cutting board (preferably separate from other meats)
- Large bowl for soaking
- Paper towels or clean kitchen cloth
- Meat thermometer
- Tongs or fork for handling
Step-by-Step Liver Preparation Process
Selection and Inspection
Choose liver with deep reddish-brown color and firm texture. Avoid pieces with yellowish spots (indicates age) or strong ammonia smells. Fresh liver should have a clean, slightly metallic scent. Beef liver should feel cool to the touch (40°F or below) with minimal surface moisture. According to the American Institute of Culinary Education, younger animal livers generally have milder flavor profiles ideal for beginners.
Cleaning and Trimming Techniques
Place liver on your cutting board and remove any visible connective membranes using your knife tip. These white or yellowish membranes become tough when cooked and contribute to bitterness. Work methodically:
- Rinse liver briefly under cold water (10-15 seconds)
- Pat dry with paper towels
- Identify and remove visible veins and connective tissue
- Trim any discolored edges
- Cut into even portions for consistent cooking
| Liver Type | Membrane Visibility | Trimming Difficulty | Recommended Portion Size |
|---|---|---|---|
| Beef Liver | High (easily visible) | Moderate | ½ inch thick slices |
| Chicken Liver | Low (smaller pieces) | Easy | Leave whole or halve |
| Lamb Liver | Moderate | Moderate-High | ¼ inch thick slices |
Soaking Methods Compared
Soaking removes residual blood and reduces bitterness. Research from the Journal of Food Science shows milk's lactic acid neutralizes compounds causing strong flavors. Consider these options:
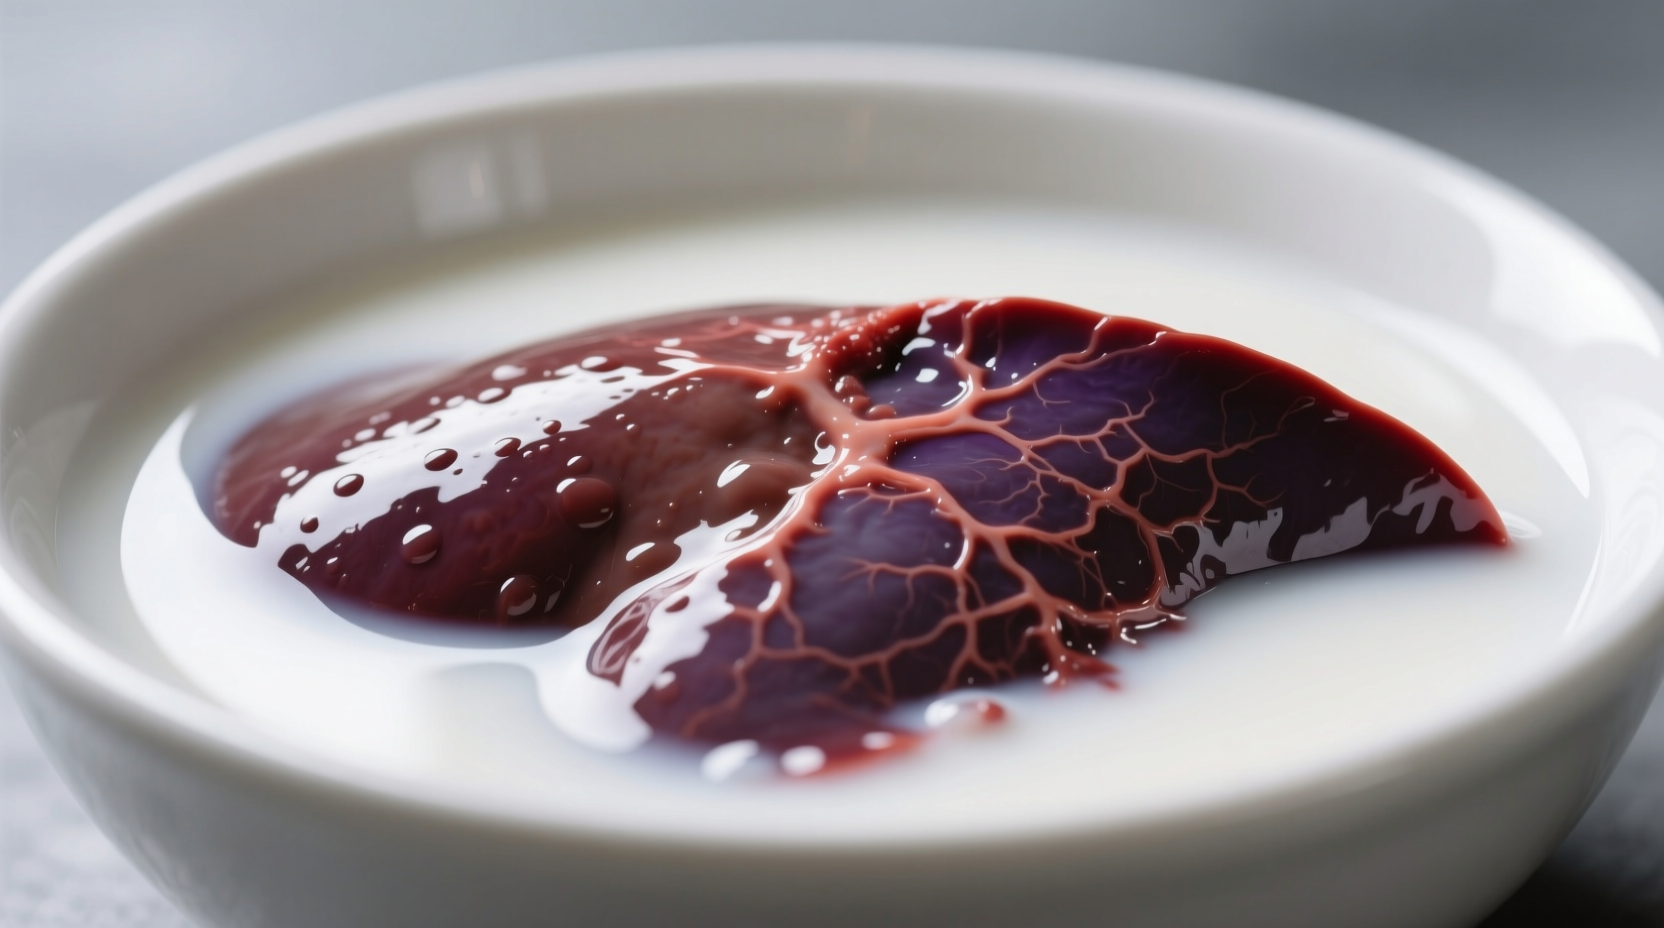
Milk Soaking (Most Effective)
Submerge trimmed liver in cold milk for 30-120 minutes. The casein in milk binds to bitter compounds. Use whole milk for best results. Discard milk after soaking - never reuse.
Acidic Solution Alternative
For dairy-free preparation, use 1 cup vinegar or lemon juice mixed with 2 cups water. Soak 20-30 minutes maximum to avoid texture changes. This method works well for chicken liver but can make beef liver too tender.
Dry Brine Option
For time-pressed cooks, sprinkle liver with salt and let rest 15 minutes, then rinse. This draws out impurities but is less effective than liquid soaking methods.
Final Preparation Before Cooking
After soaking, complete these crucial steps:
- Rinse liver under cold water to remove surface proteins
- Thoroughly pat dry with paper towels (critical for proper searing)
- Season immediately before cooking (salt draws out moisture)
- Bring to room temperature for 15-20 minutes before cooking
Drying is particularly important - moisture prevents proper browning. Chef Thomas Keller's Adventures in the Kitchen emphasizes that "dry surface equals perfect sear" for organ meats. Never skip this step.
Avoid These Common Preparation Mistakes
- Over-soaking - More than 2 hours in milk makes liver mushy
- Insufficient trimming - Remaining membranes become rubbery
- Cooking from cold - Causes uneven cooking and gray exterior
- Over-seasoning - Strong spices mask liver's natural flavor rather than complementing it
Storage Guidelines for Prepared Liver
Prepared but uncooked liver keeps refrigerated for 24 hours maximum. Store in airtight container with paper towel to absorb moisture. For longer storage, freeze after preparation: wrap portions in parchment paper, then place in freezer bags with all air removed. Properly frozen liver maintains quality for 2-3 months. Always thaw frozen liver in the refrigerator, never at room temperature.
Transitioning to Cooking
With properly prepared liver, you're ready for cooking success. Remember these key points:
- Cook liver quickly over medium-high heat
- Use cast iron or stainless steel for best browning
- Cook to 160°F internal temperature (USDA food safety standard)
- Allow 3-5 minutes resting time before serving
Well-prepared liver should have a rich brown exterior with pink (not red) interior when properly cooked. Overcooking creates toughness that preparation cannot overcome, so monitor temperature carefully.


 浙公网安备
33010002000092号
浙公网安备
33010002000092号 浙B2-20120091-4